Have a Question?
How to Create an Online Course: Part 2 – Course Builder
This tutorial, part 2 of a 2-part series, will walk you through creating an Online Course in Foundation LMS. In this video we will cover the Course Builder page.
Part 1 of the series can be found here: How To Create An Online Course: Part 1 – Course Details
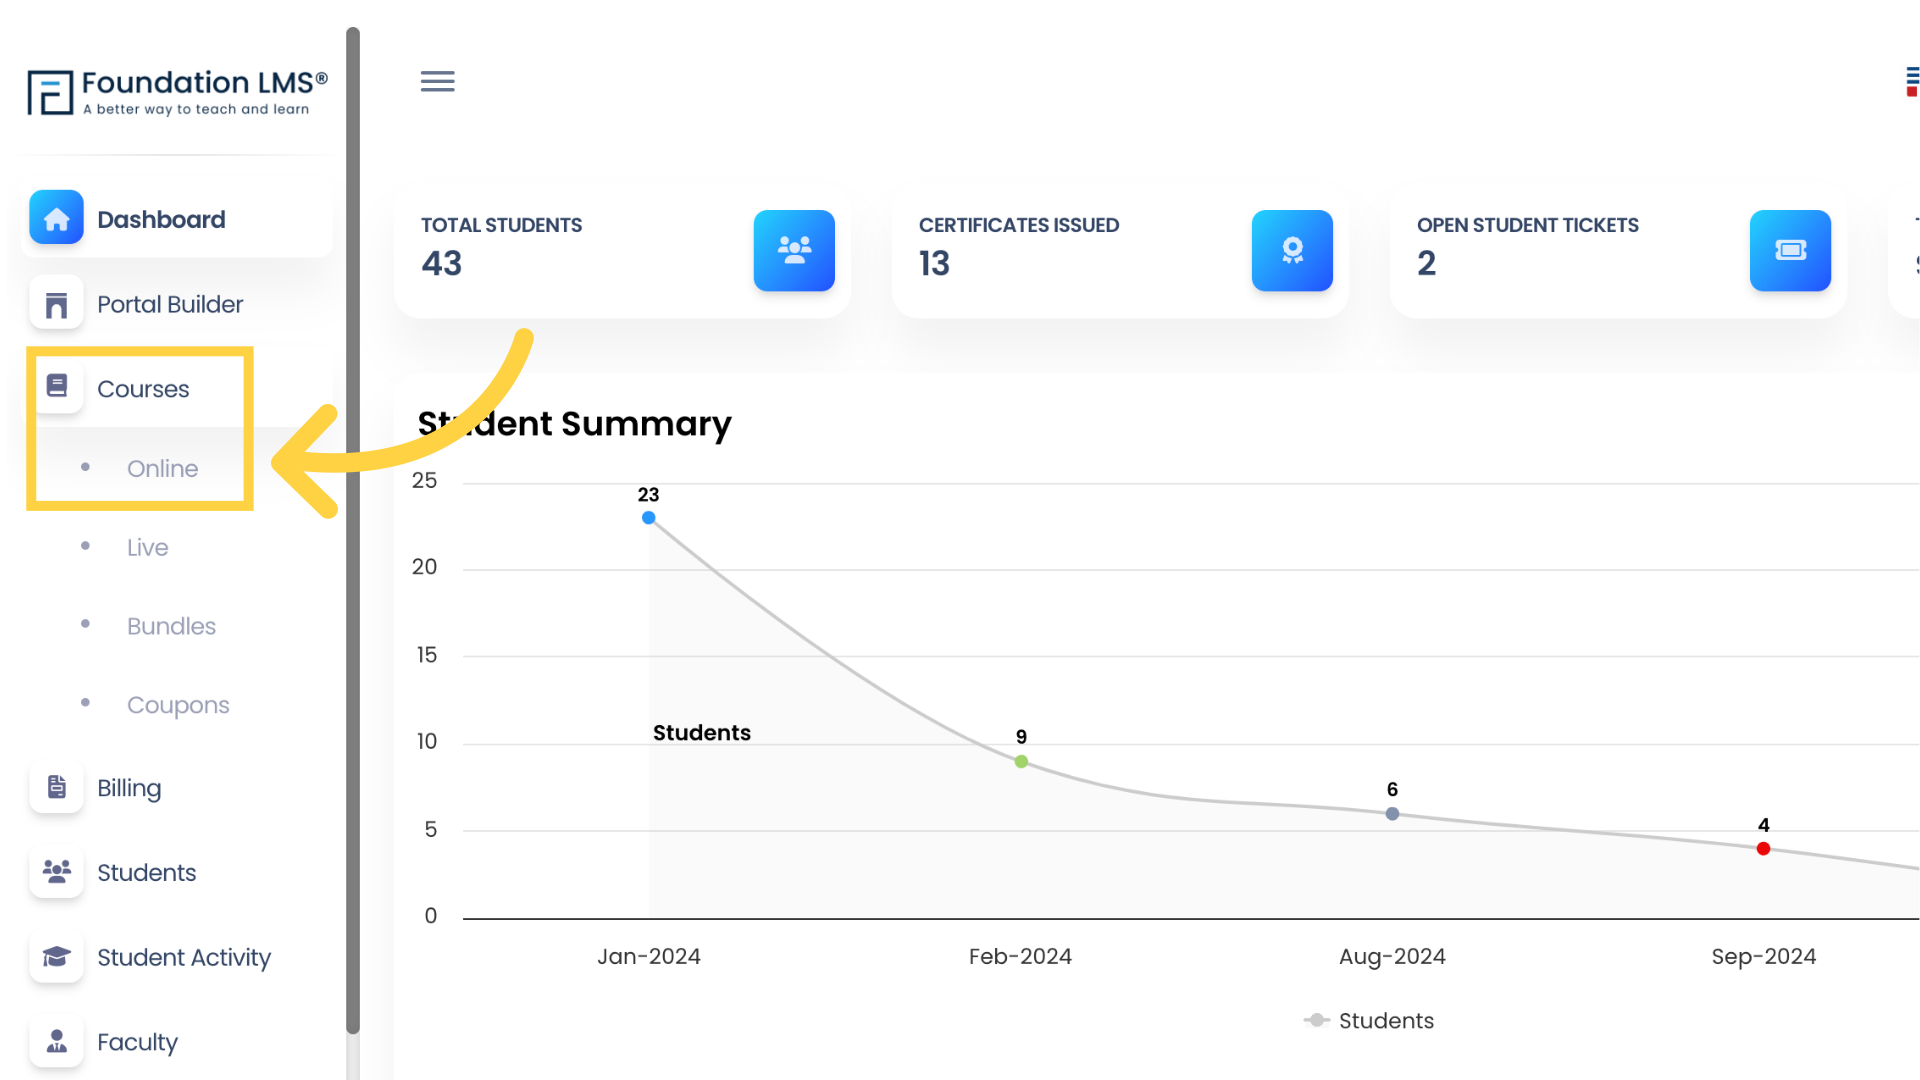
1. Navigate to Online Courses by clicking “Courses”, then “Online”.
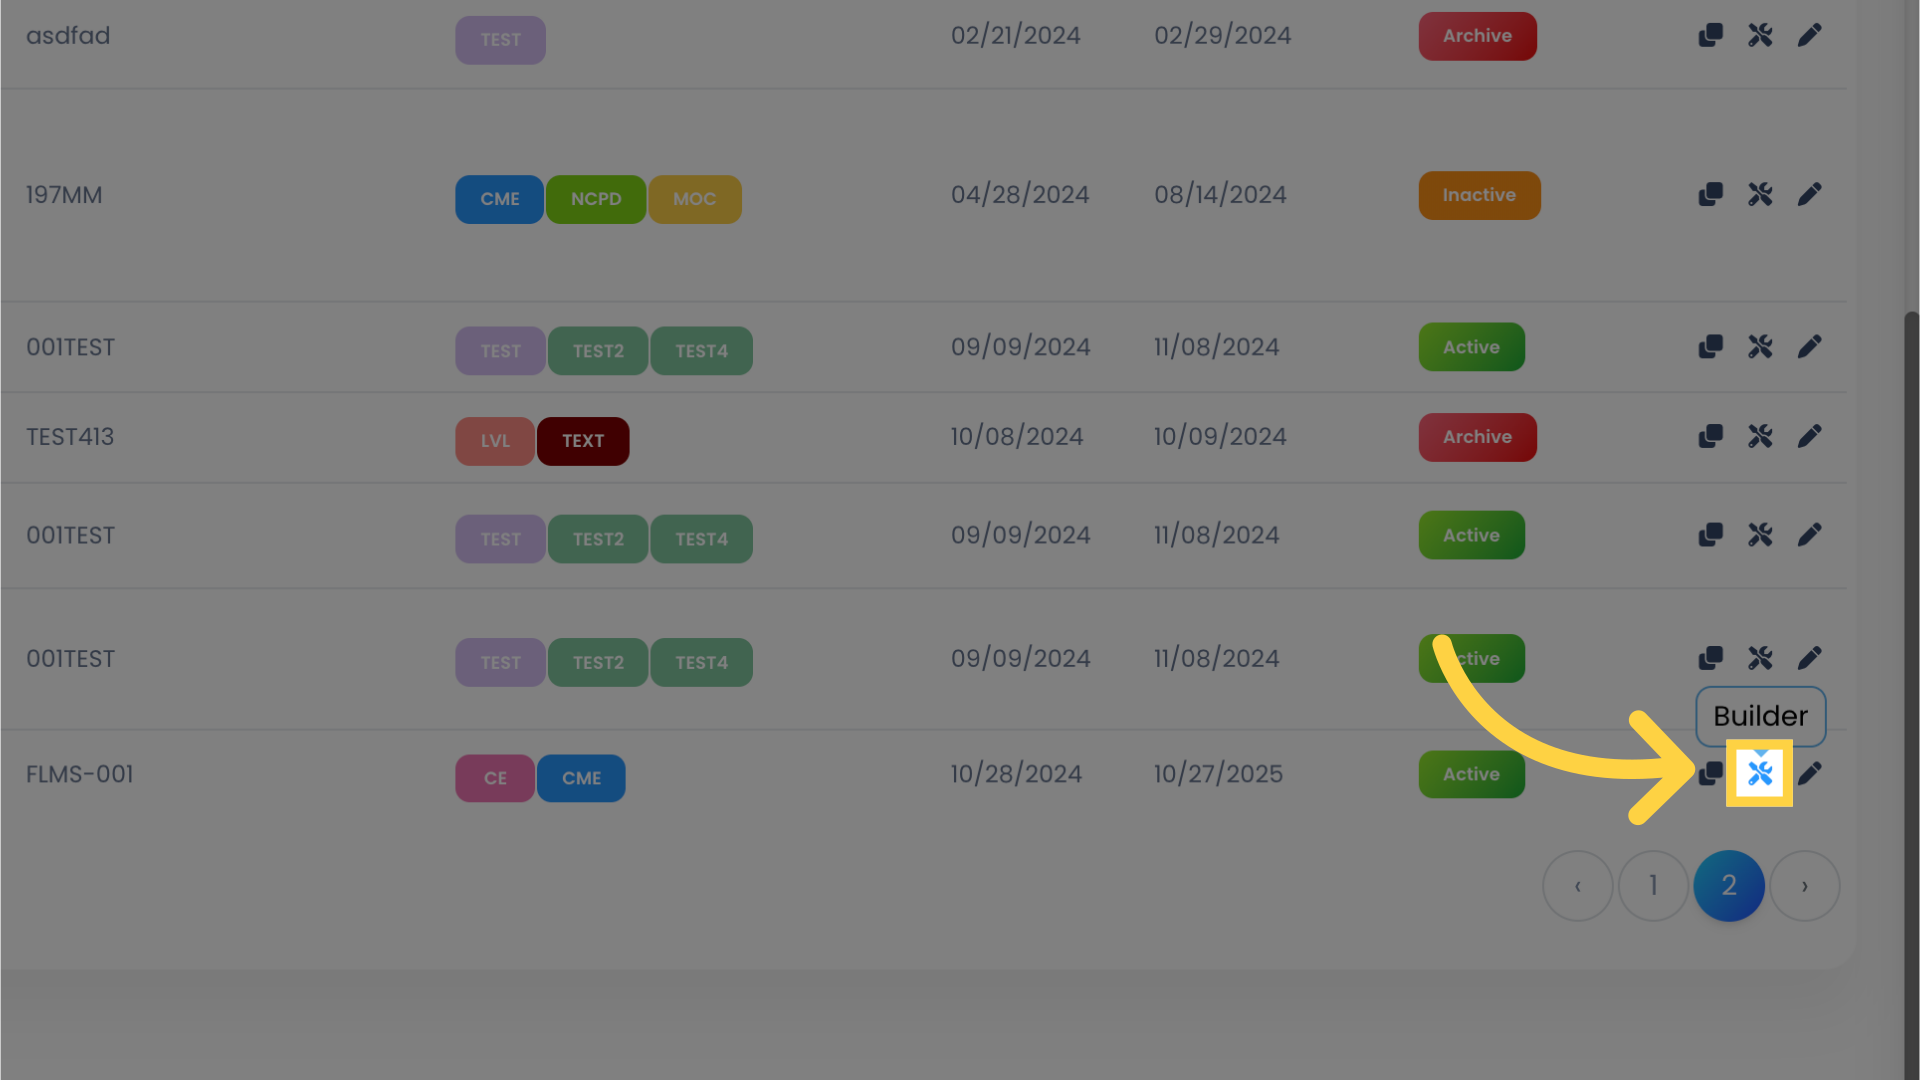
2. Navigate to your Course and click the “Builder” icon.
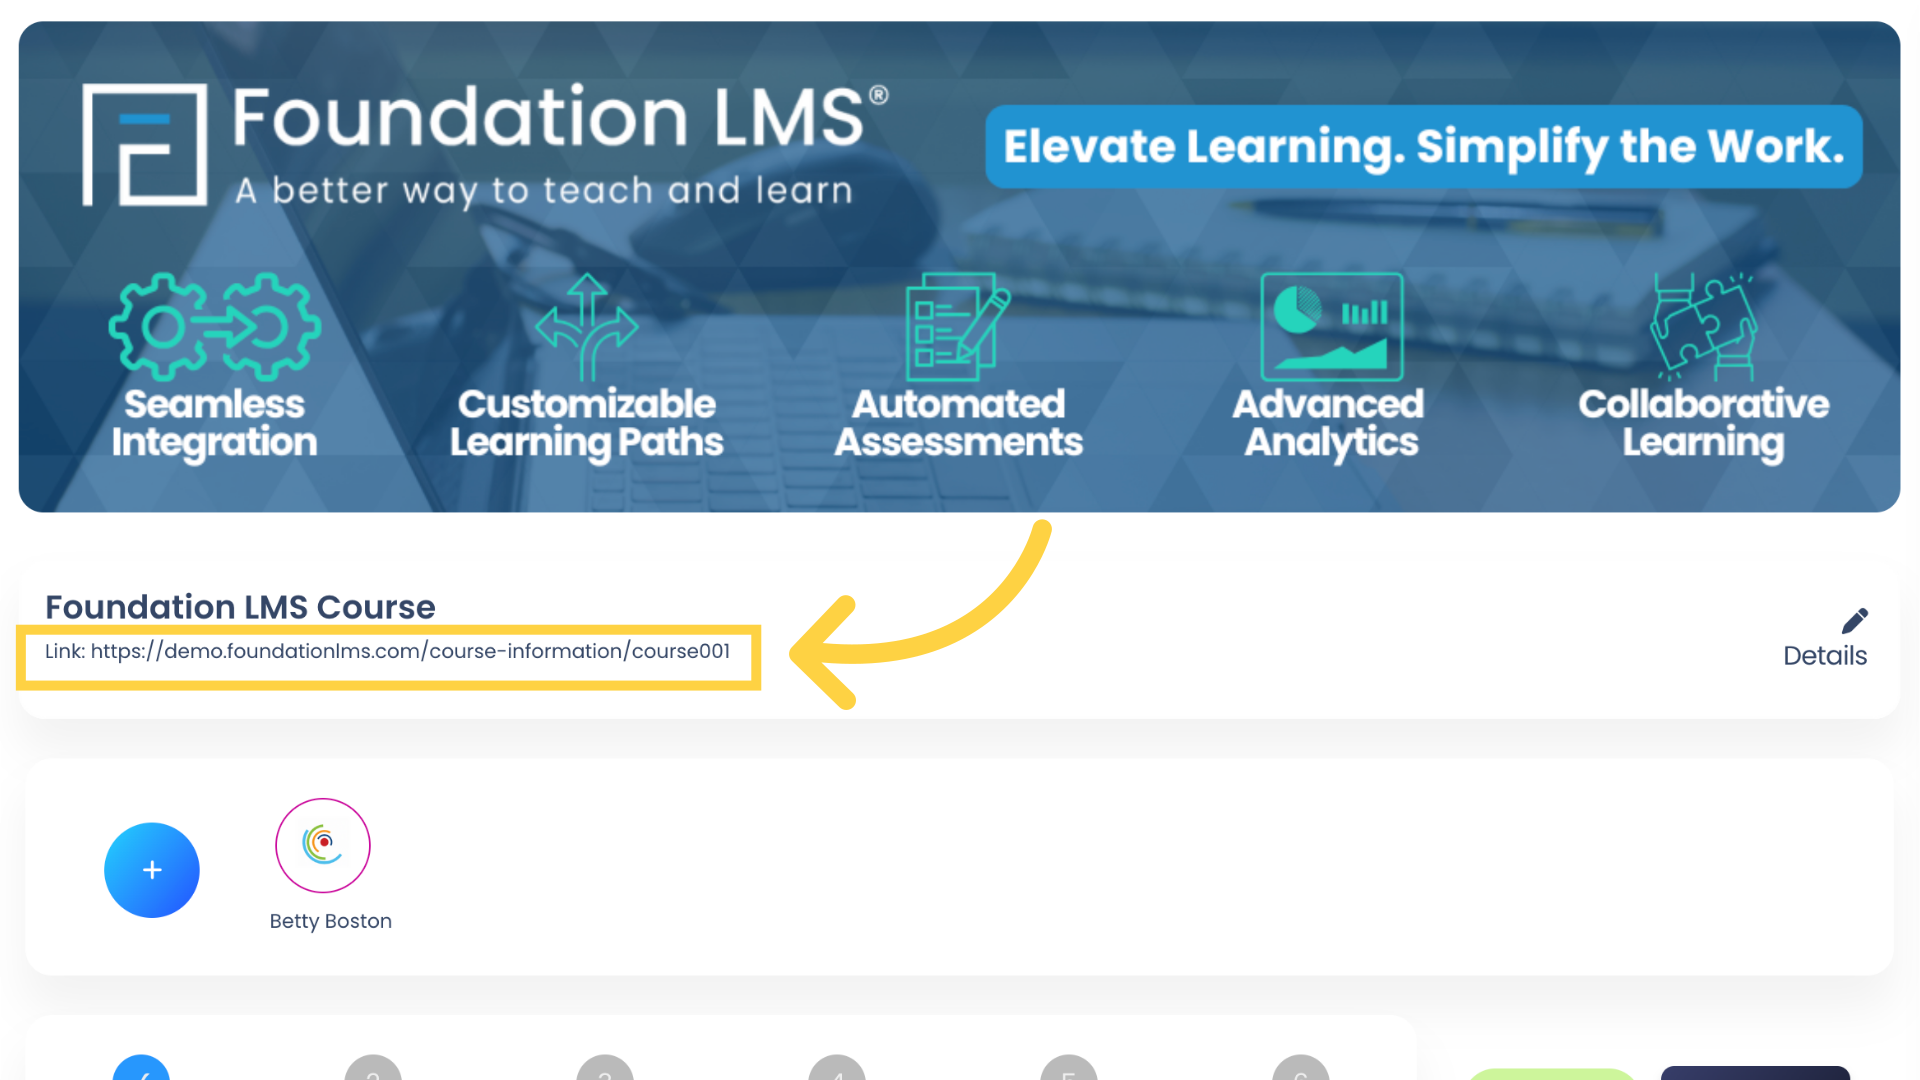
3. The URL for your Course can be found here beneath the Course Title. You can share this link with your Students when your Course is ready to go!
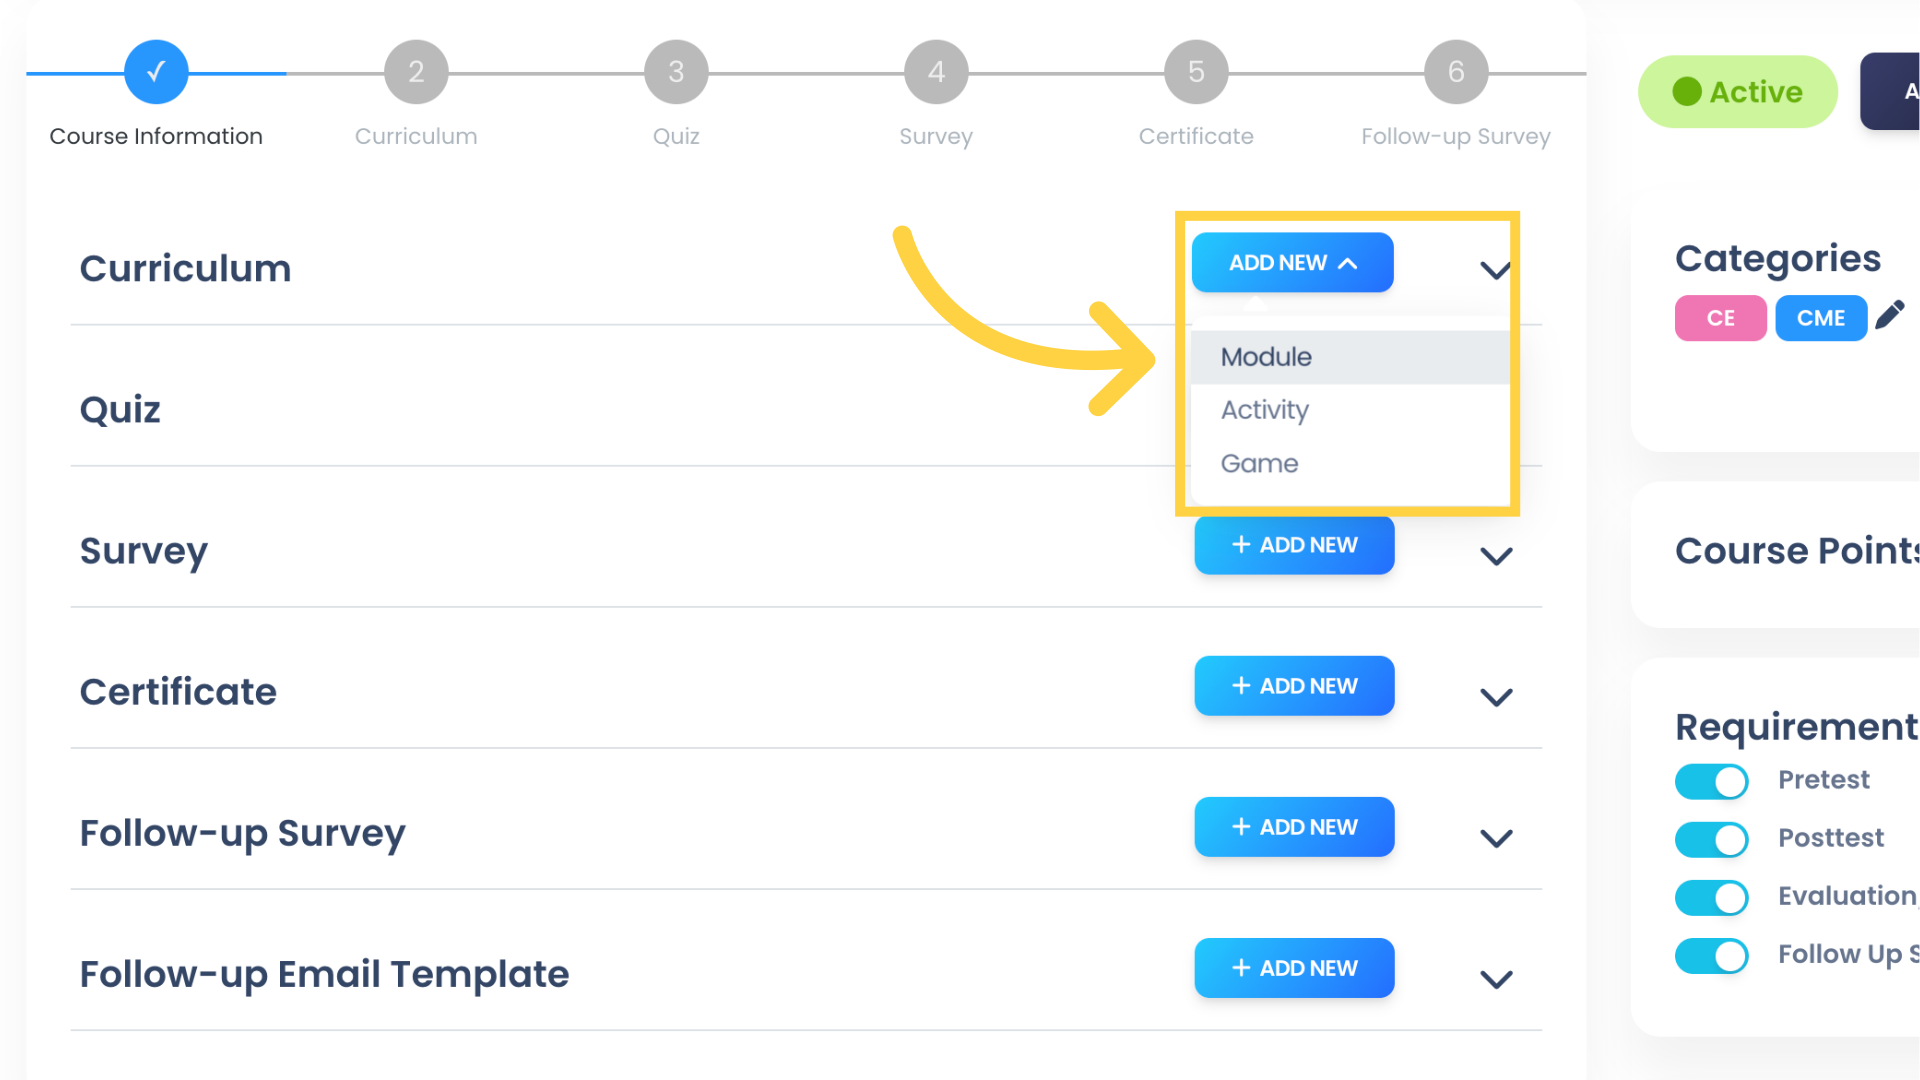
4. Under Curriculum click “ADD NEW”.
There are three options: Module, Activity, and Game.
A Module is used to demonstrate educational content such as text, video, and audio.
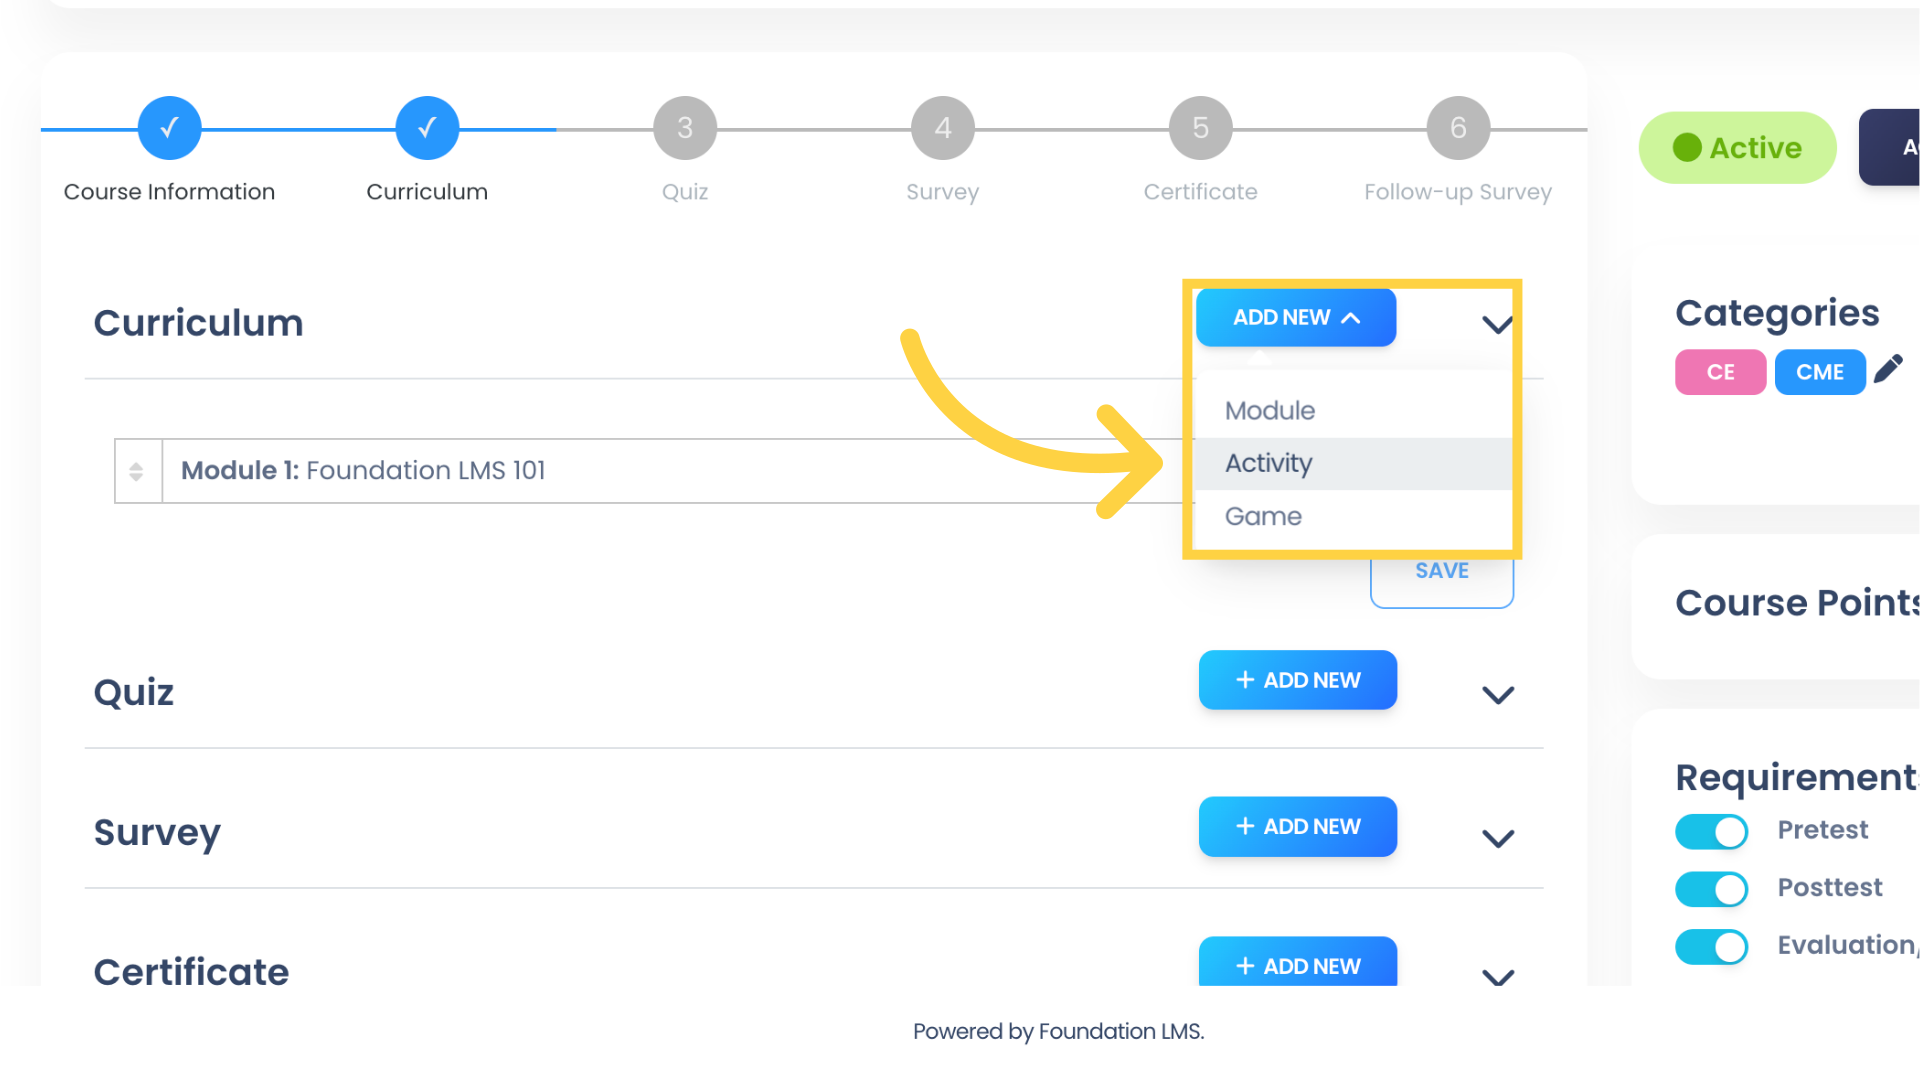
An Activity is a question or set of questions that can be used to test Student knowledge and heighten engagement.
Finally, Game options include matching, card flipping, grouping, and escape room. We’re going to select “Module” to add a Course Module.
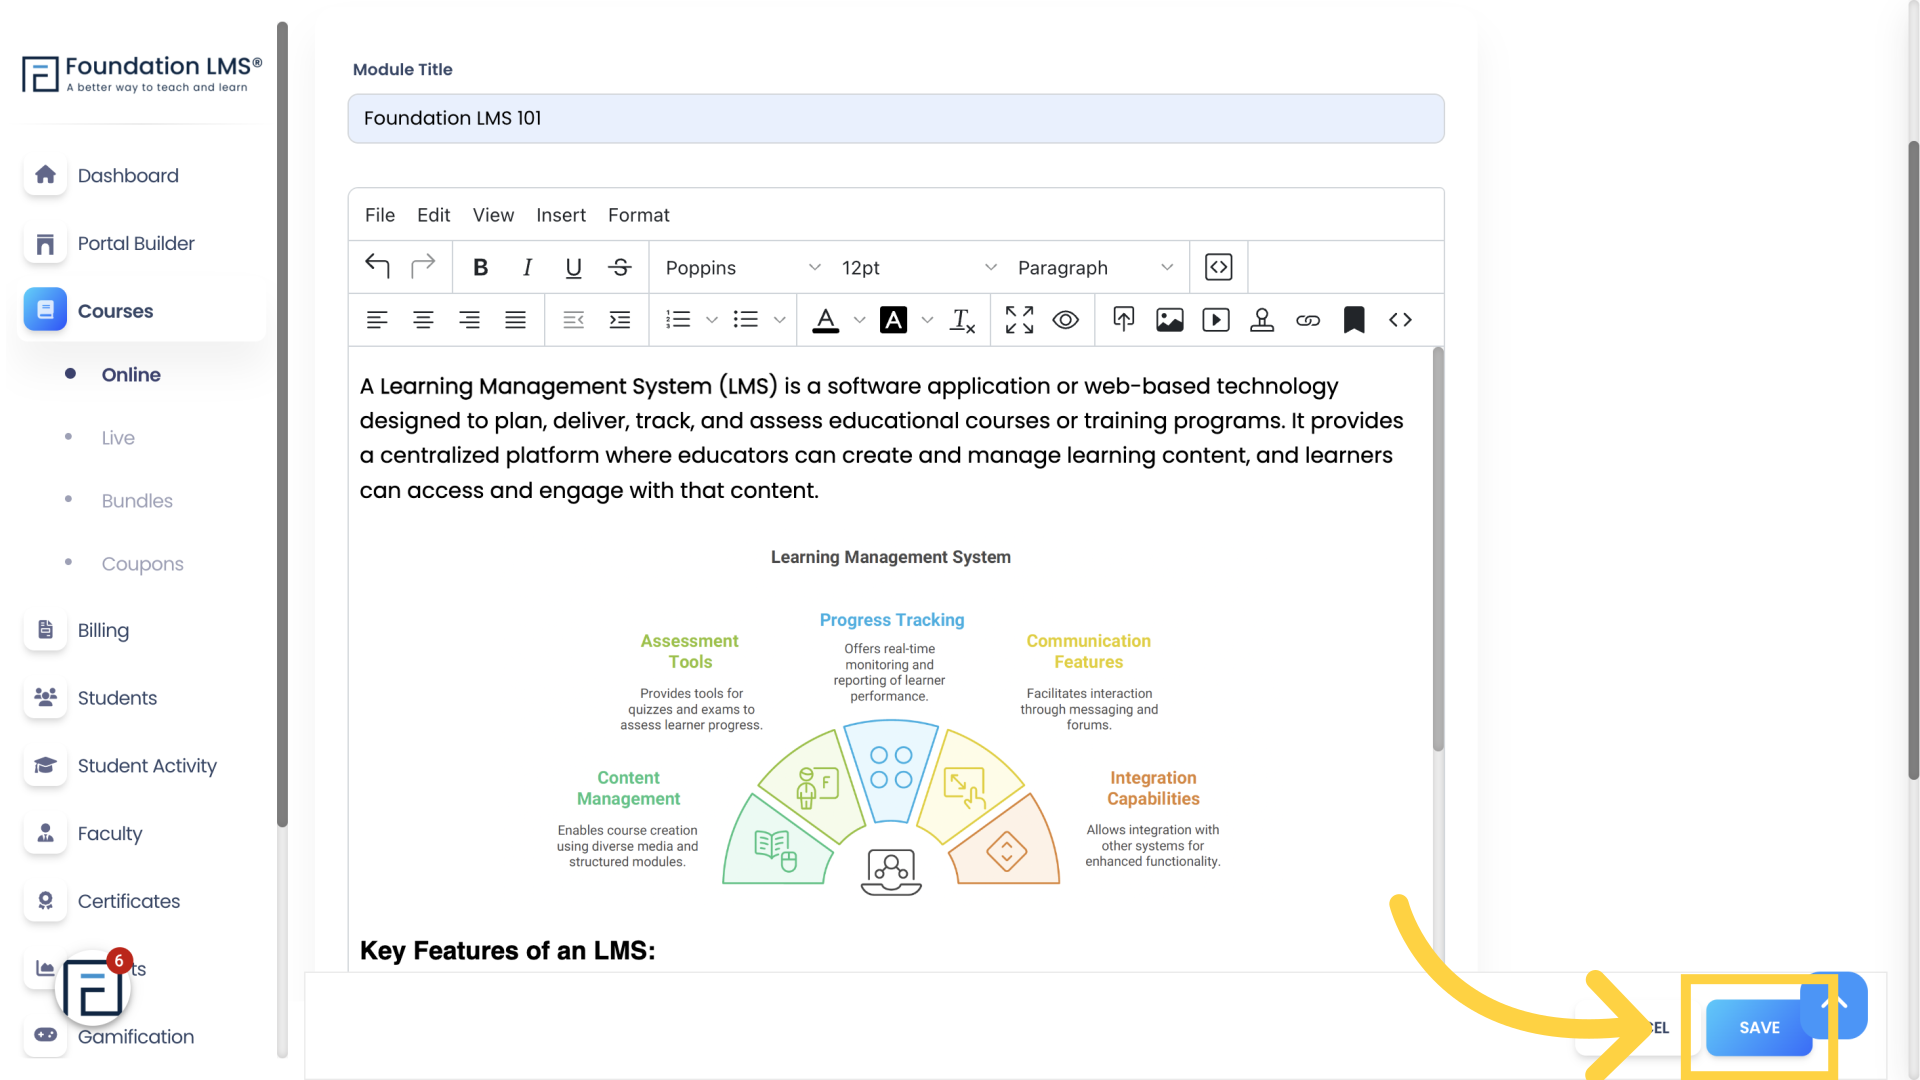
5. Create your Course Module and then click “SAVE”.
(Check out our tutorial on How to Add a Course Module for more details.)
6. Under Curriculum click “ADD NEW” and select “Activity” to add a Course Activity.
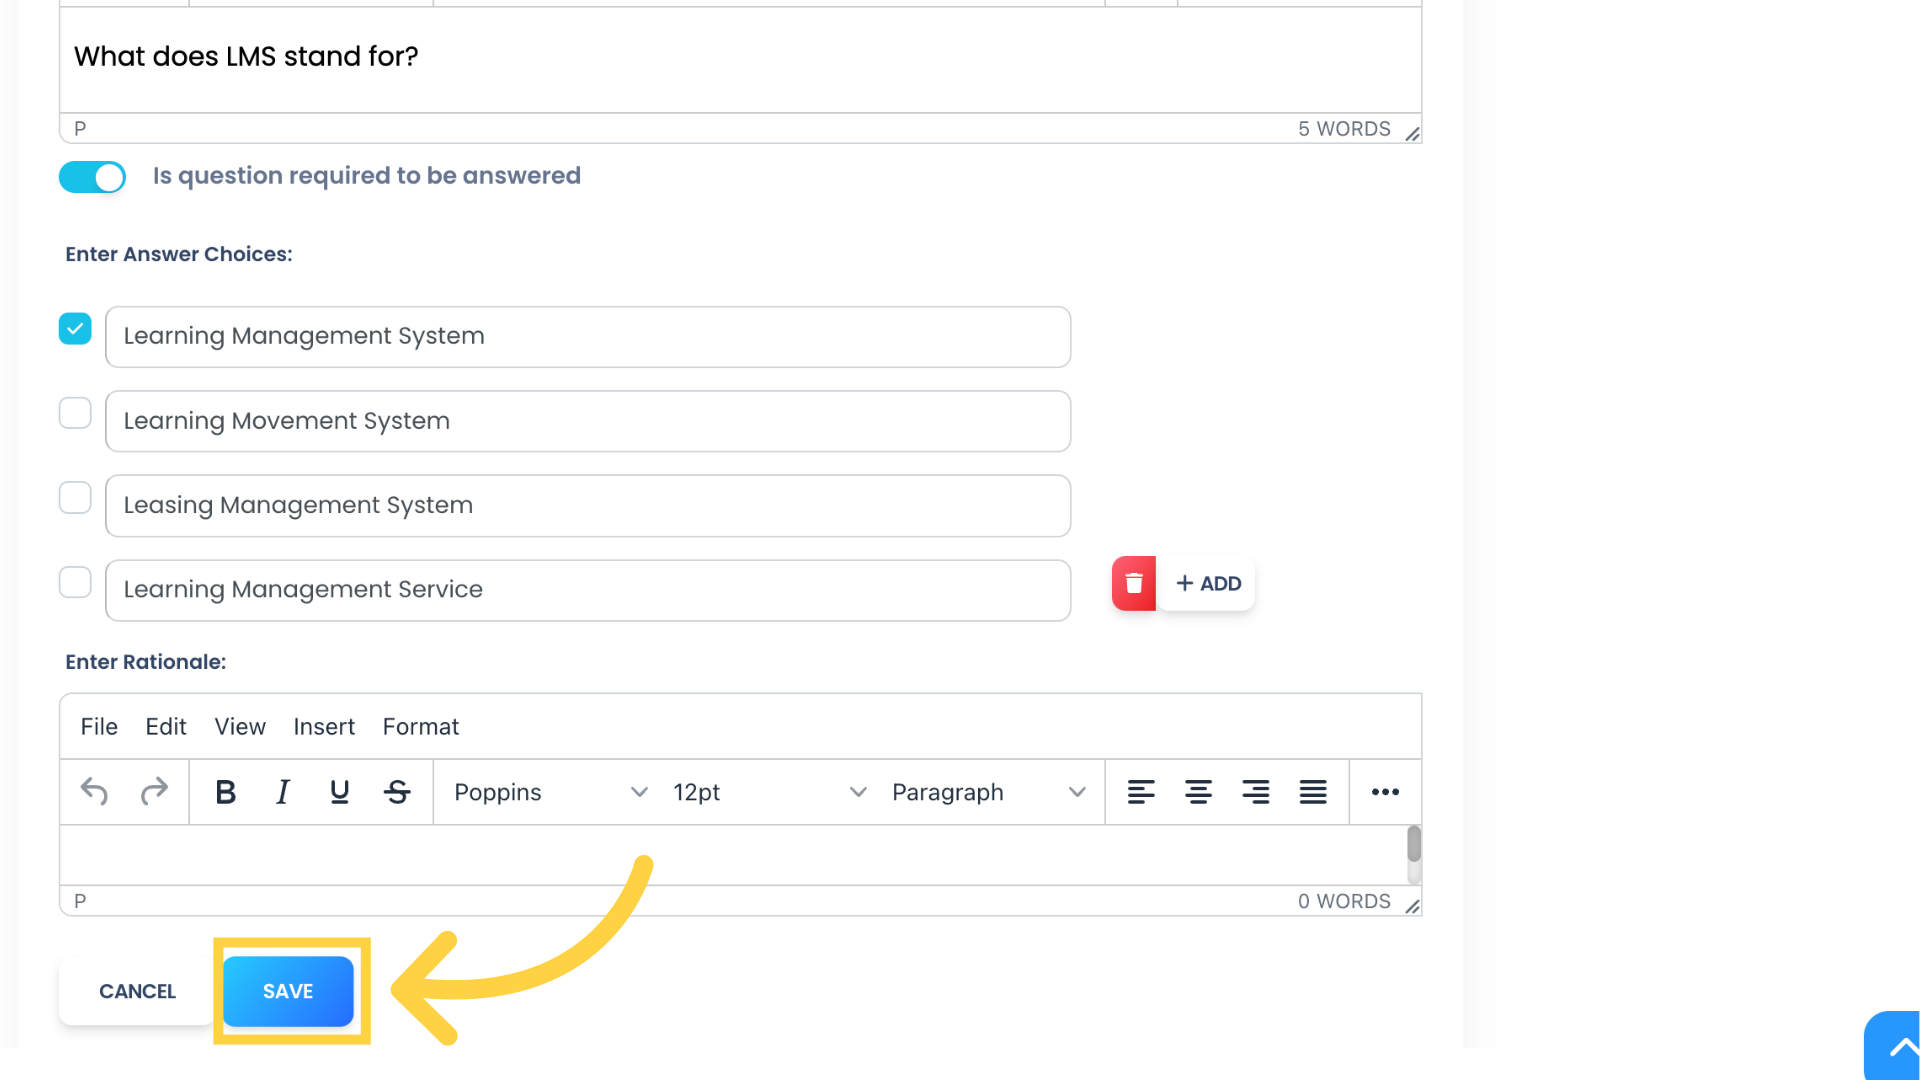
7. Add your Activity Question and then click “SAVE”.
(Check out our tutorial on How to Add a Course Activity for more details.)
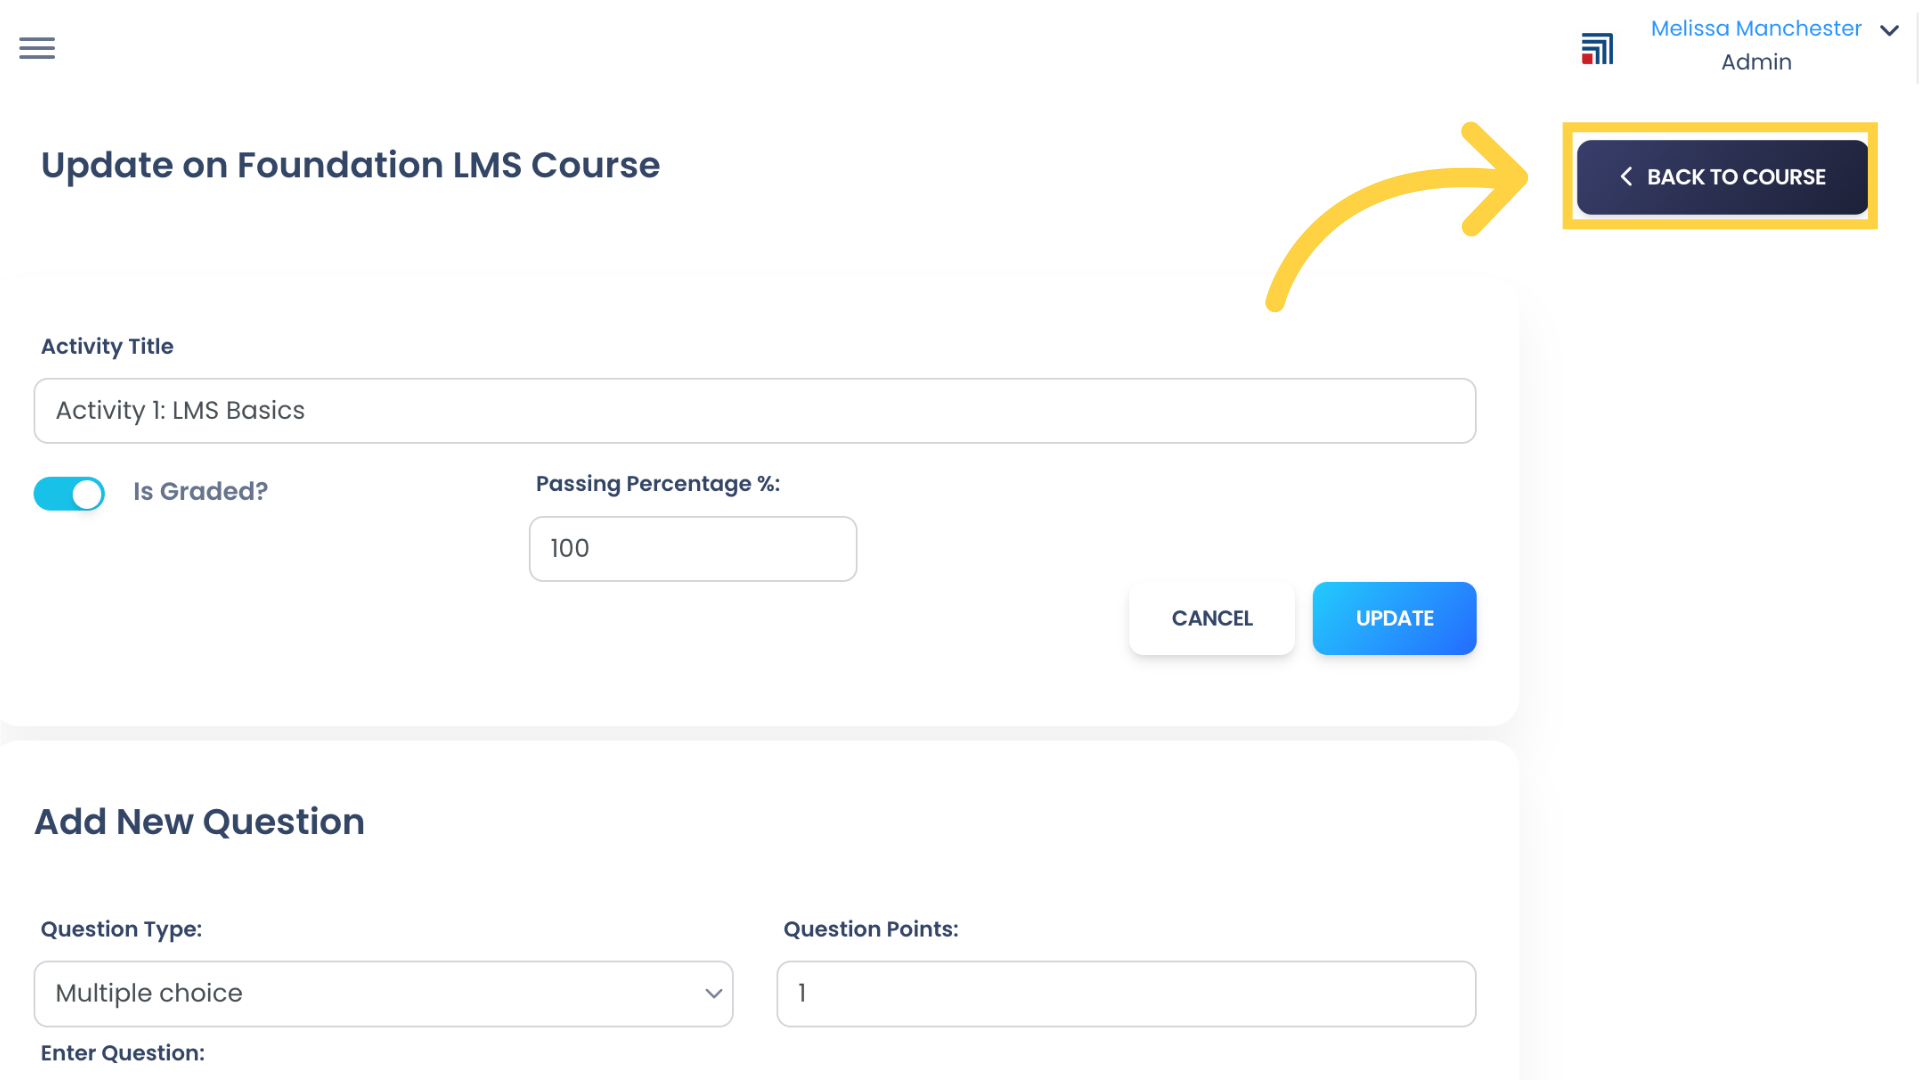
8. Once you have saved all your Activity Questions, scroll to the top and click “BACK TO COURSE”.
9. Under Curriculum, click “ADD NEW” and select “Game” to add a Course Game.

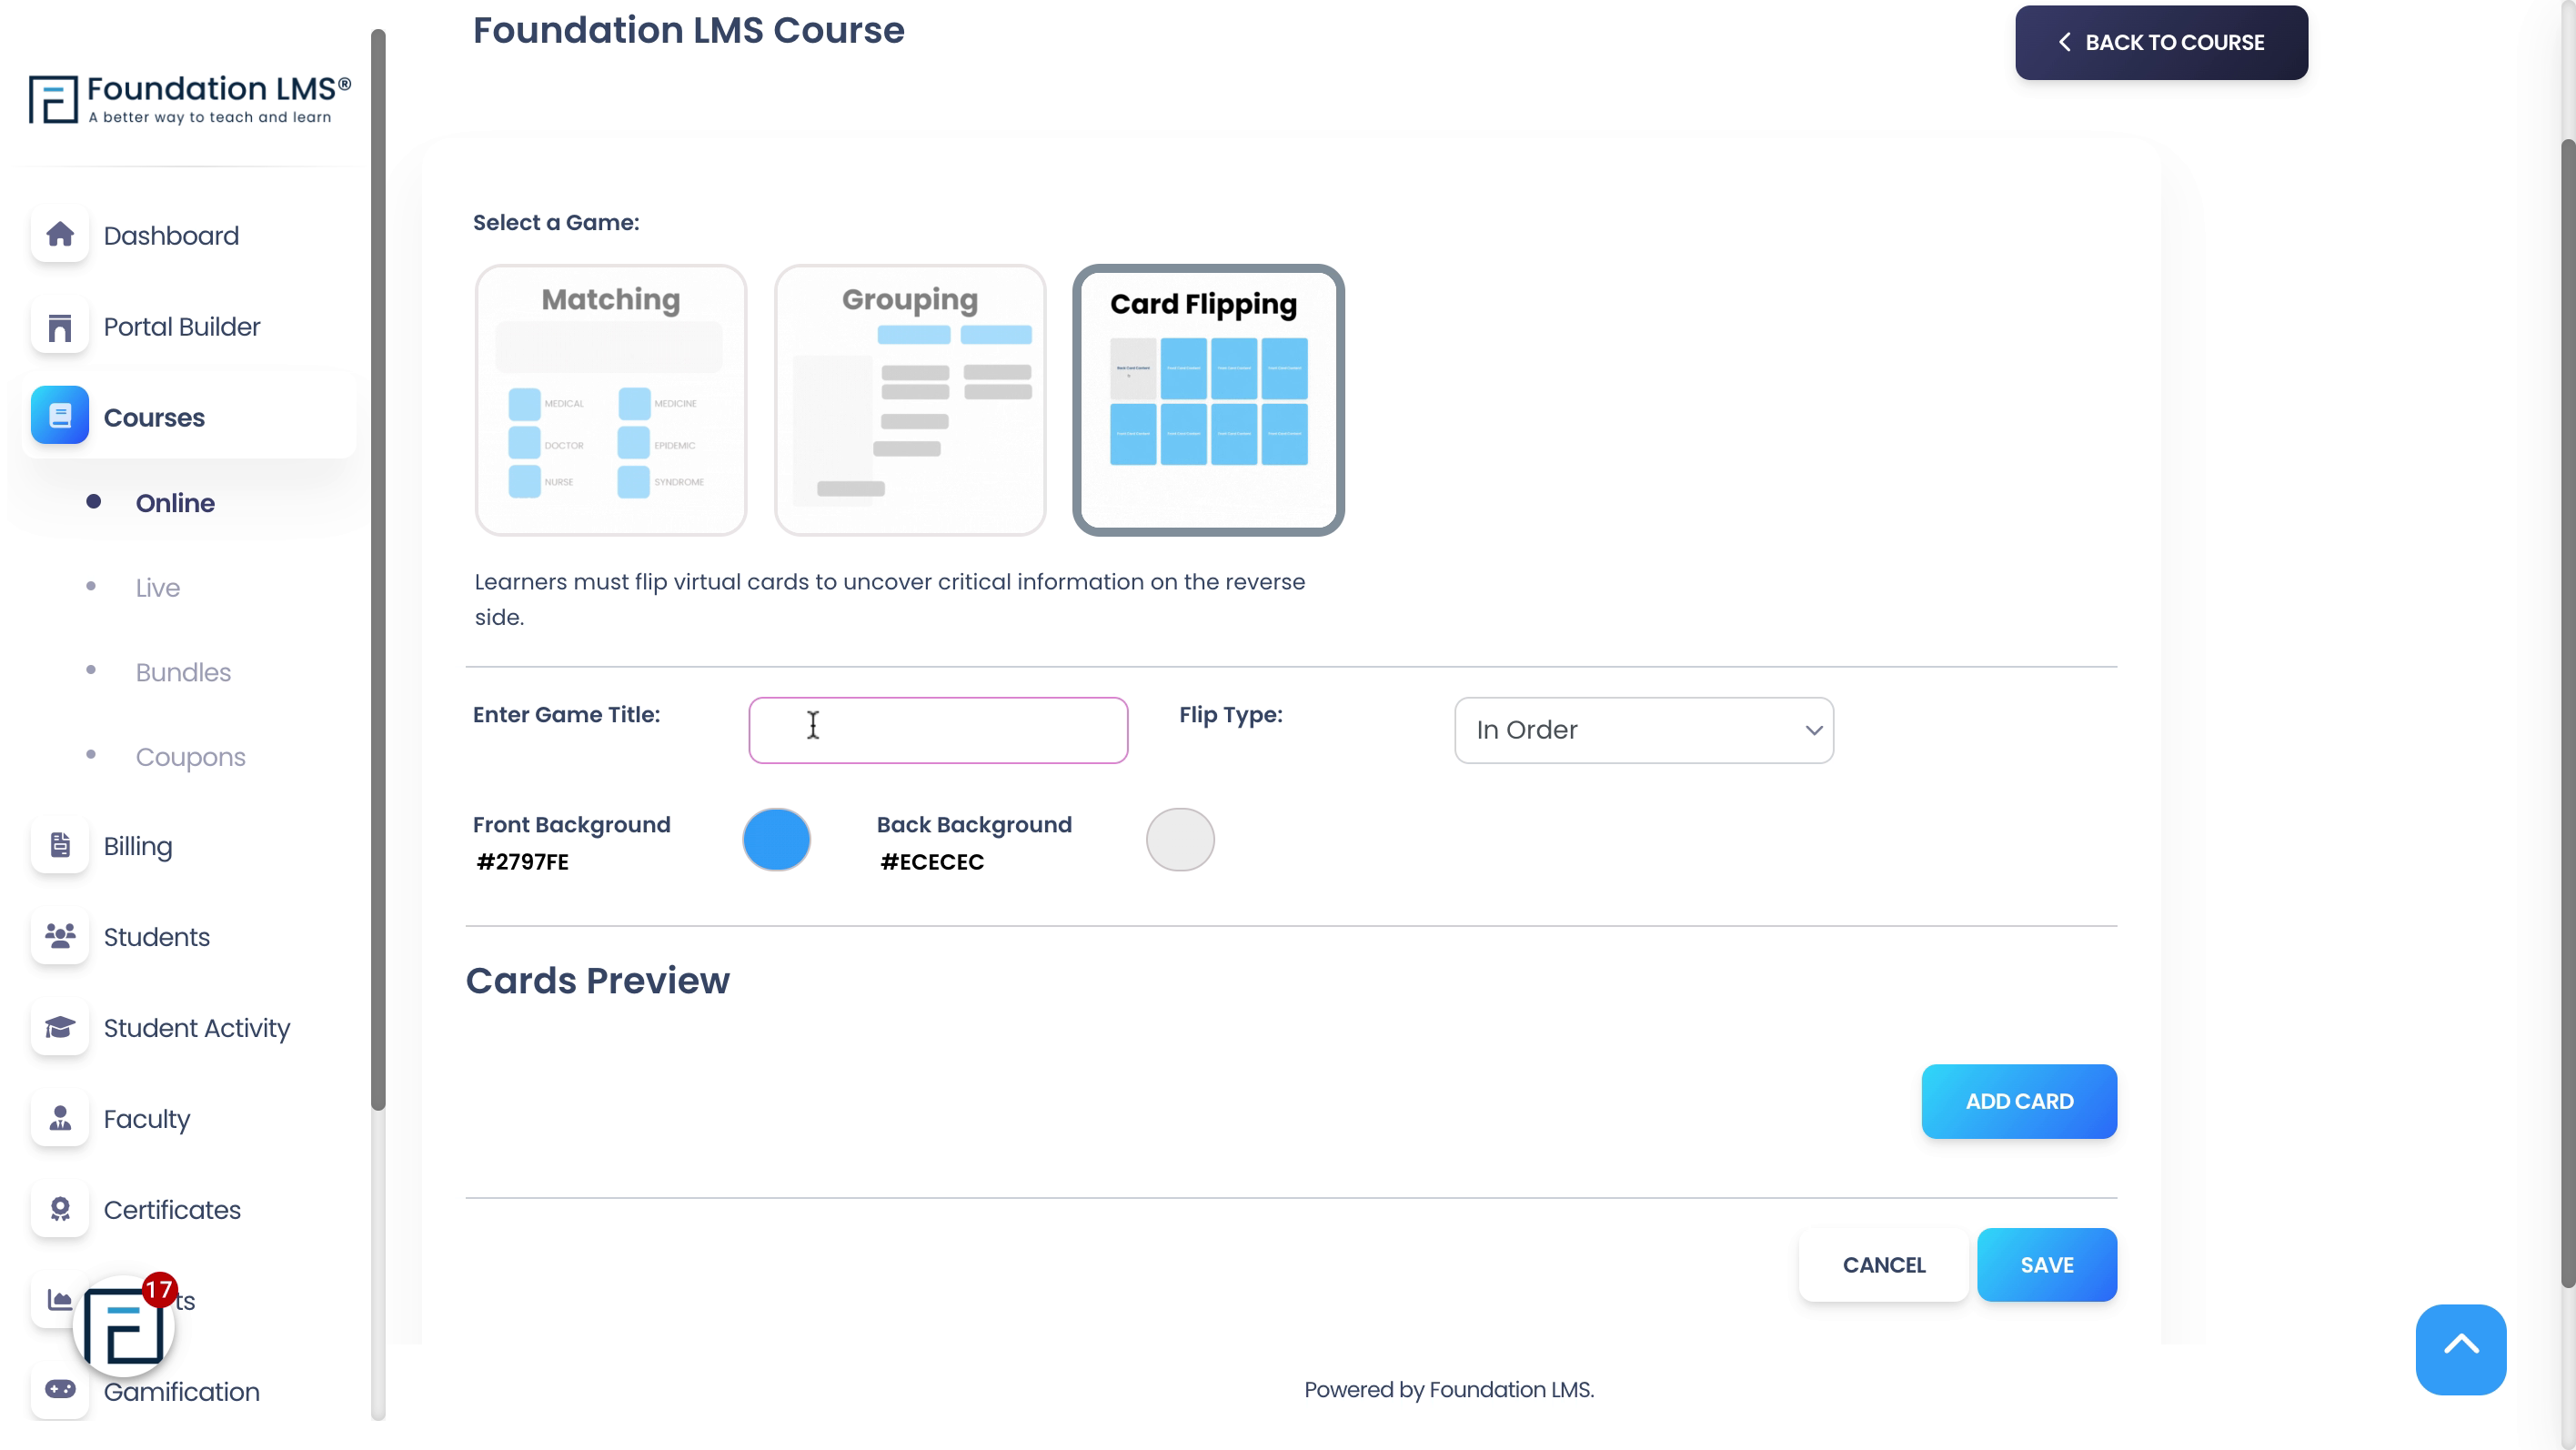
10. Here you create a Matching, Card Flipping, or Grouping Game. Then click “SAVE”.
(Check out our tutorials on how to add Games for more details: Create a Grouping Game ; Create a Matching Game ; Create a Card Flipping Game )
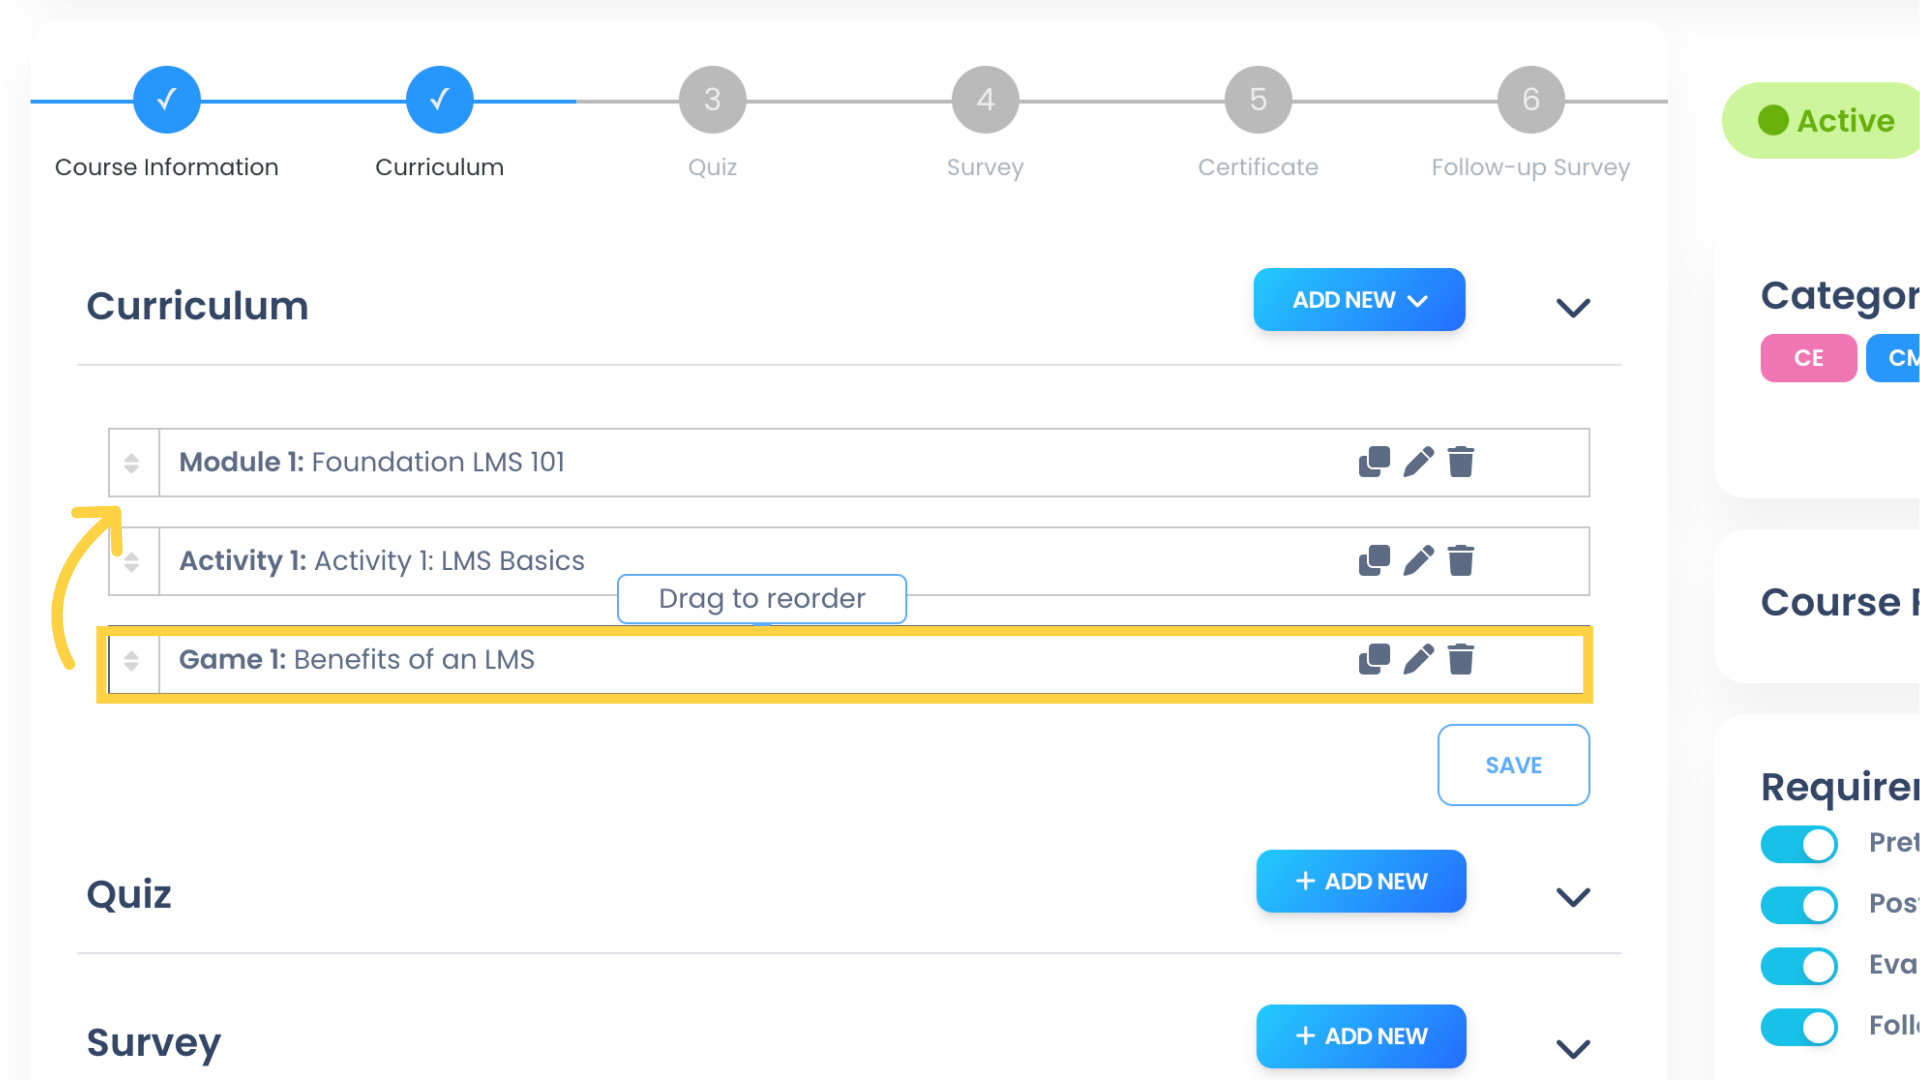
11. Students will move through the Course Curriculum in the order displayed here. You can drag and drop your Curriculum items to change the sequence.
Students will move through the Course Curriculum in the order displayed here. You can drag and drop your Curriculum items to change the sequence.
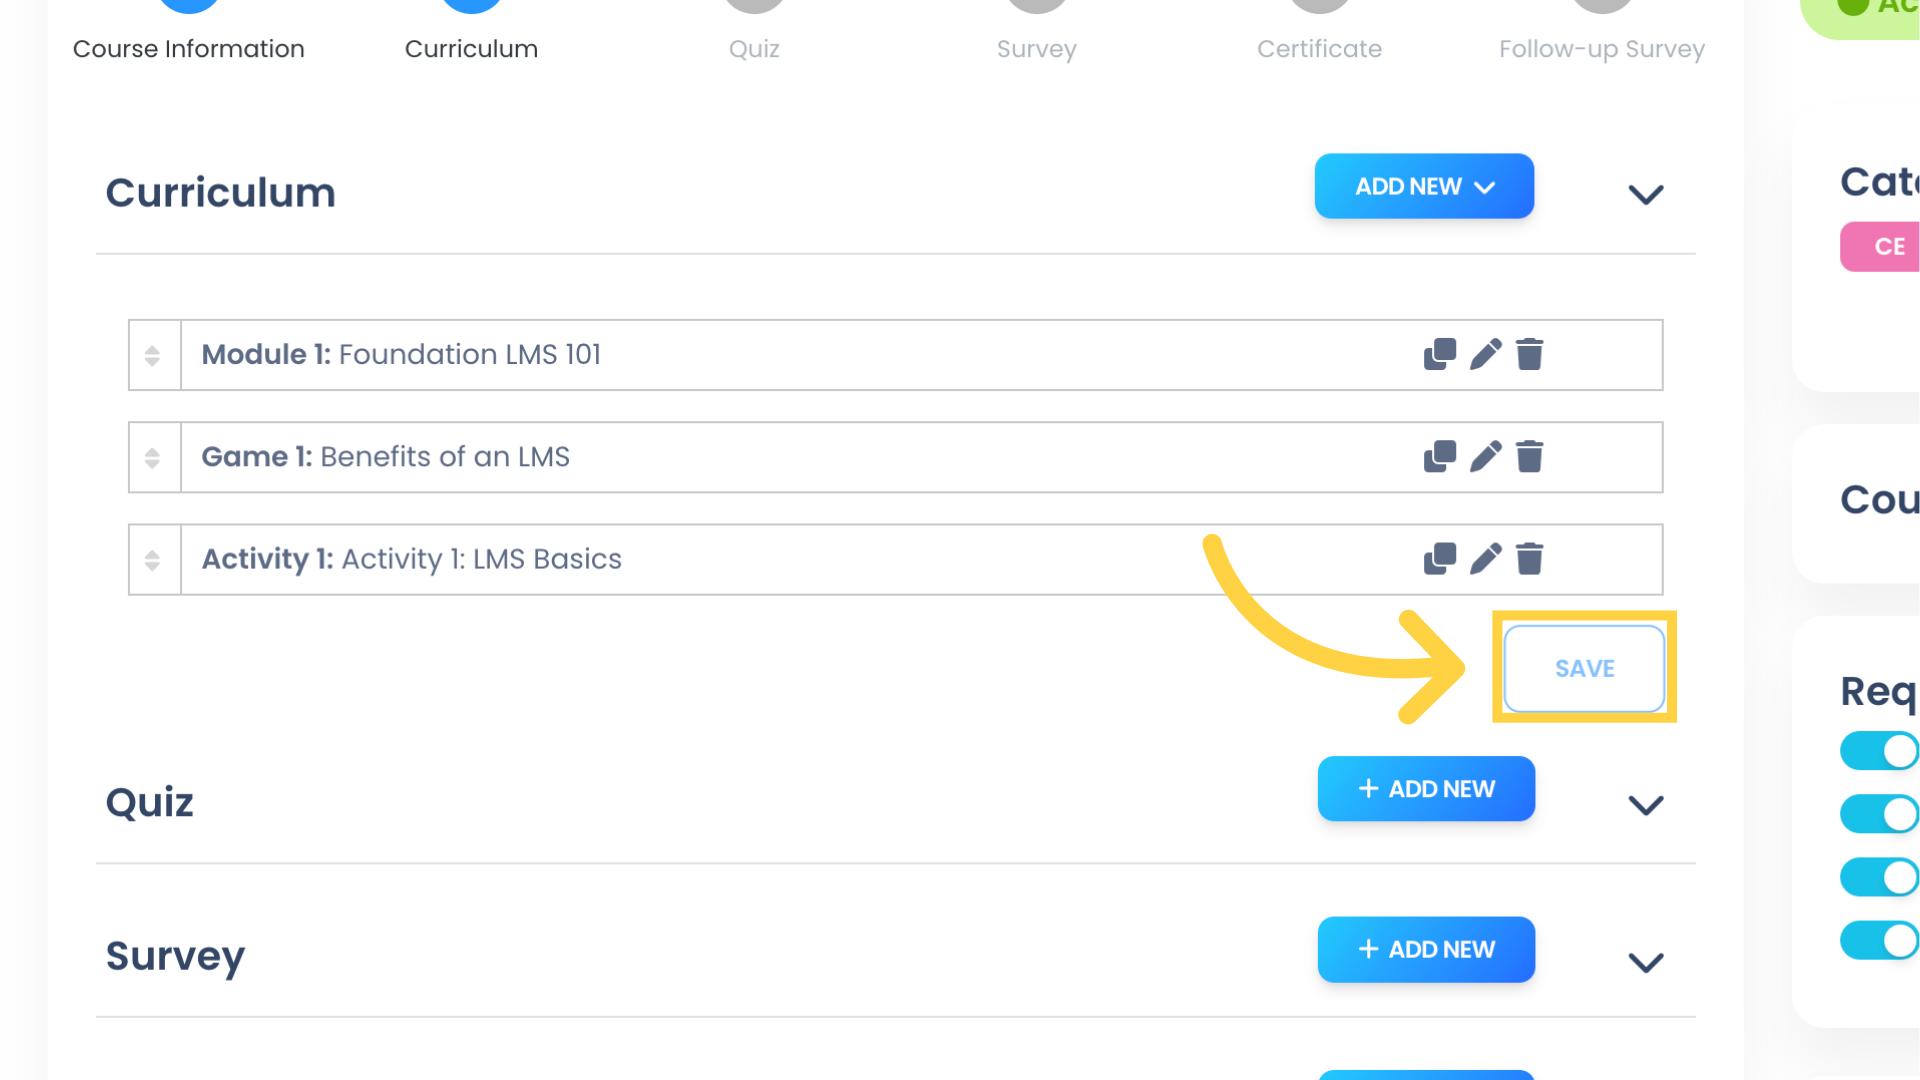
12. Be sure to click “SAVE” to save the new Curriculum sequence.
13. Under Quiz, click “ADD NEW” to add a Course Quiz. If you do not see a Quiz option here, ensure that the Pretest and/or Posttest are enabled in the Requirements section.

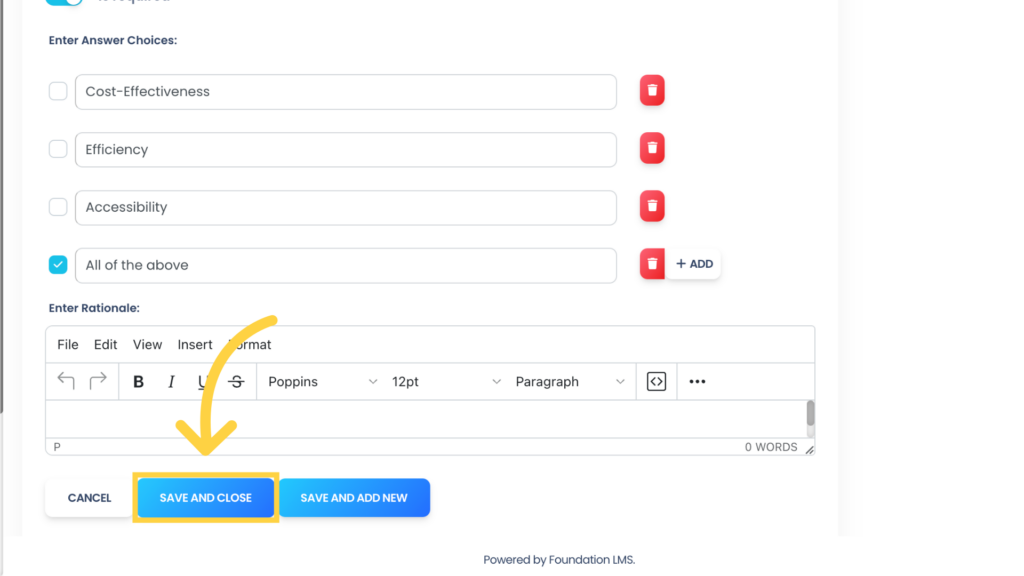
14. Once you have added all your Quiz Questions, click “SAVE AND CLOSE”.
(Check out our tutorial on How to Add a Course Quiz for more details.)
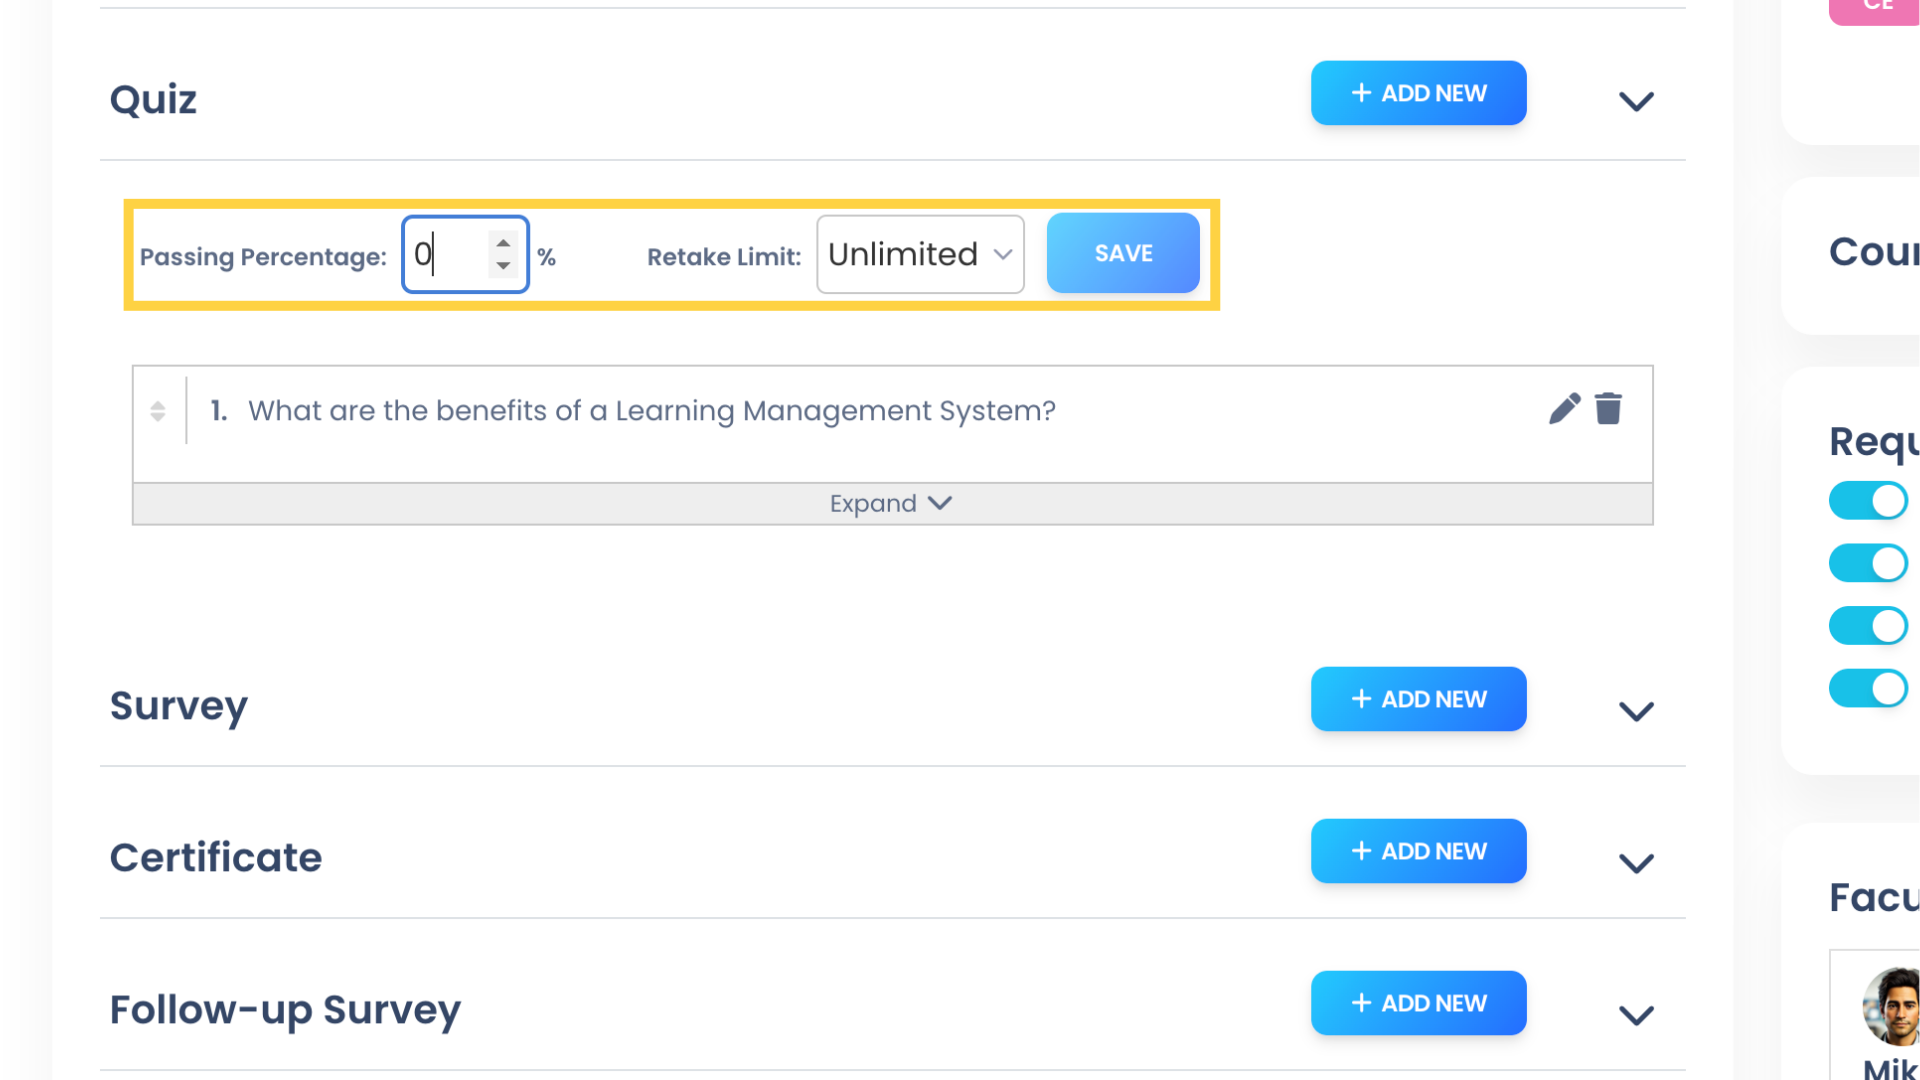
15. Set the Passing Percentage and Retake Limit for the Posttest. Then click “SAVE”
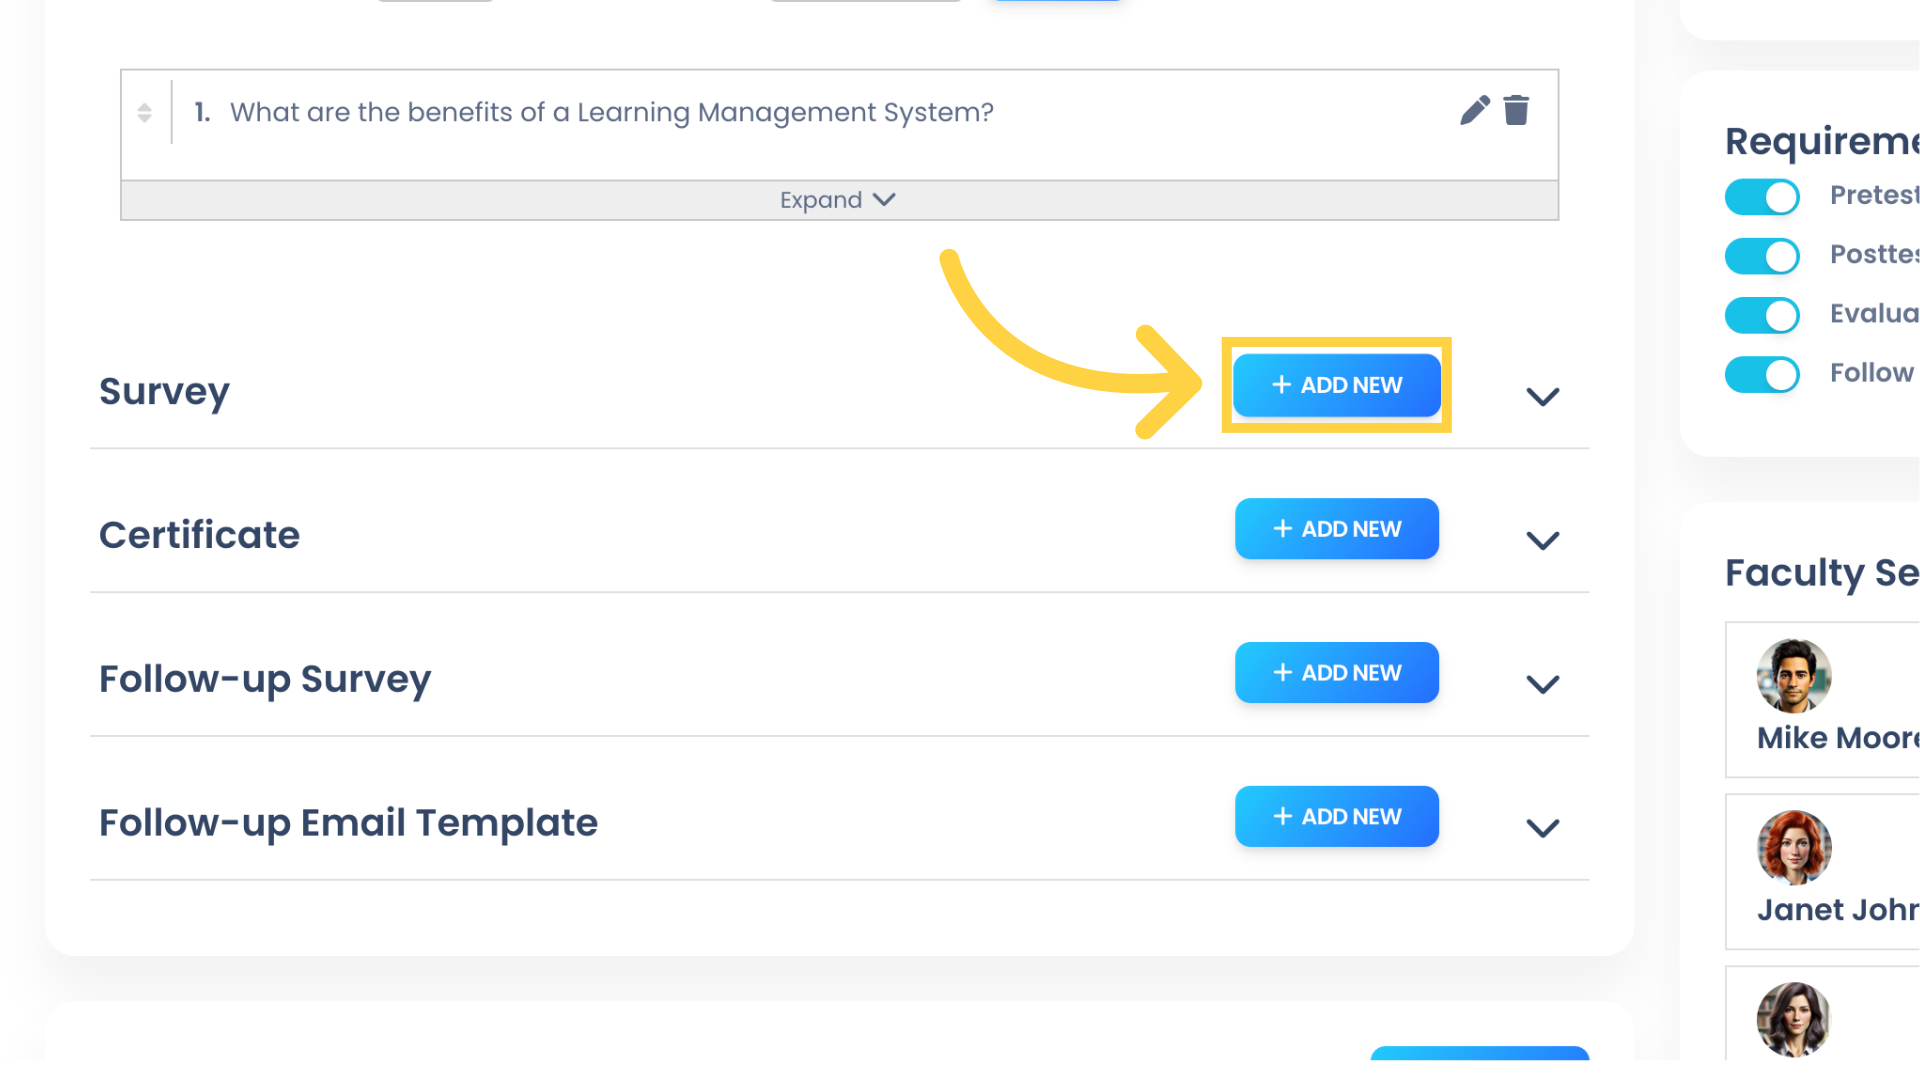
16. Under Survey, click “ADD NEW” to add a Course Survey, which can include multiple choice Questions, open-ended Questions, and rating scales. If you do not see a Survey option here, ensure that the Evaluation/Survey is enabled in the Requirements section.
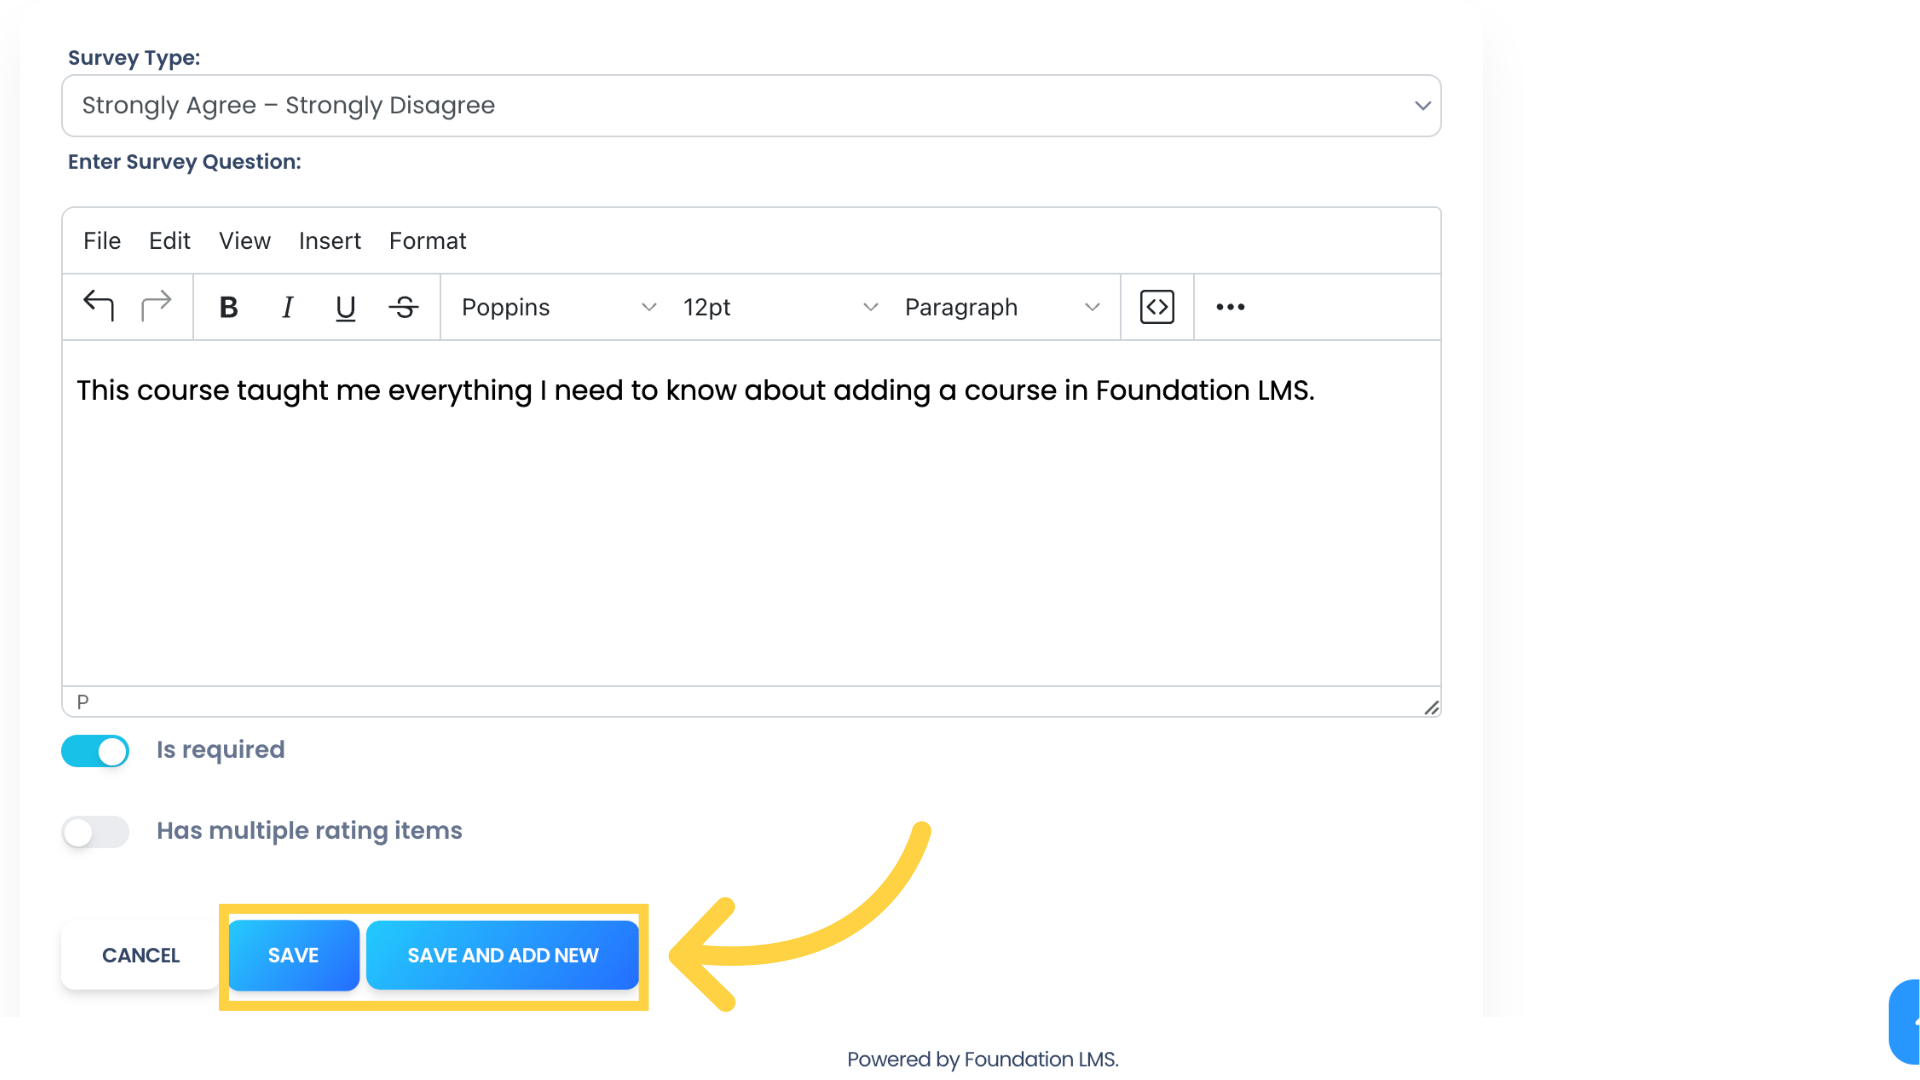
17. Add your Survey Question and then click “SAVE AND ADD NEW” to add more Questions, or click “SAVE” to save the current Question and return to the Course Builder.
(Check out our tutorial on How to Add a Course Survey for more details.)
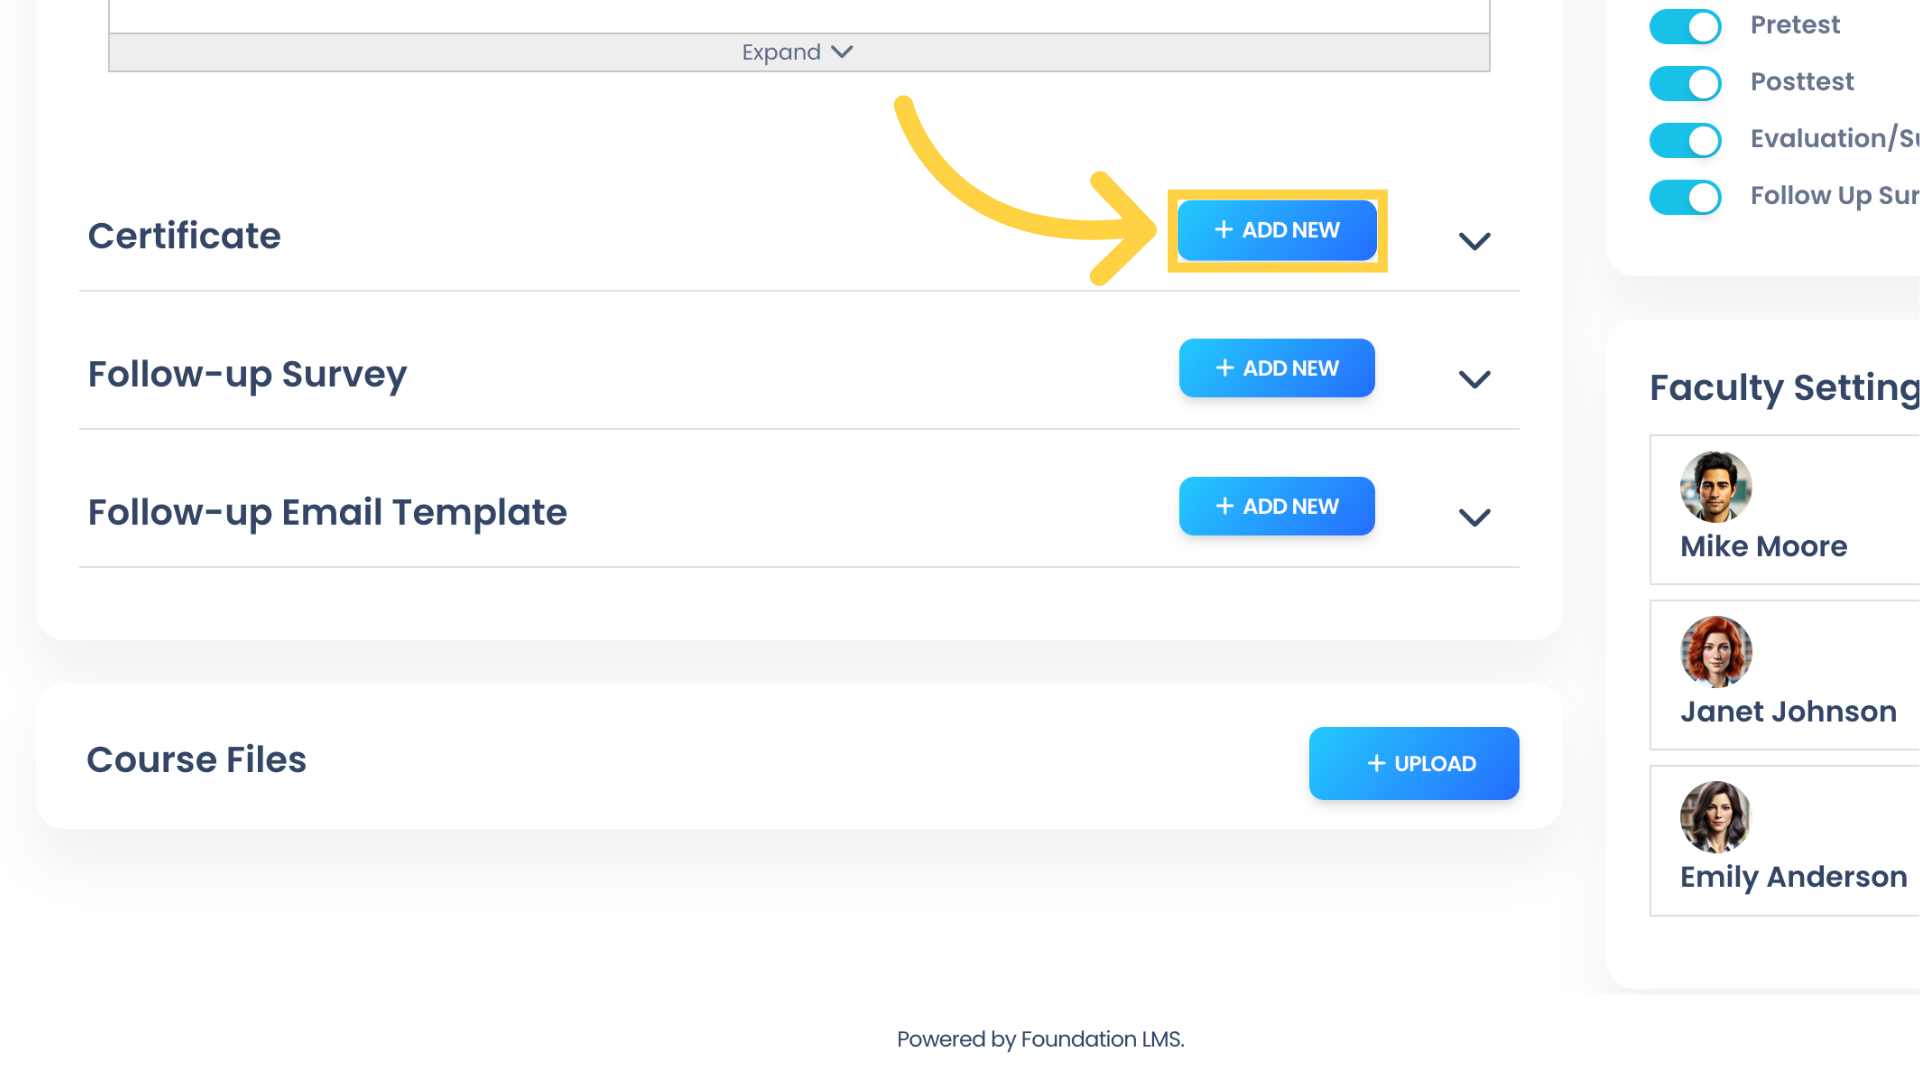
18. Under Certificate click “ADD NEW” to assign Certificates to your Course. Certificates are created in the Certificate Builder, and can be configured to automatically generate the Student’s name, Course Title, and the date on which the Course was completed.
(Check out our tutorial on the Certificate Builder.)
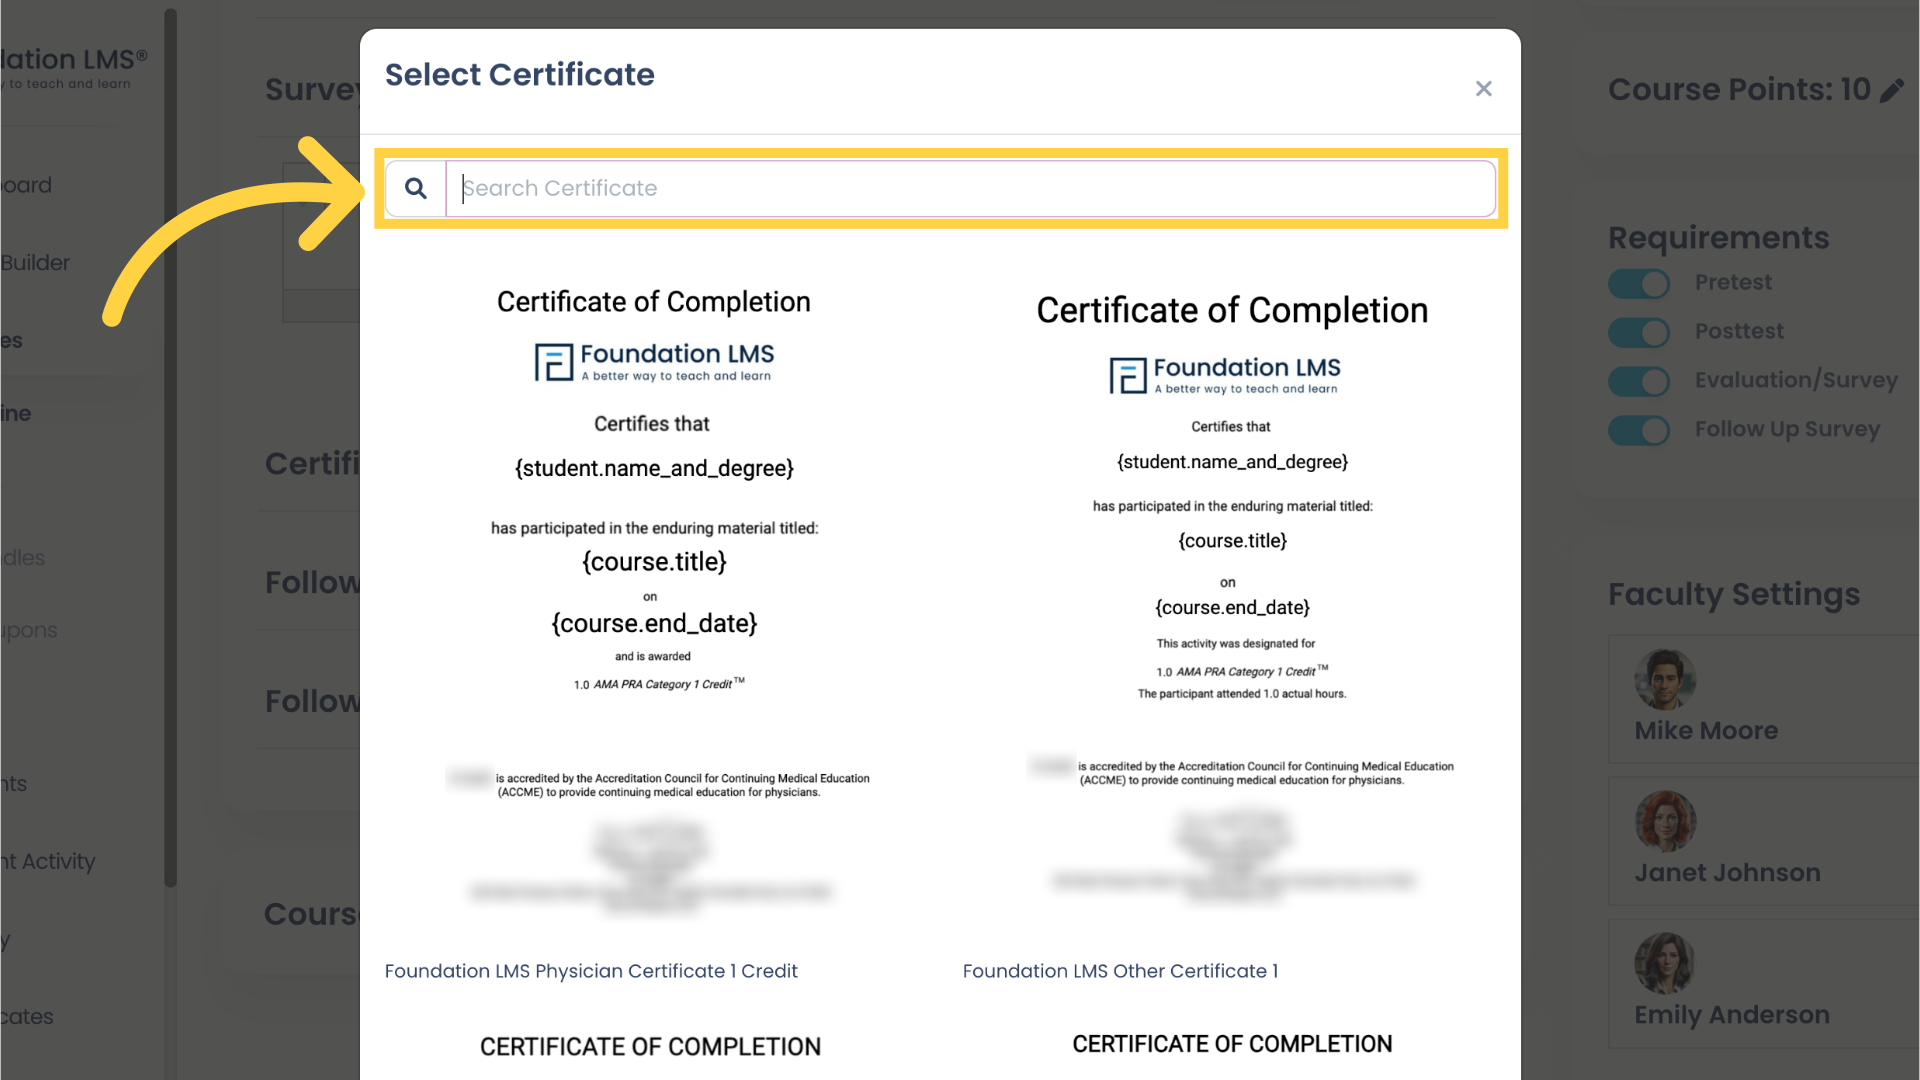
19. You can use the Search field to filter the list of Certificates.
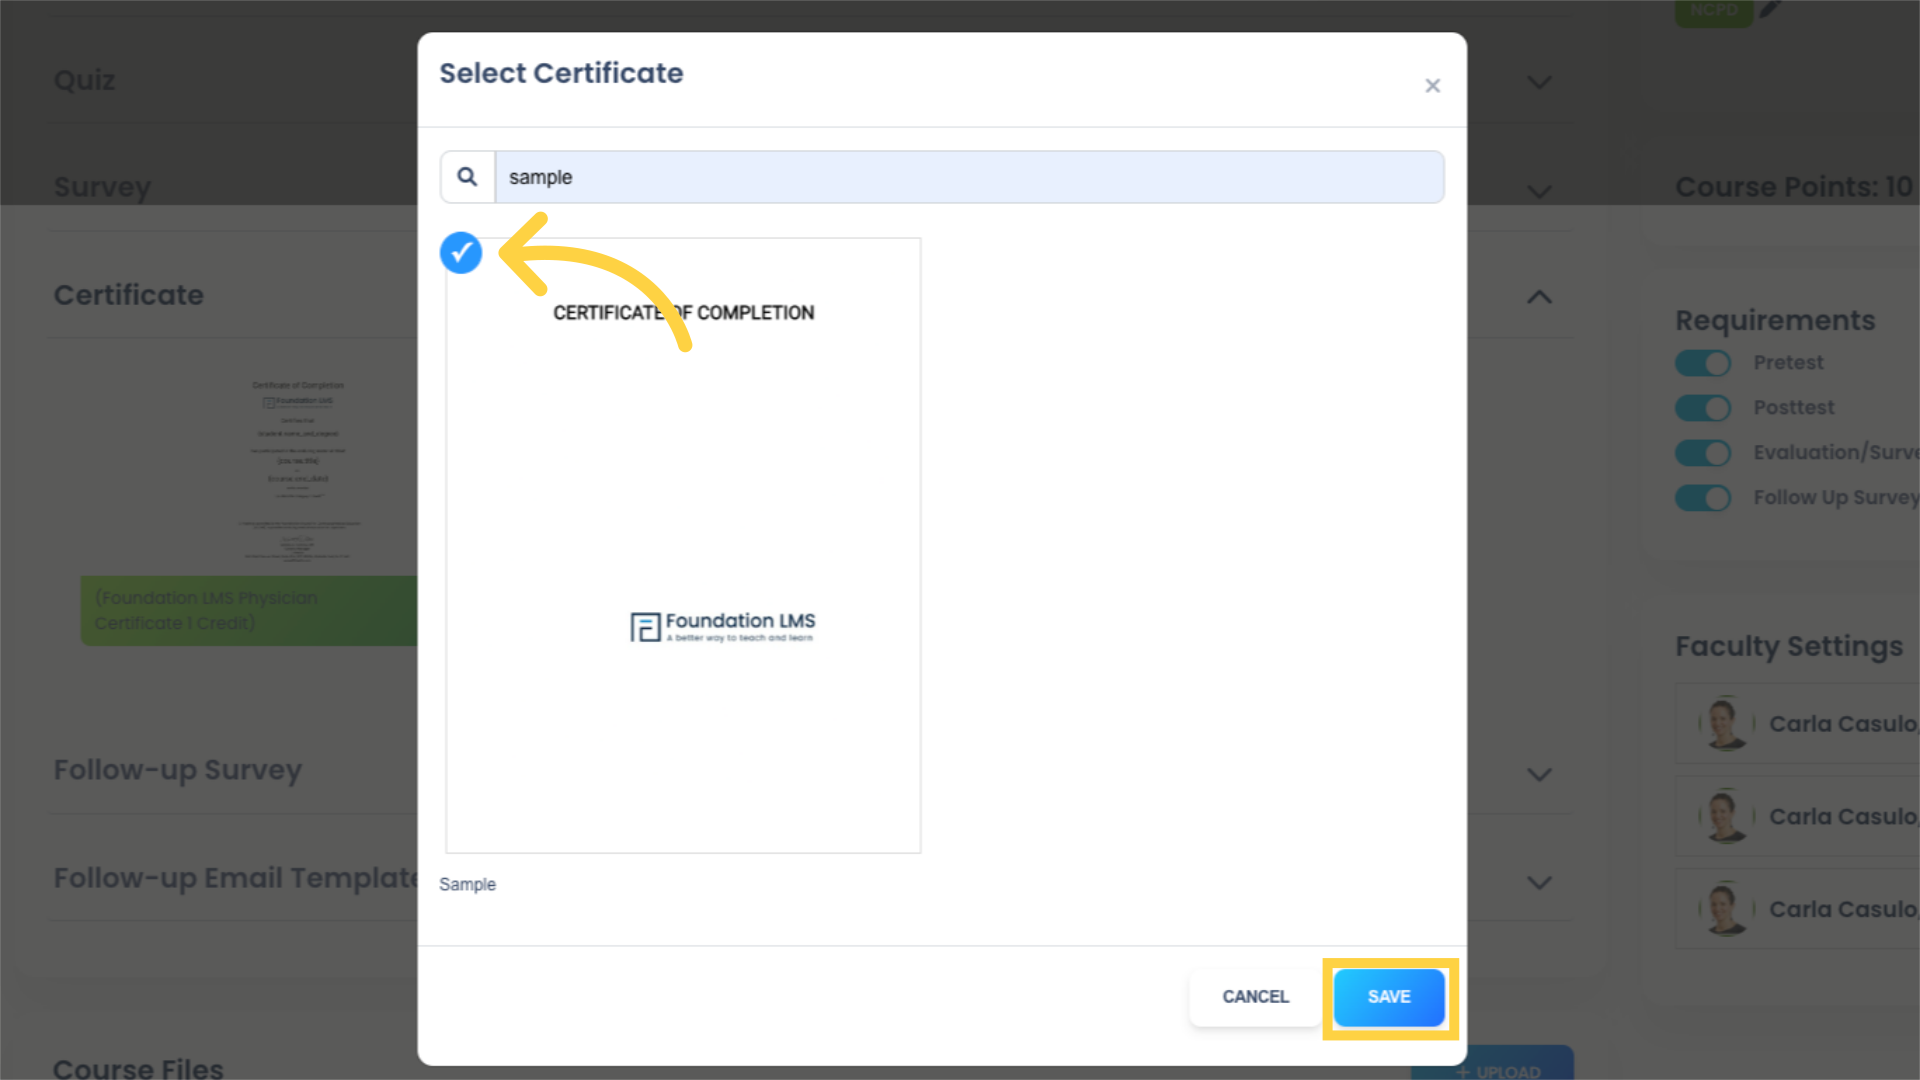
20. You can select multiple Certificates, if, for example, you are providing multiple accreditation types which require specific Certificate language. Click anywhere on the Certificate to select it. (Selected Certificates are indicated by a blue checkmark icon in the top left corner.) Then click “SAVE” to apply the selected Certificates to your Course.
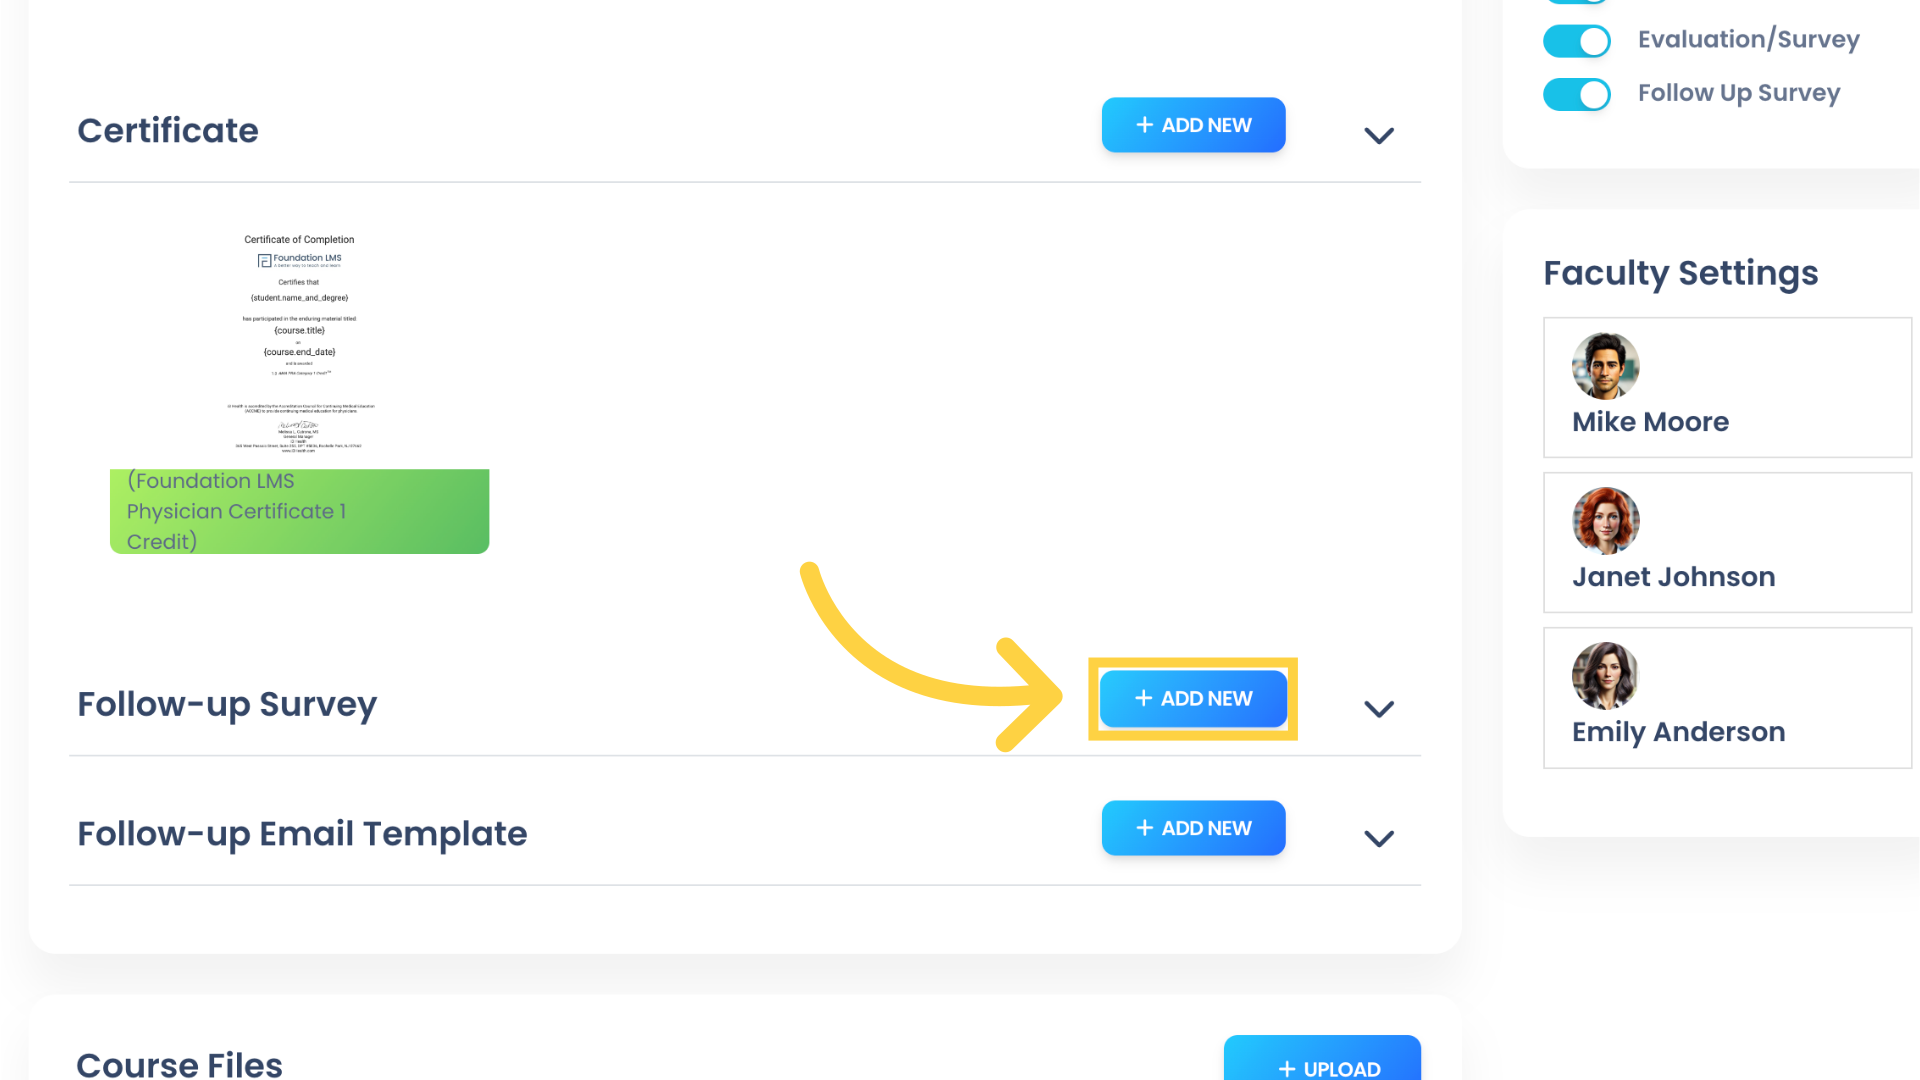
21. A link to the Follow-up Survey is automatically emailed to Students after they have completed the Course if this feature is enabled in the Requirements section. The number of days after which the survey is sent is configured in the Follow-up Email Template. At that time, the Follow-up Survey will become accessible to Students when they view the Course from My Courses. Click “ADD NEW” to add a Follow-up Survey.
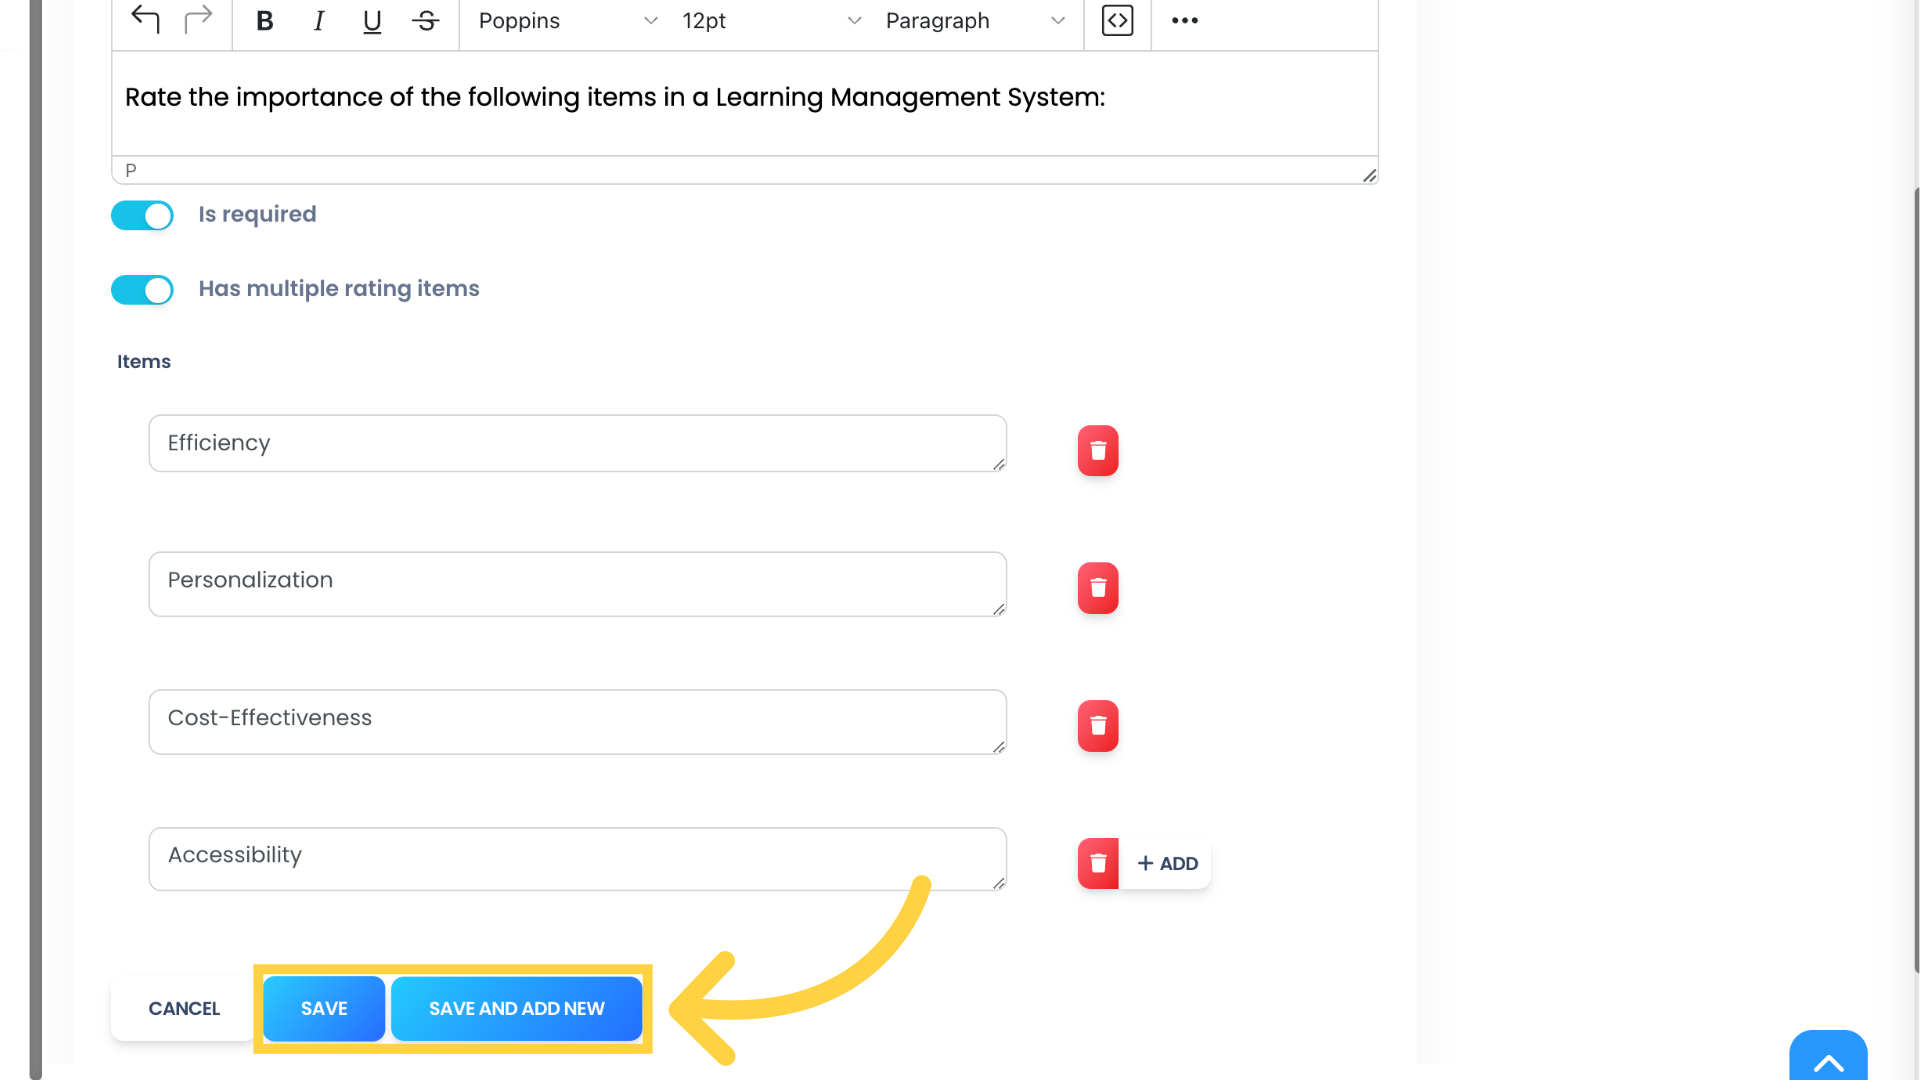
22. Add Questions to your Follow-up Survey. You can add multiple choice, open-ended, and rating scale Question types. Click “SAVE AND ADD NEW” to add additional Questions, or click “SAVE” to return to the Course Builder.
(Check out our tutorial on How to Add a Course Follow-up Survey for more details.)
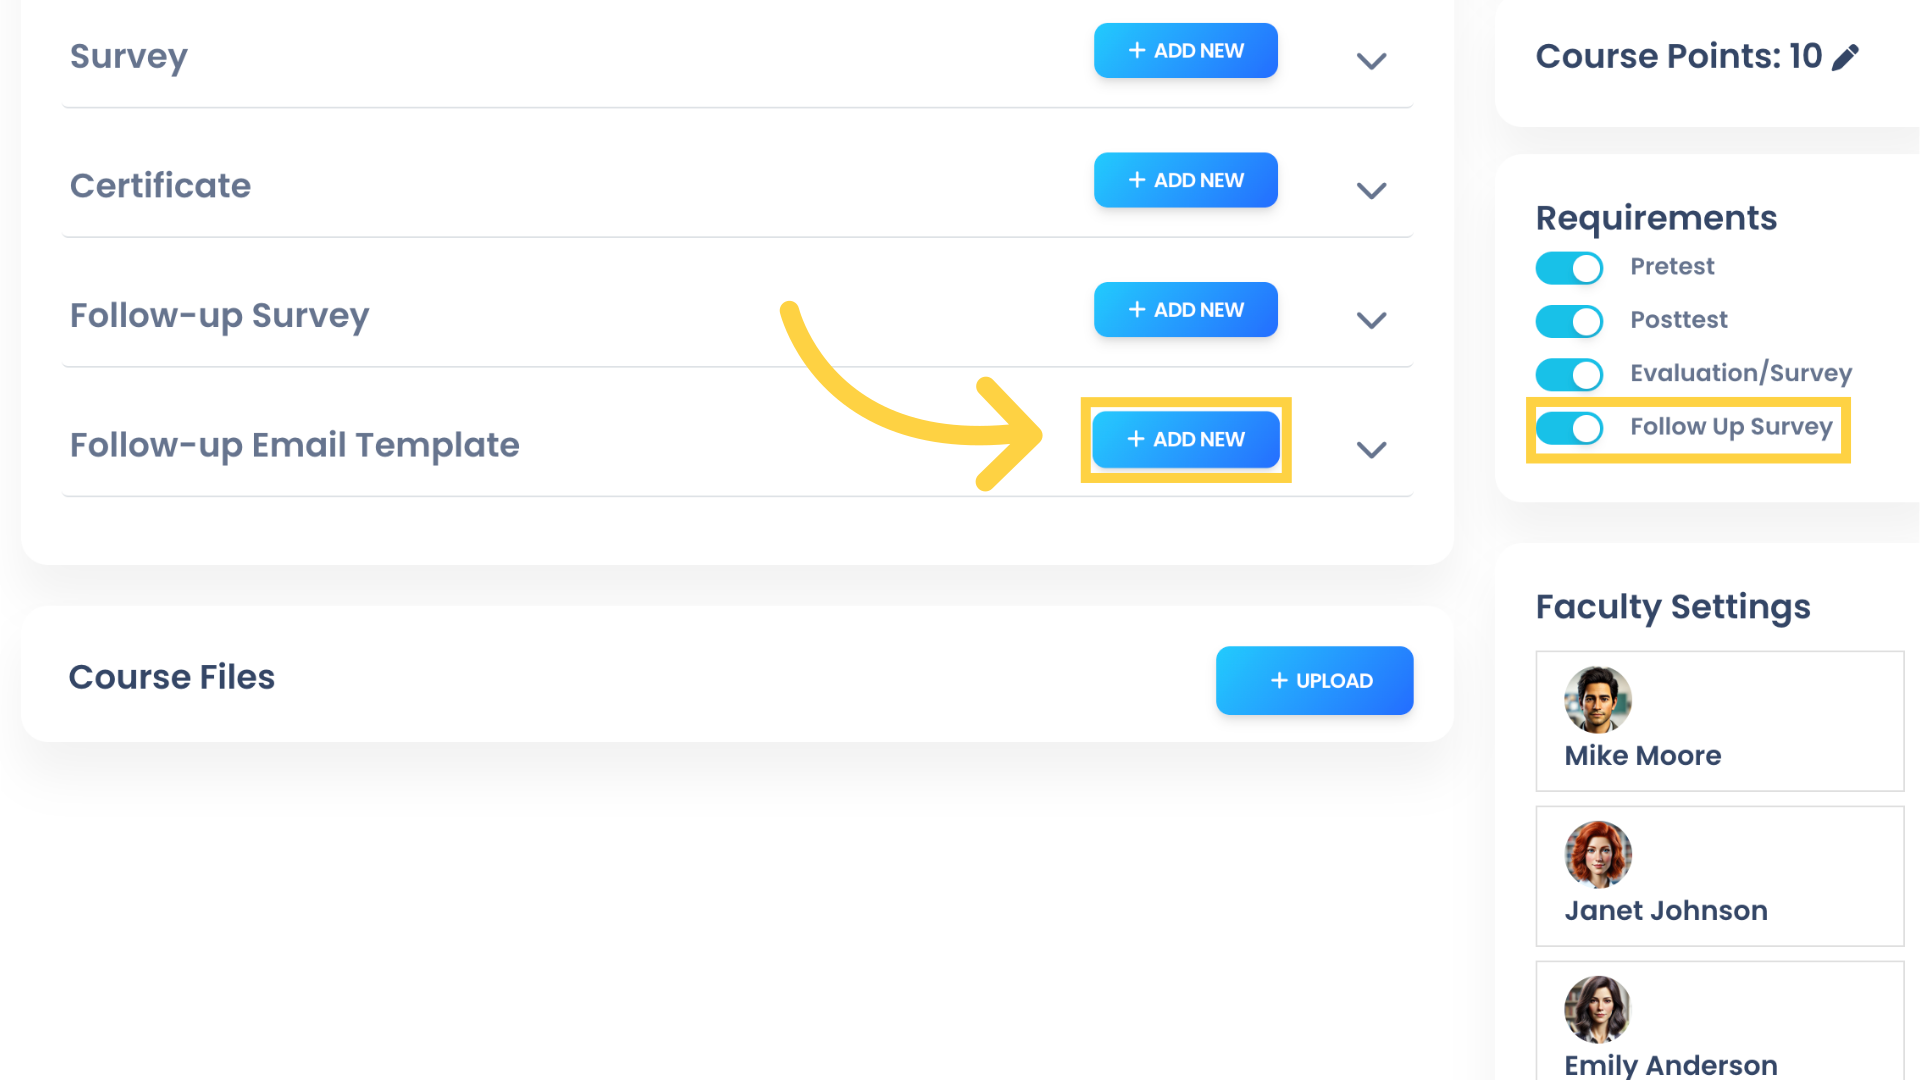
23. Click “ADD NEW” to configure the Follow-up Email Template. This option is only available if the Follow-up Survey is enabled in the Requirements section.
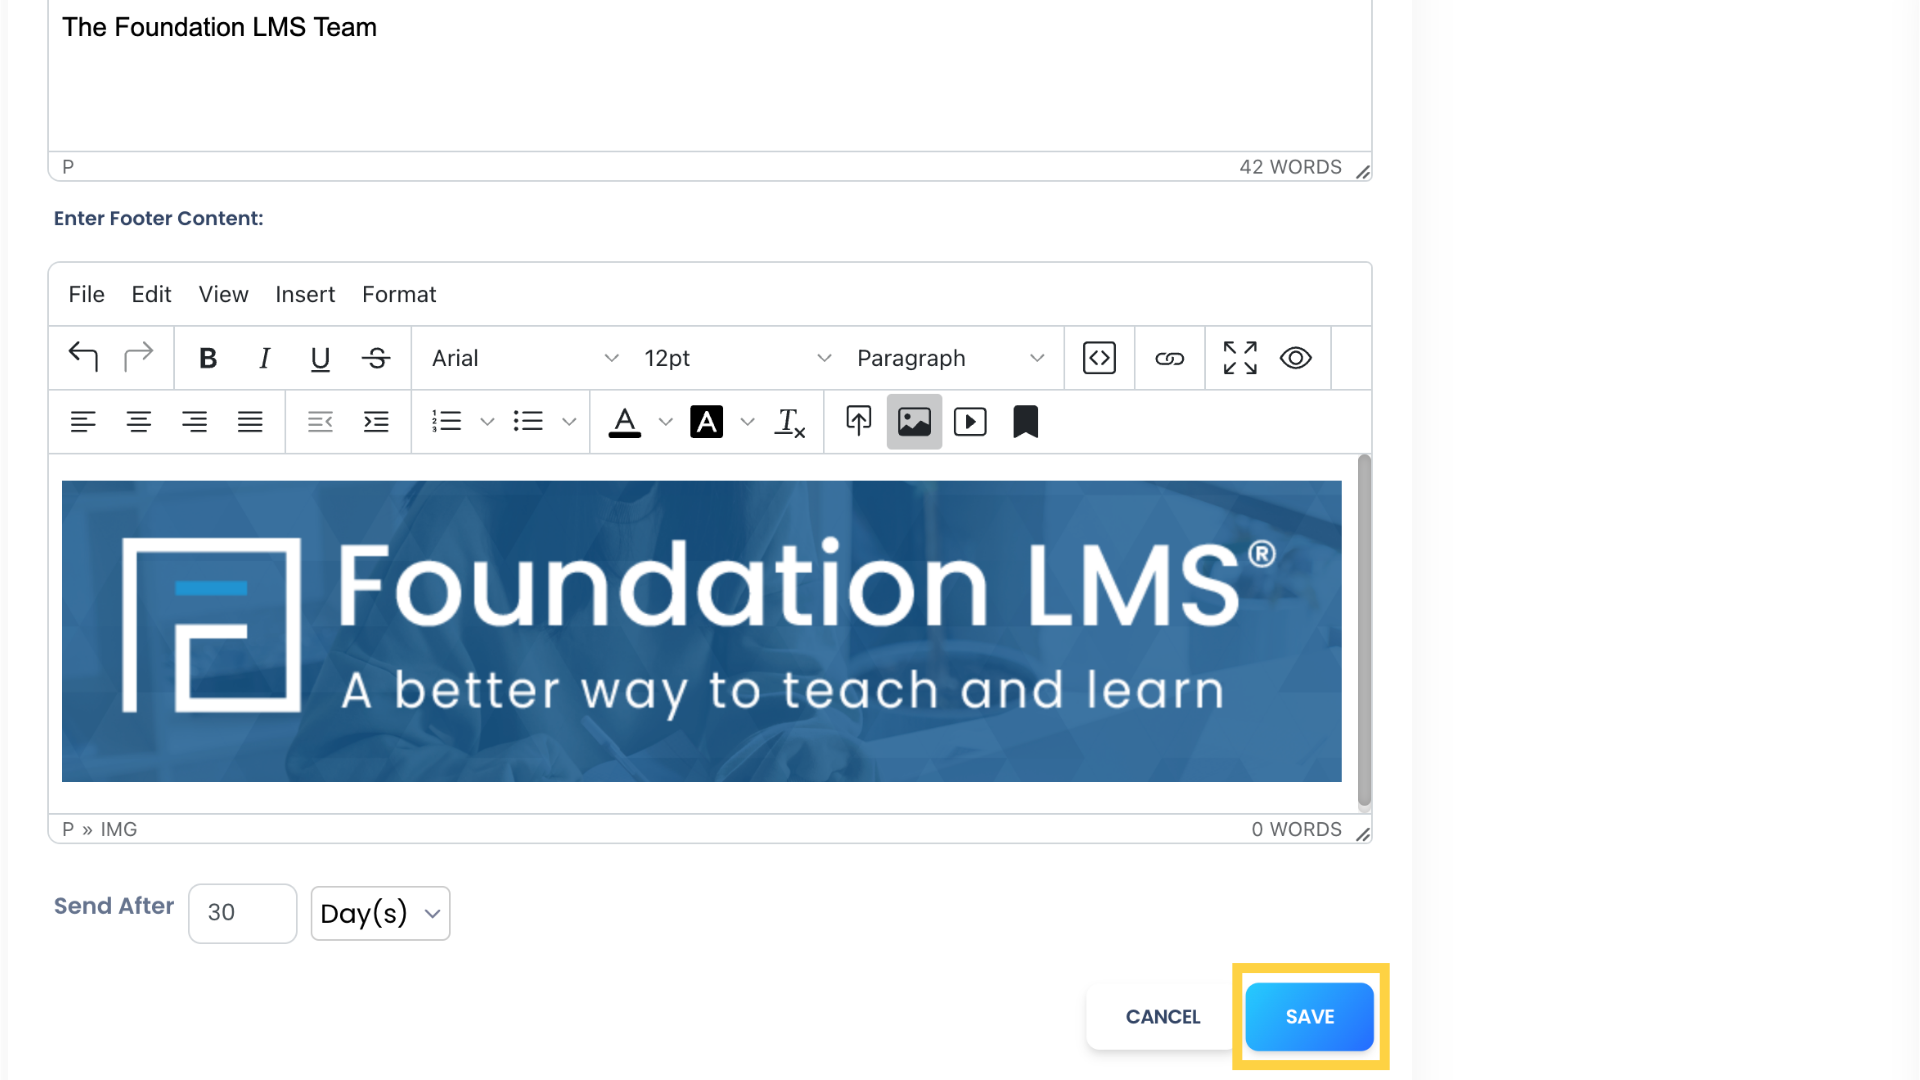
24. Use this feature to configure the email that will be sent to Students automatically a set number of days after they complete the Course. Once finished, click “SAVE” to return to the Course Builder.
(Check out our tutorial on How to Configure a Course Follow-up Email Template for more details.)
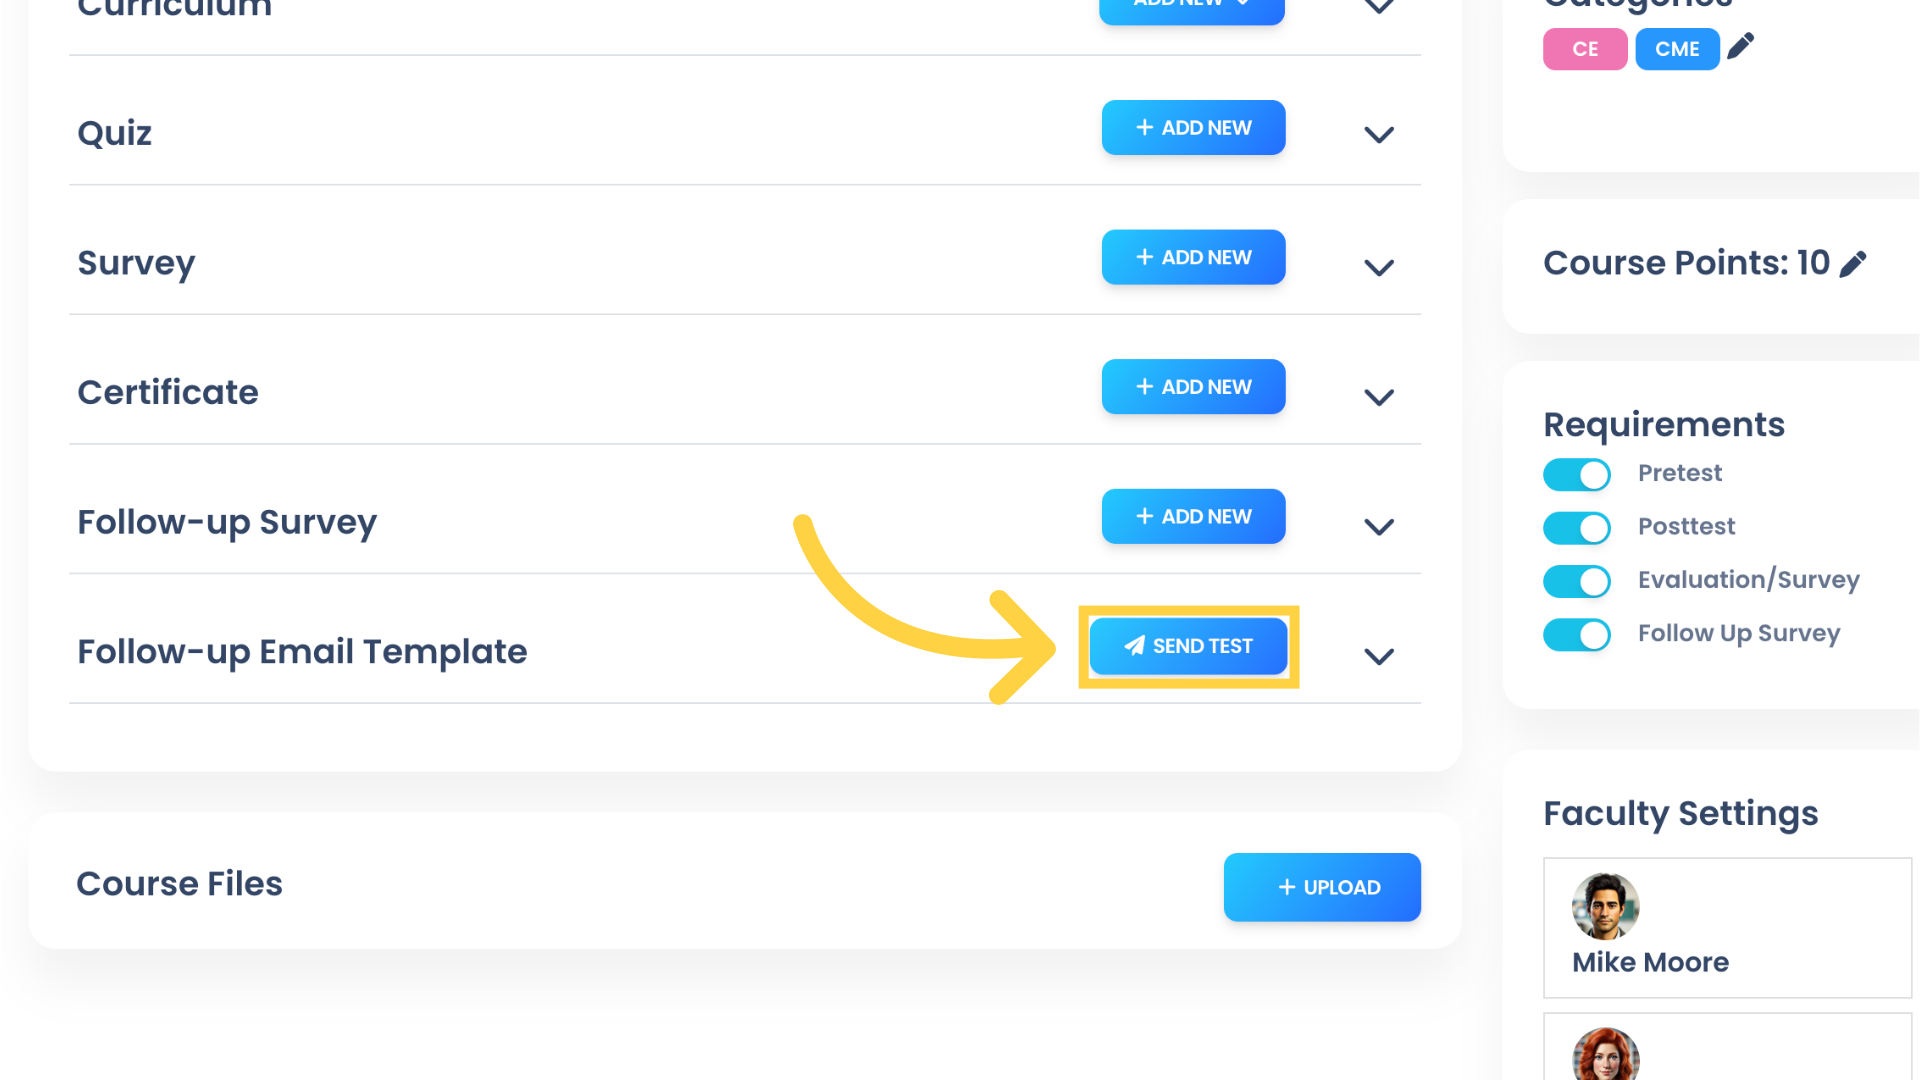
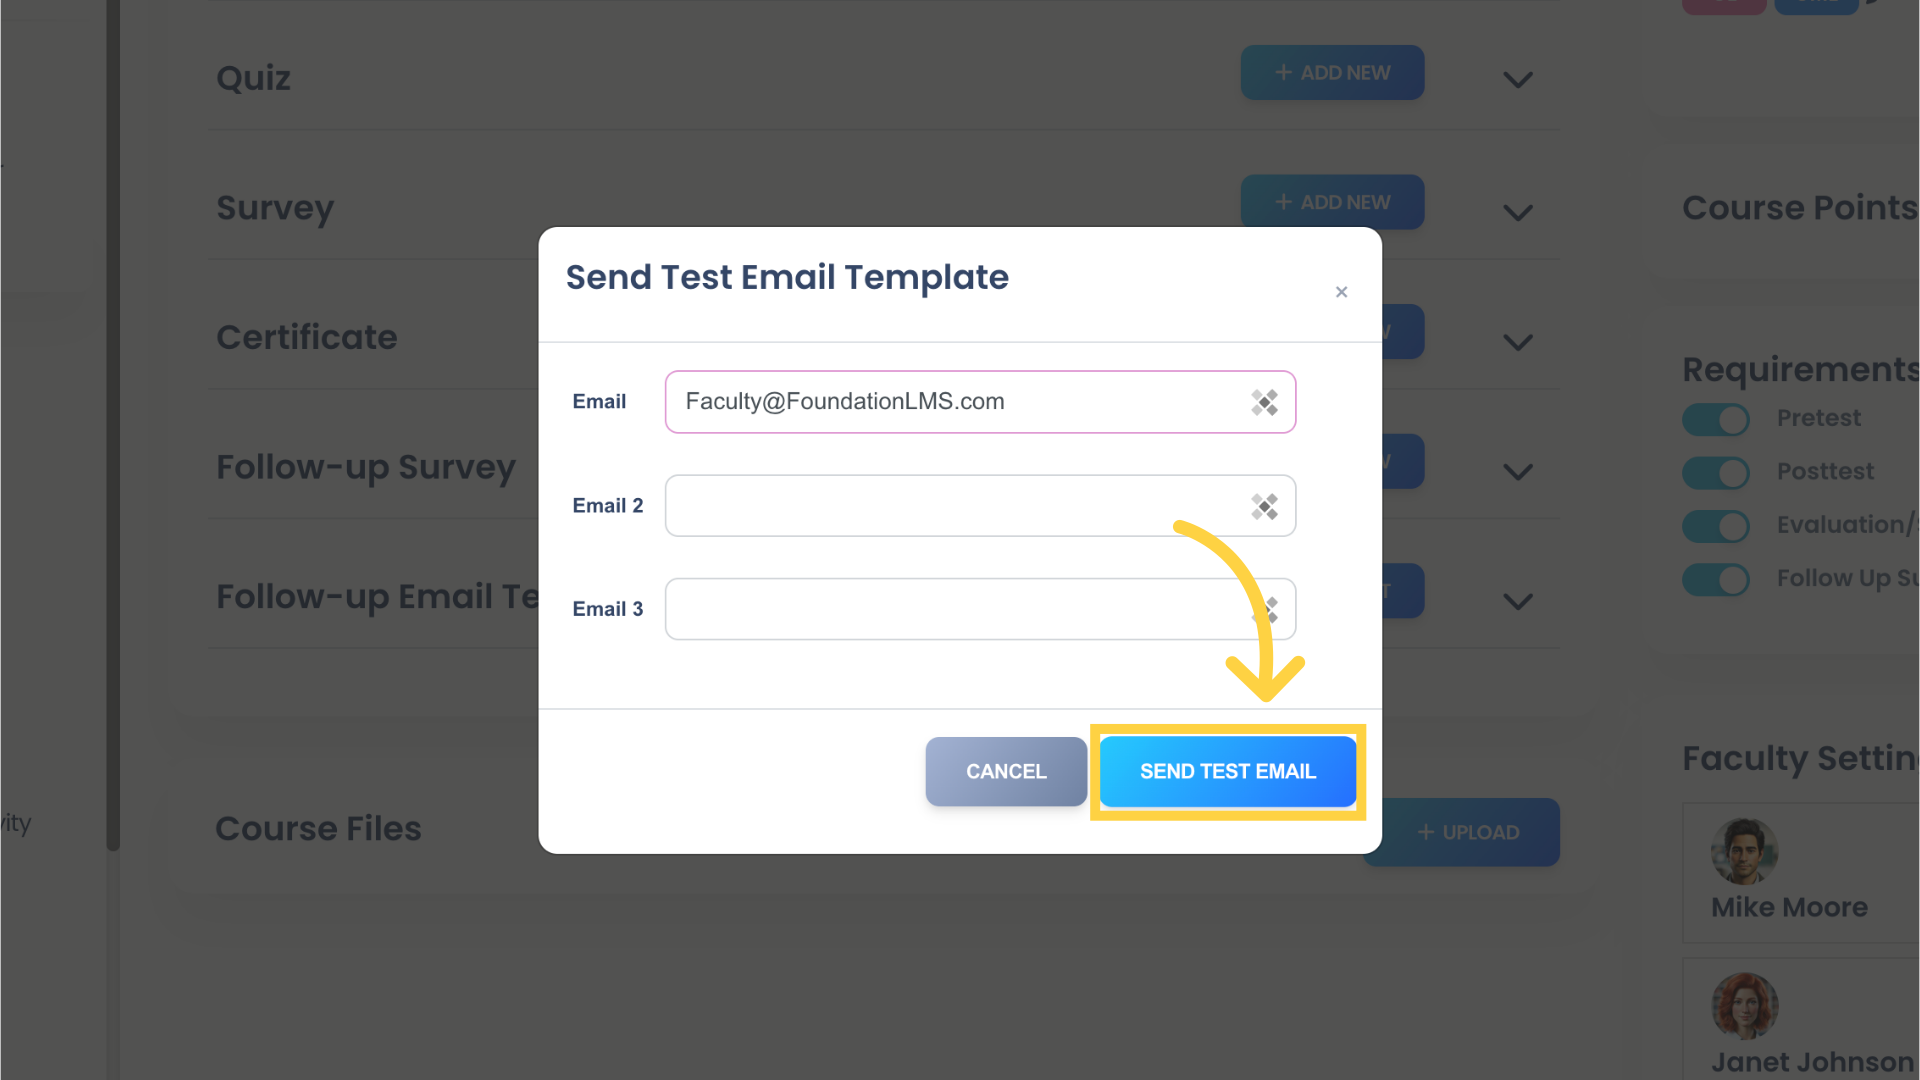
25. Now that the Follow-up Email Template has been created, you can send a test email to preview what Students will receive in their inbox.
26. Enter the email addresses to which you would like to send the test email. Then click “SEND TEST EMAIL”
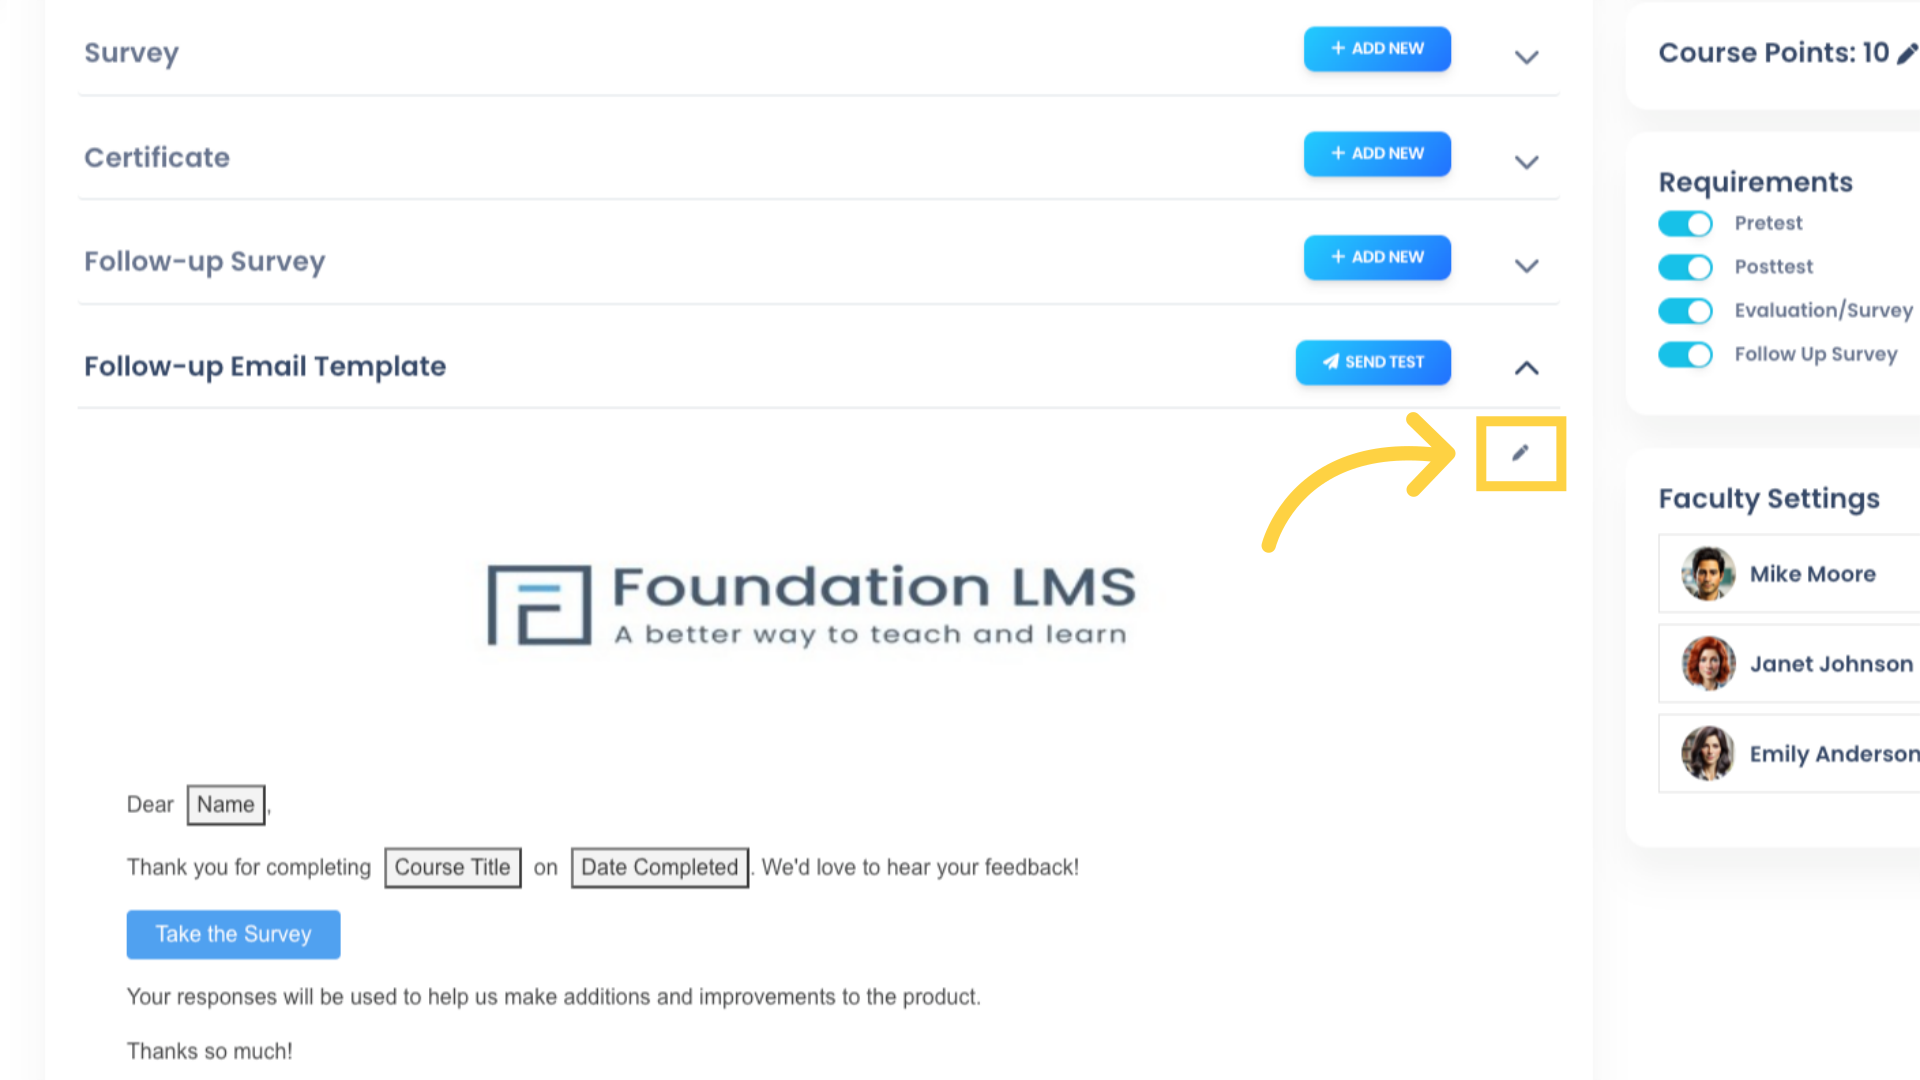
27. You can make changes to your Follow-up email template by clicking the pencil icon.
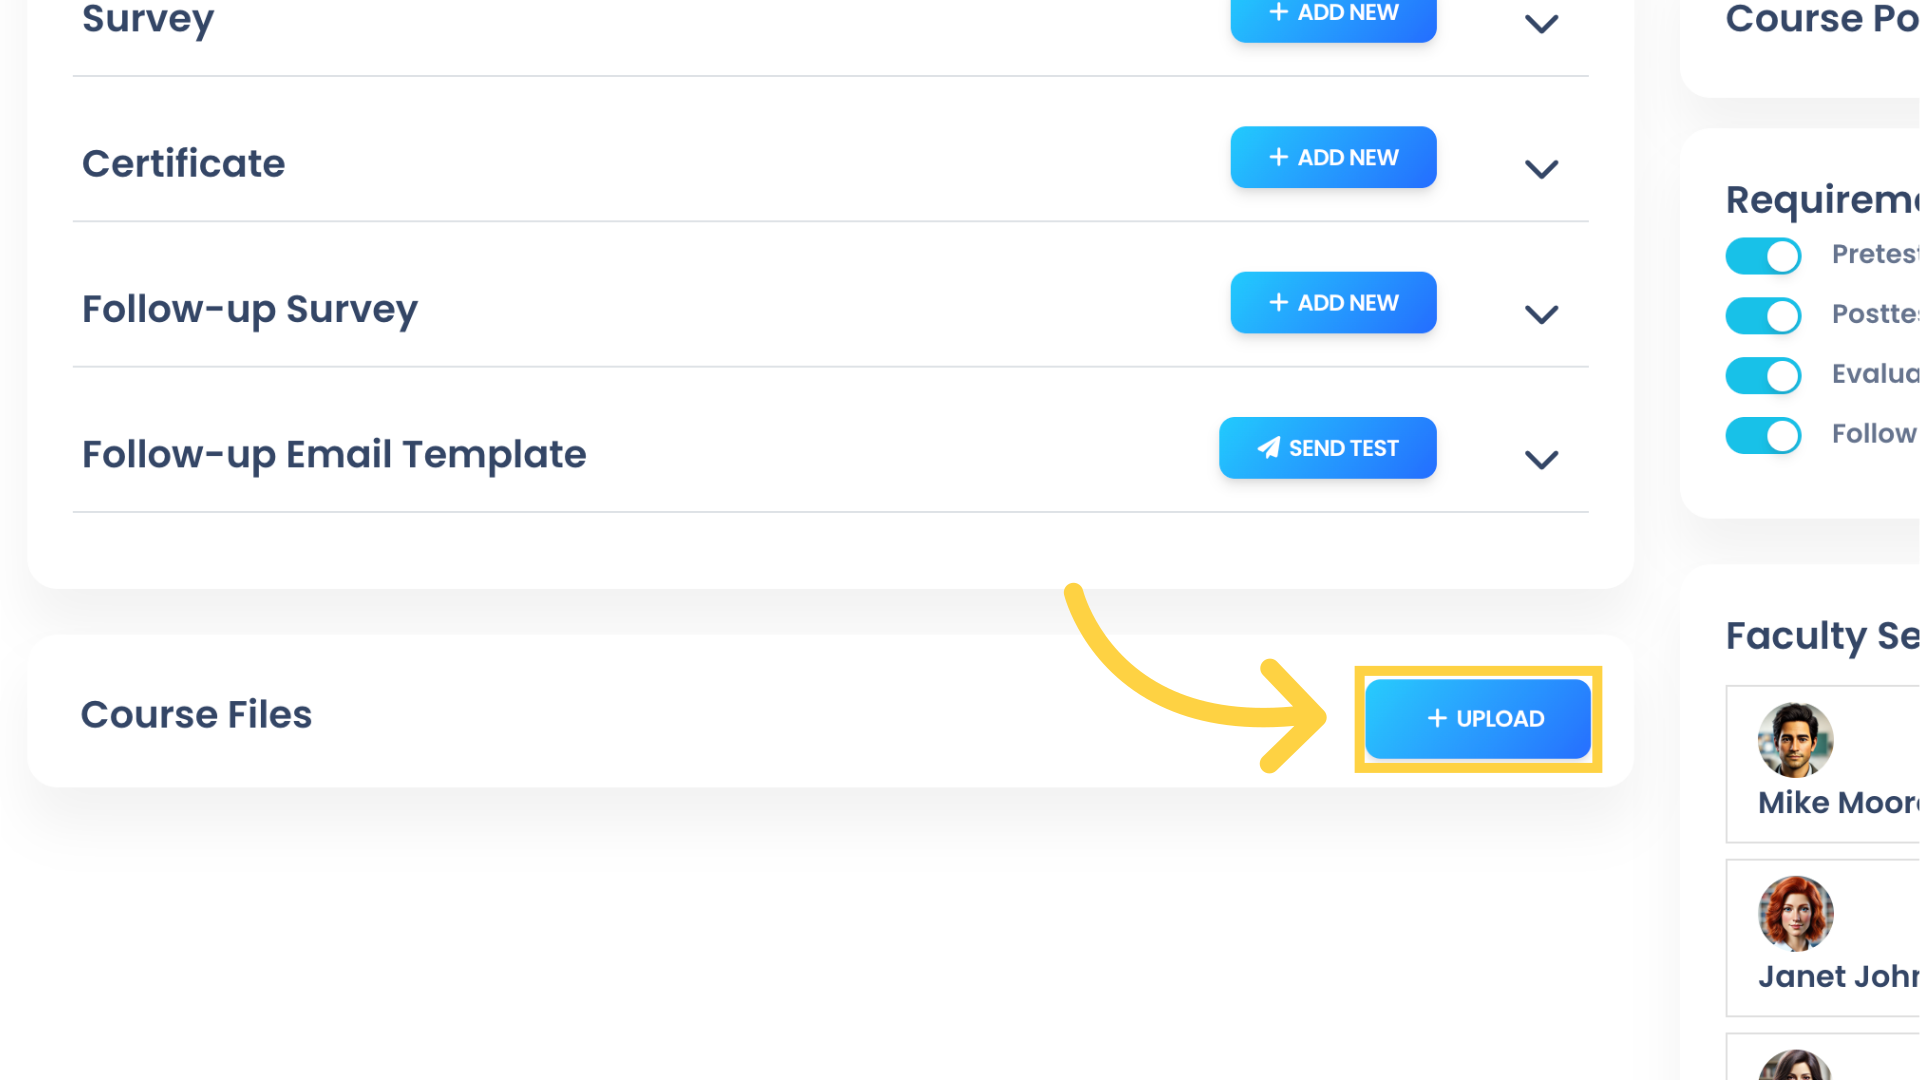
28. Use the Course Files “UPLOAD” button to upload additional course materials for your Students as needed. Students will be able to download these files from within the Course.
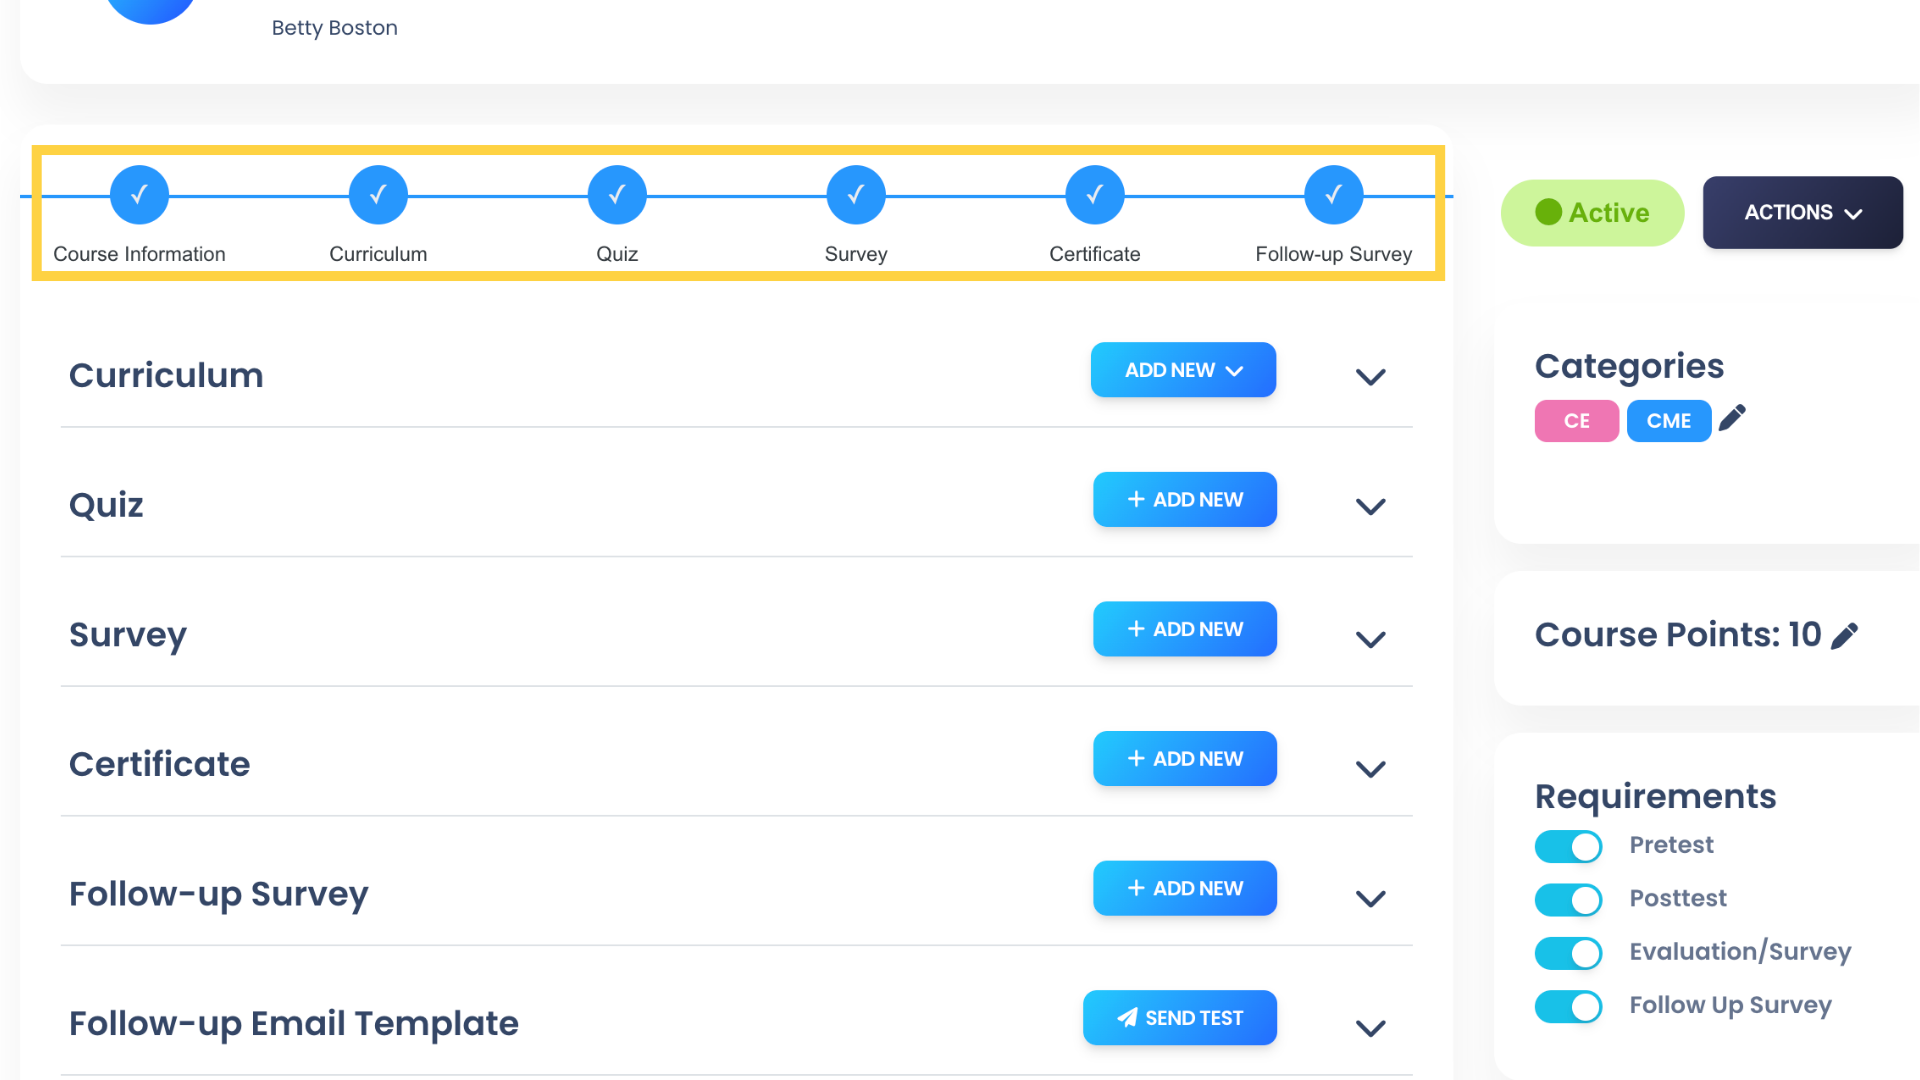
29. Note the Progress bar at the top indicates that we have added all the Course components.
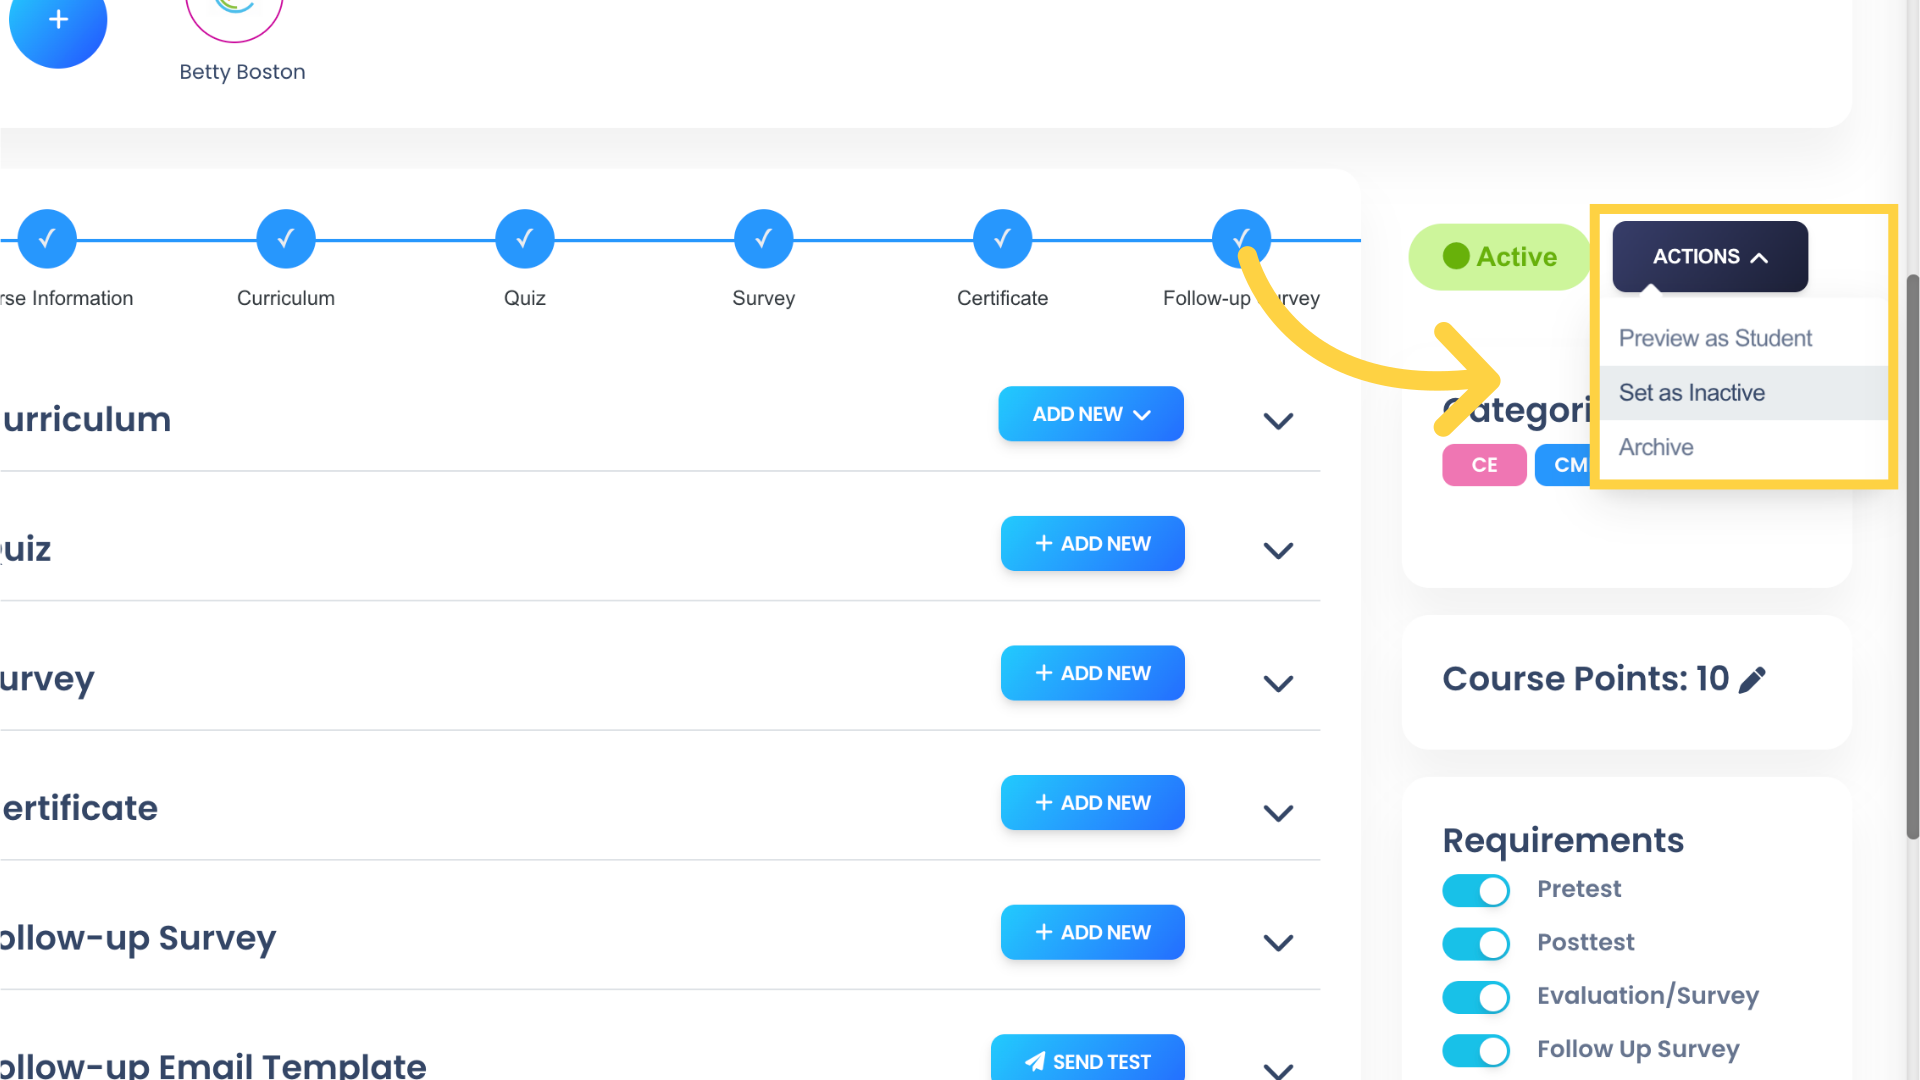
30. Now we’ll explore the other features and settings in the Course Builder. Click “ACTIONS” to reveal a list of options. From here, you can set the Course status to Active, Inactive, or Archive. You can also preview the Course as a Student, to verify that everything appears as expected before making the Course accessible to Students.
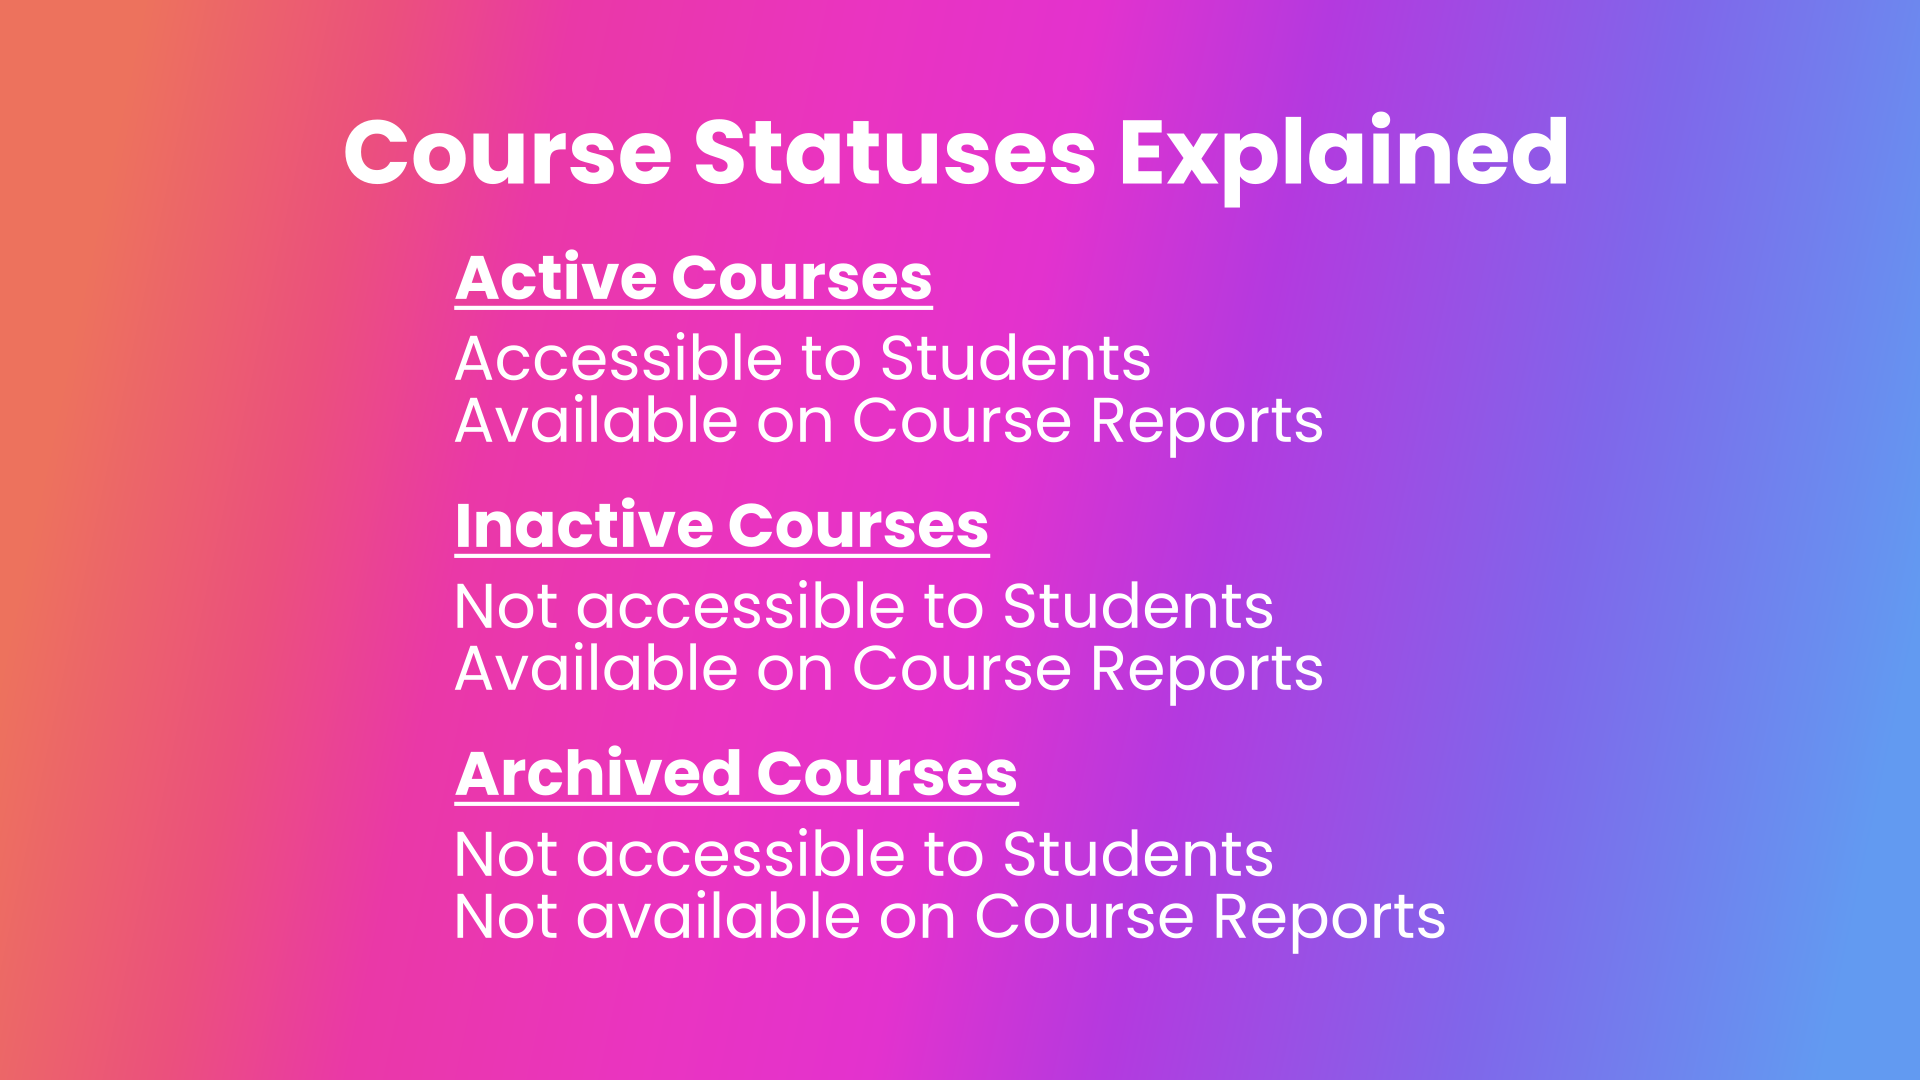
31. Course Statuses Explained
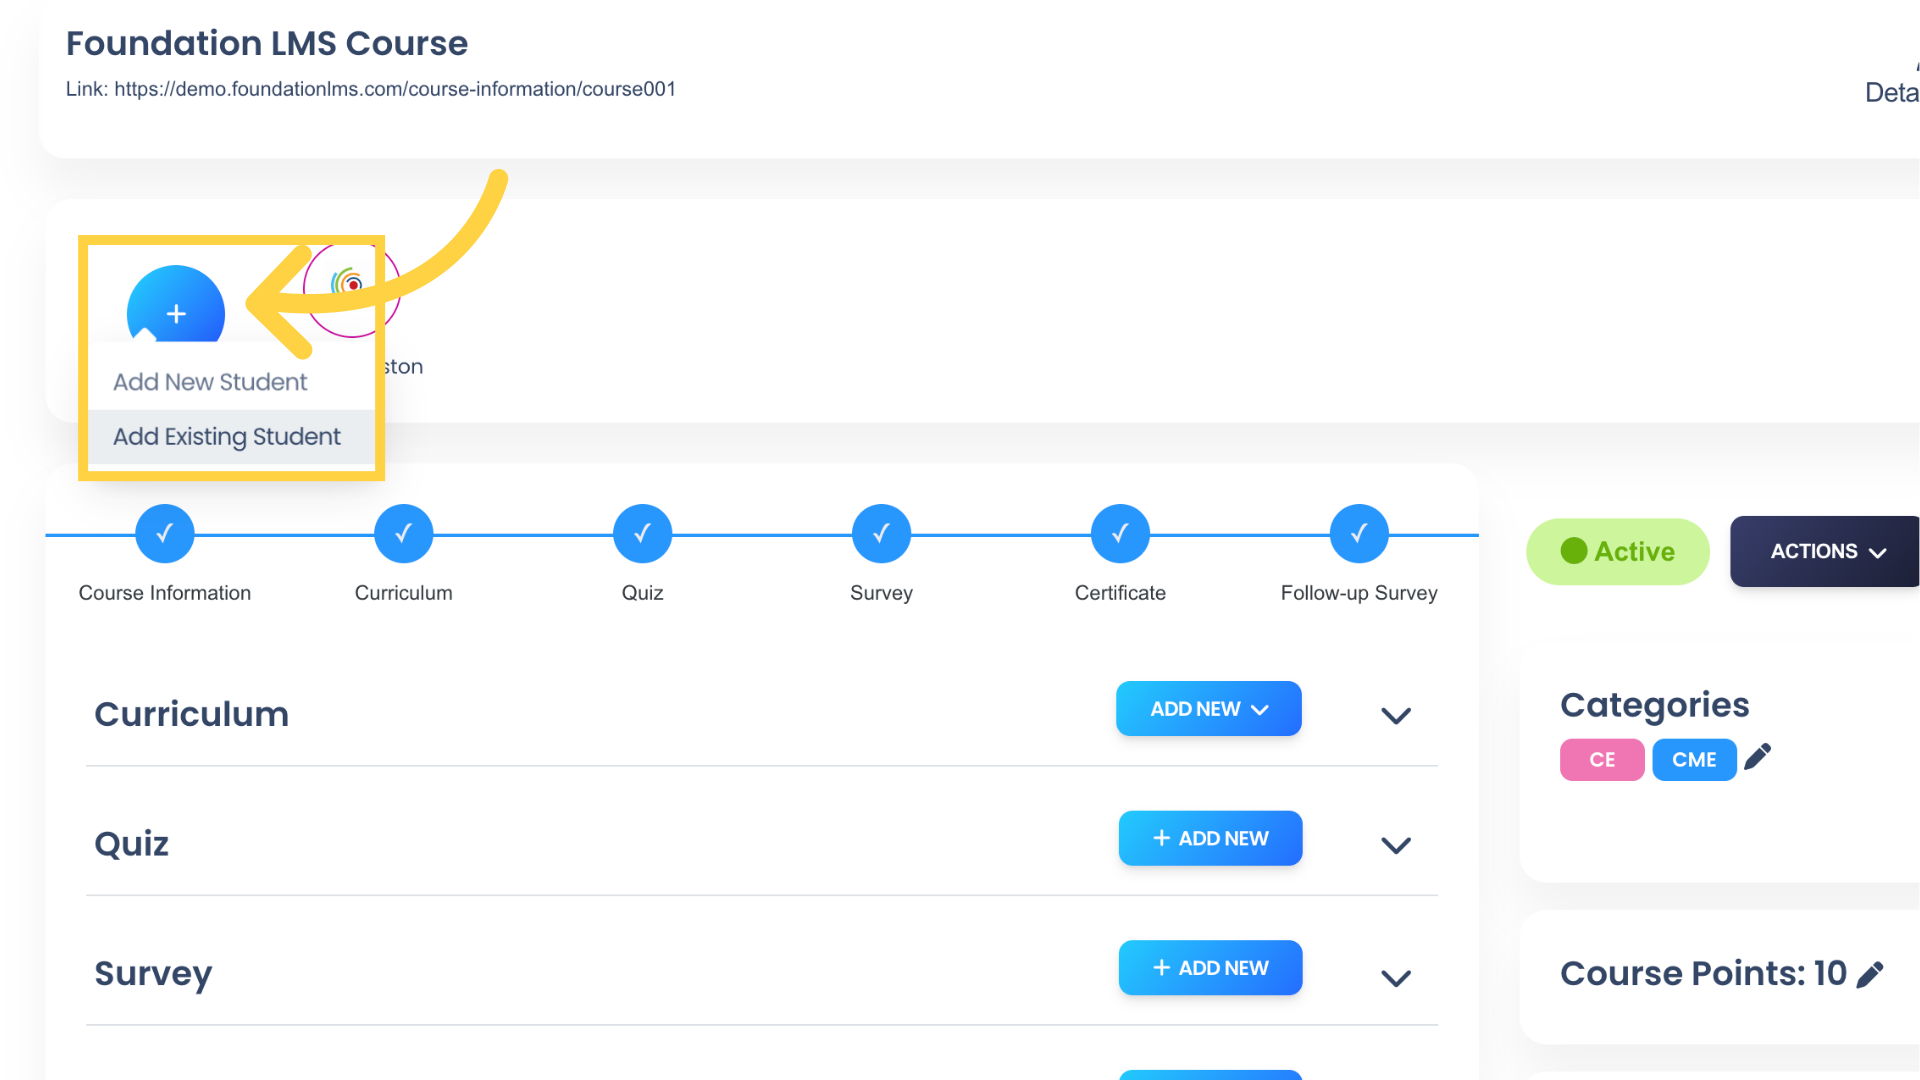
32. To manually enroll Students to the Course, click the “+” button above the course Progress bar. Choose “Add New Student” to create a new Student account, or “Add Existing Student” to select from a list of existing Students.
(Check out our tutorial on How to Add a New Student for more details.)
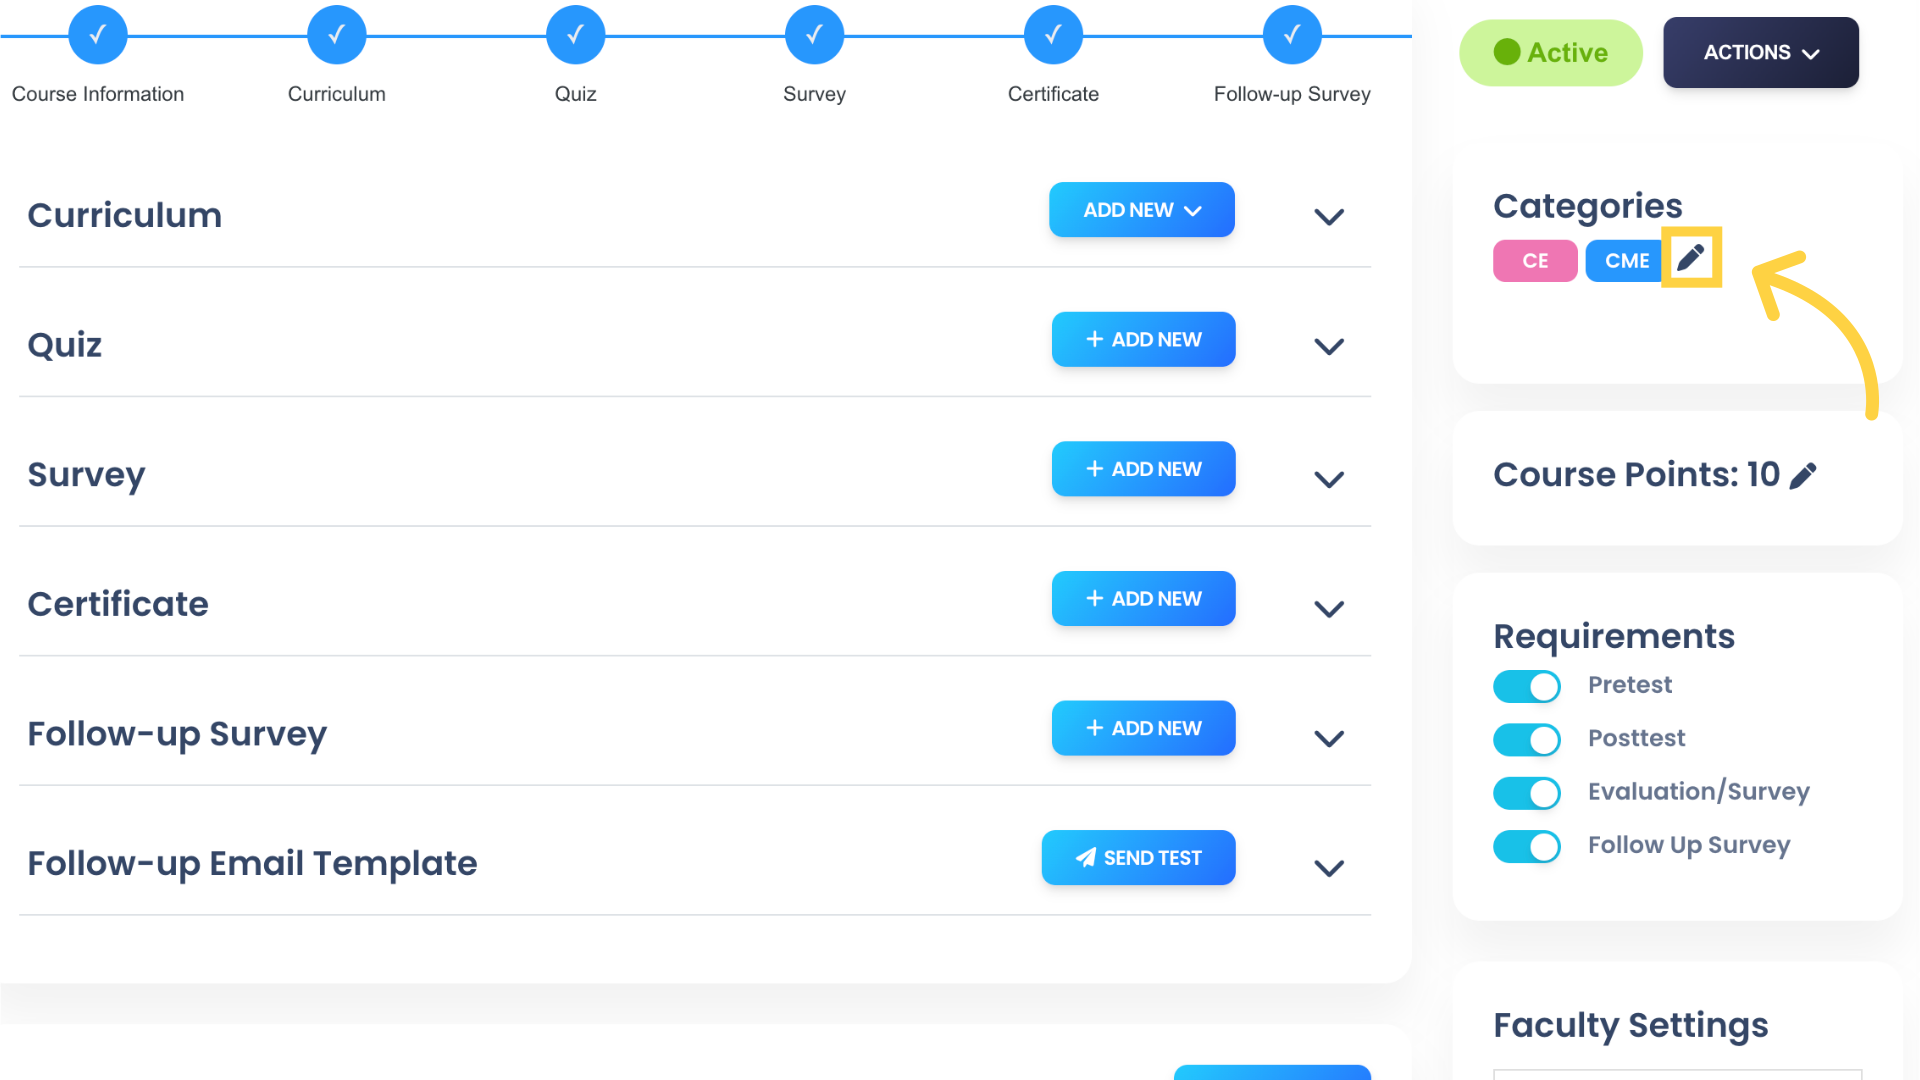
33. Click the pencil icon on Categories to edit Course Categories. Students can filter the Course list by Categories on your Portal home page.
34. Enter your desired Course Category and hit the Tab or Enter key. Repeat this step for all the Categories you’d like to add. Then click the “UPDATE” button.

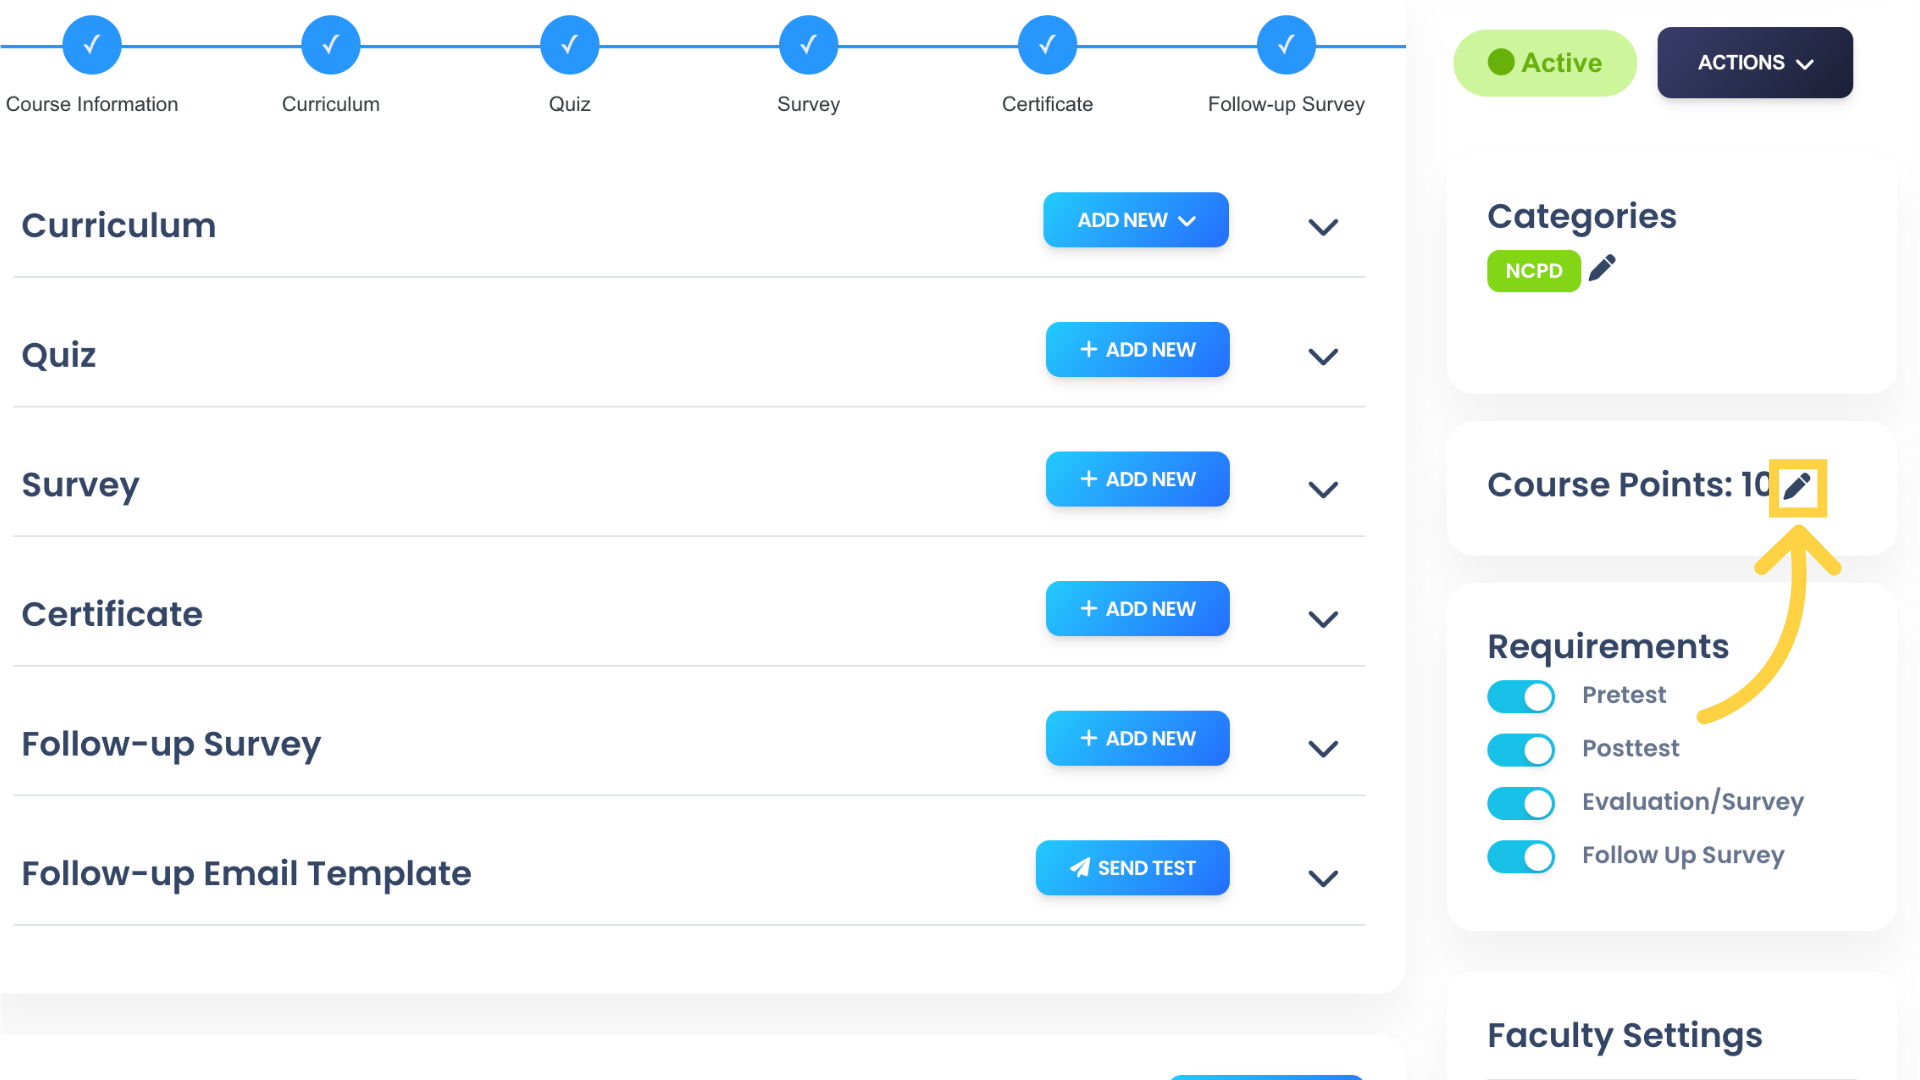
35. Click the pencil icon to set the Course Points. Course Points are linked to the Foundation LMS Gamification system, awarding Students points for Course completion, Achievements, and Leaderboard rankings.
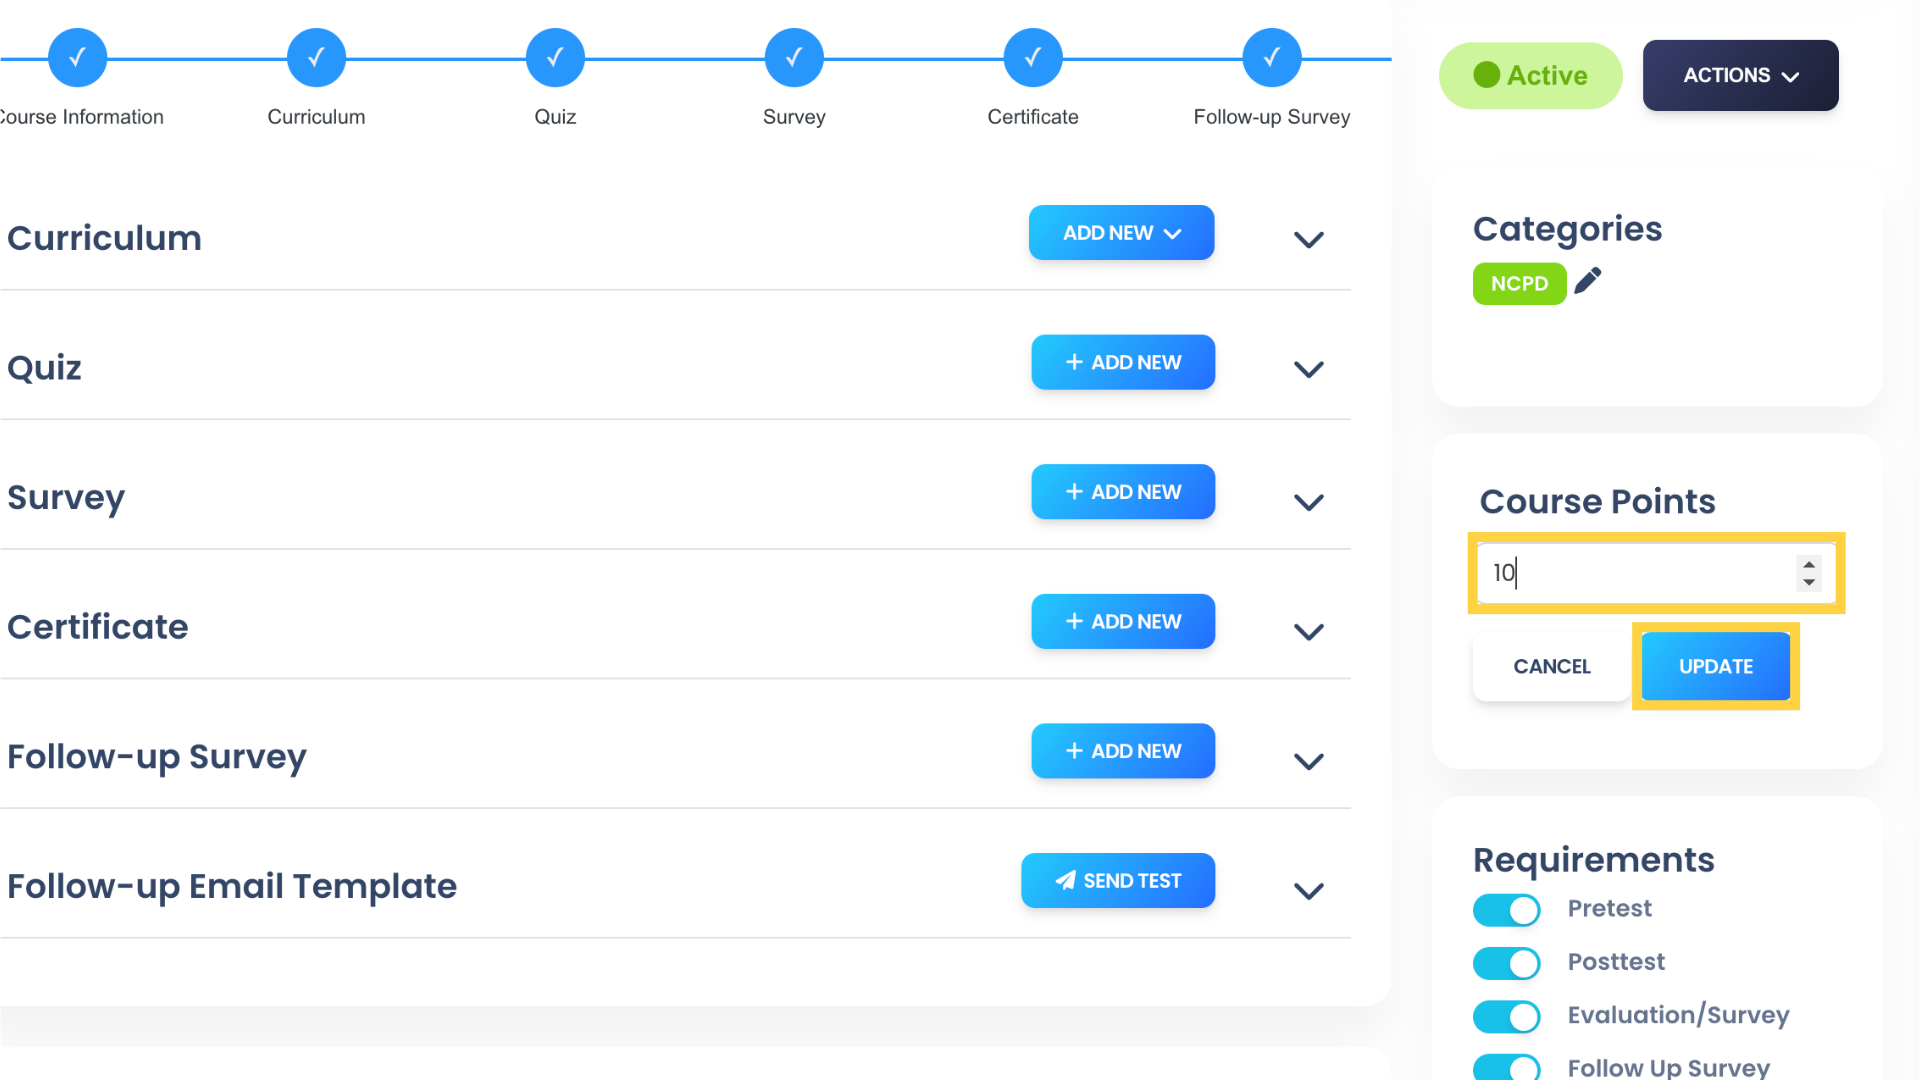
36. Set the Course points value and then click “UPDATE”.
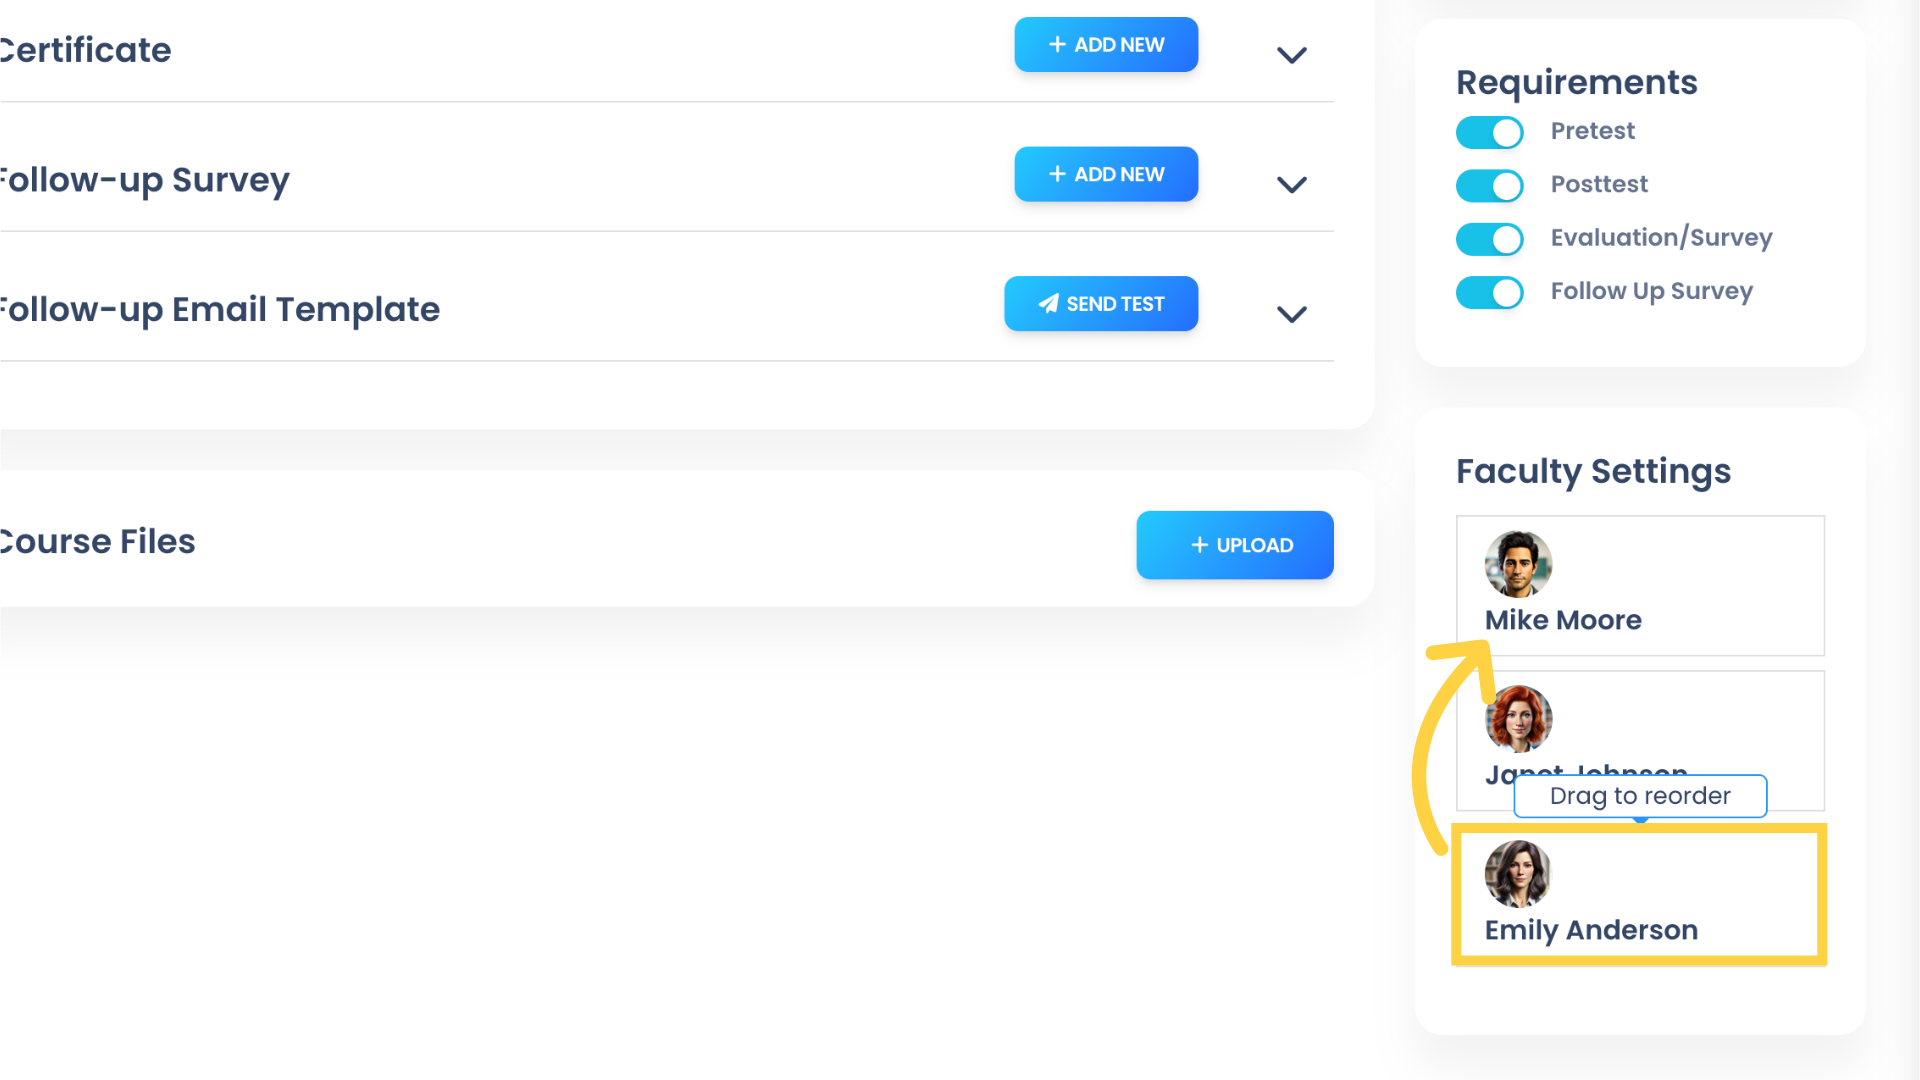
37. Toggle the Pretest, Posttest, Evaluation/Survey, and Follow-Up Survey buttons to enable or disable them in the Requirements section.
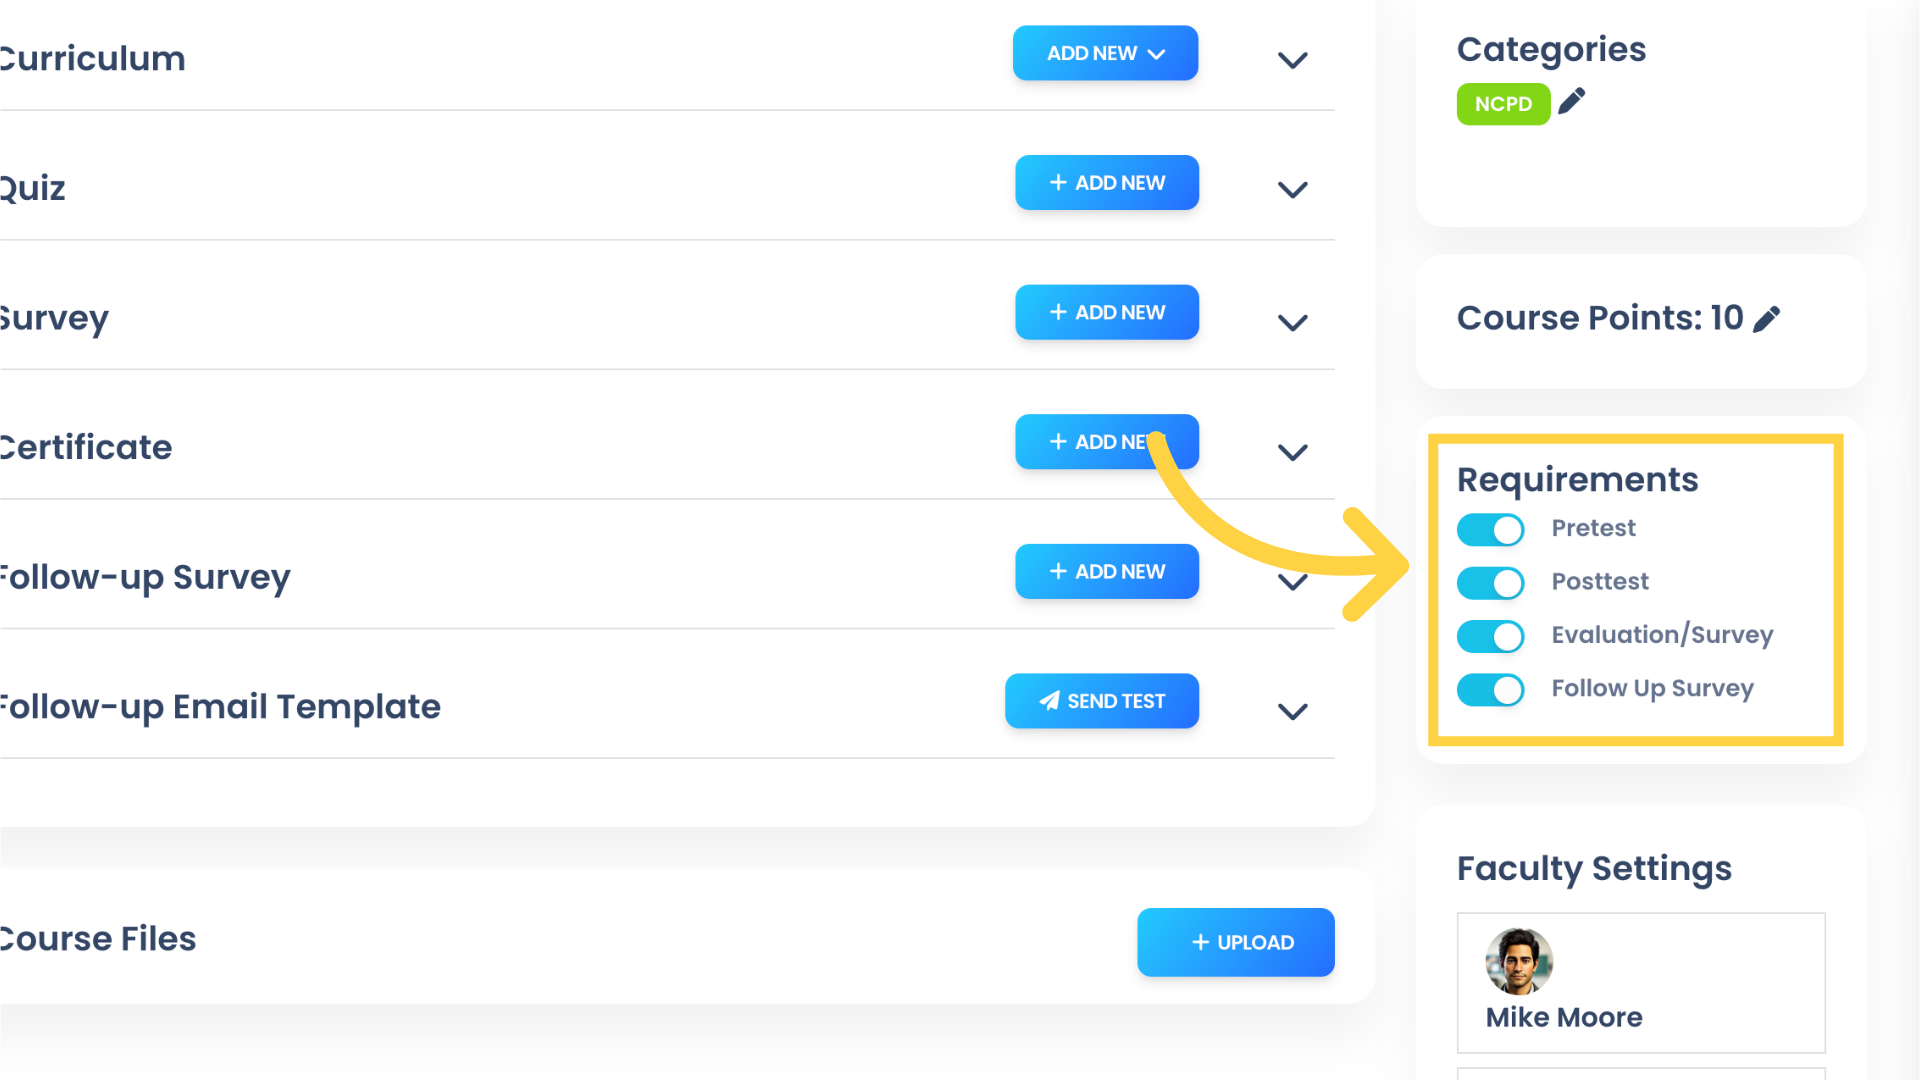
38. Finally, reorder Faculty members in the Faculty settings to change the order in which they appear on the Course Landing Page. Simply click anywhere in the Faculty and drag to your preferred location. The changes will be saved automatically.
