Have a Question?
Course List Report Overview
This overview will explain the features of the Course List Report in Foundation LMS.
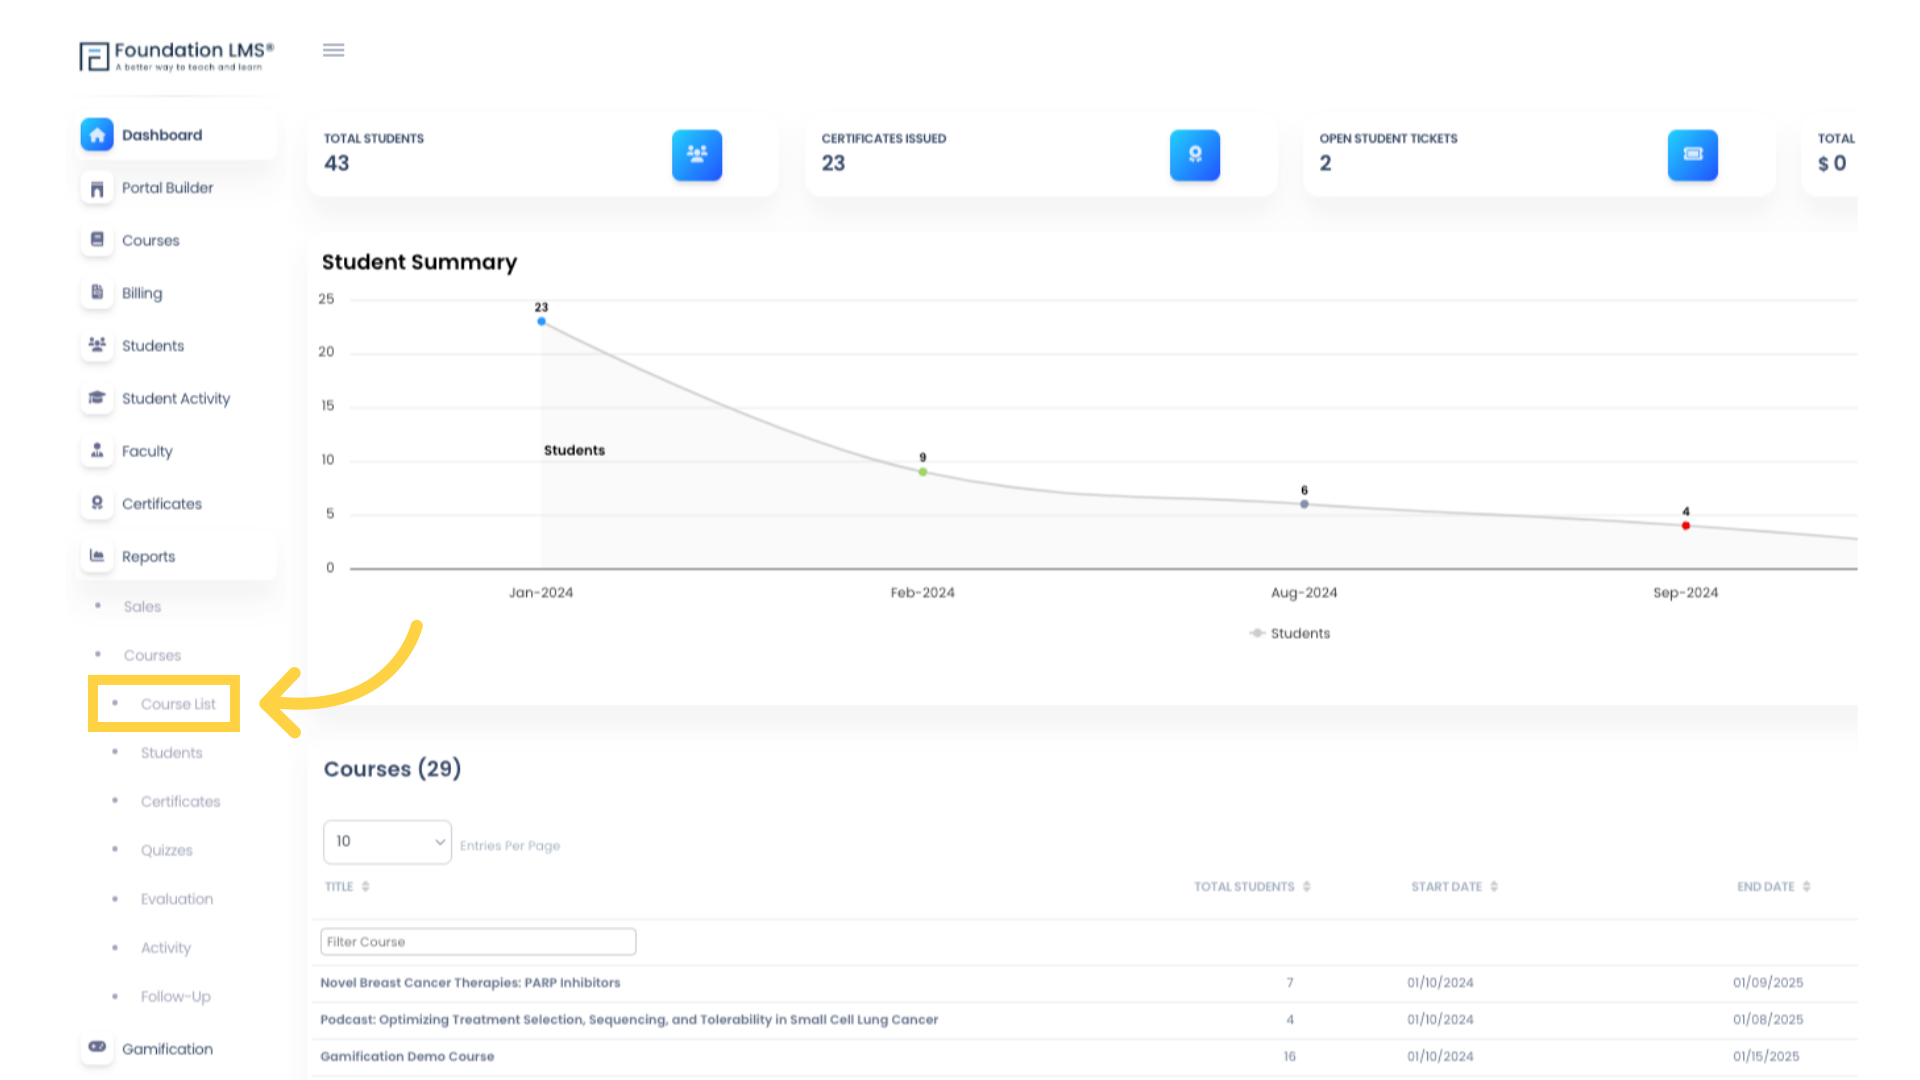
1. Navigate to the Course List Report by clicking “Reports”, then “Course List”.
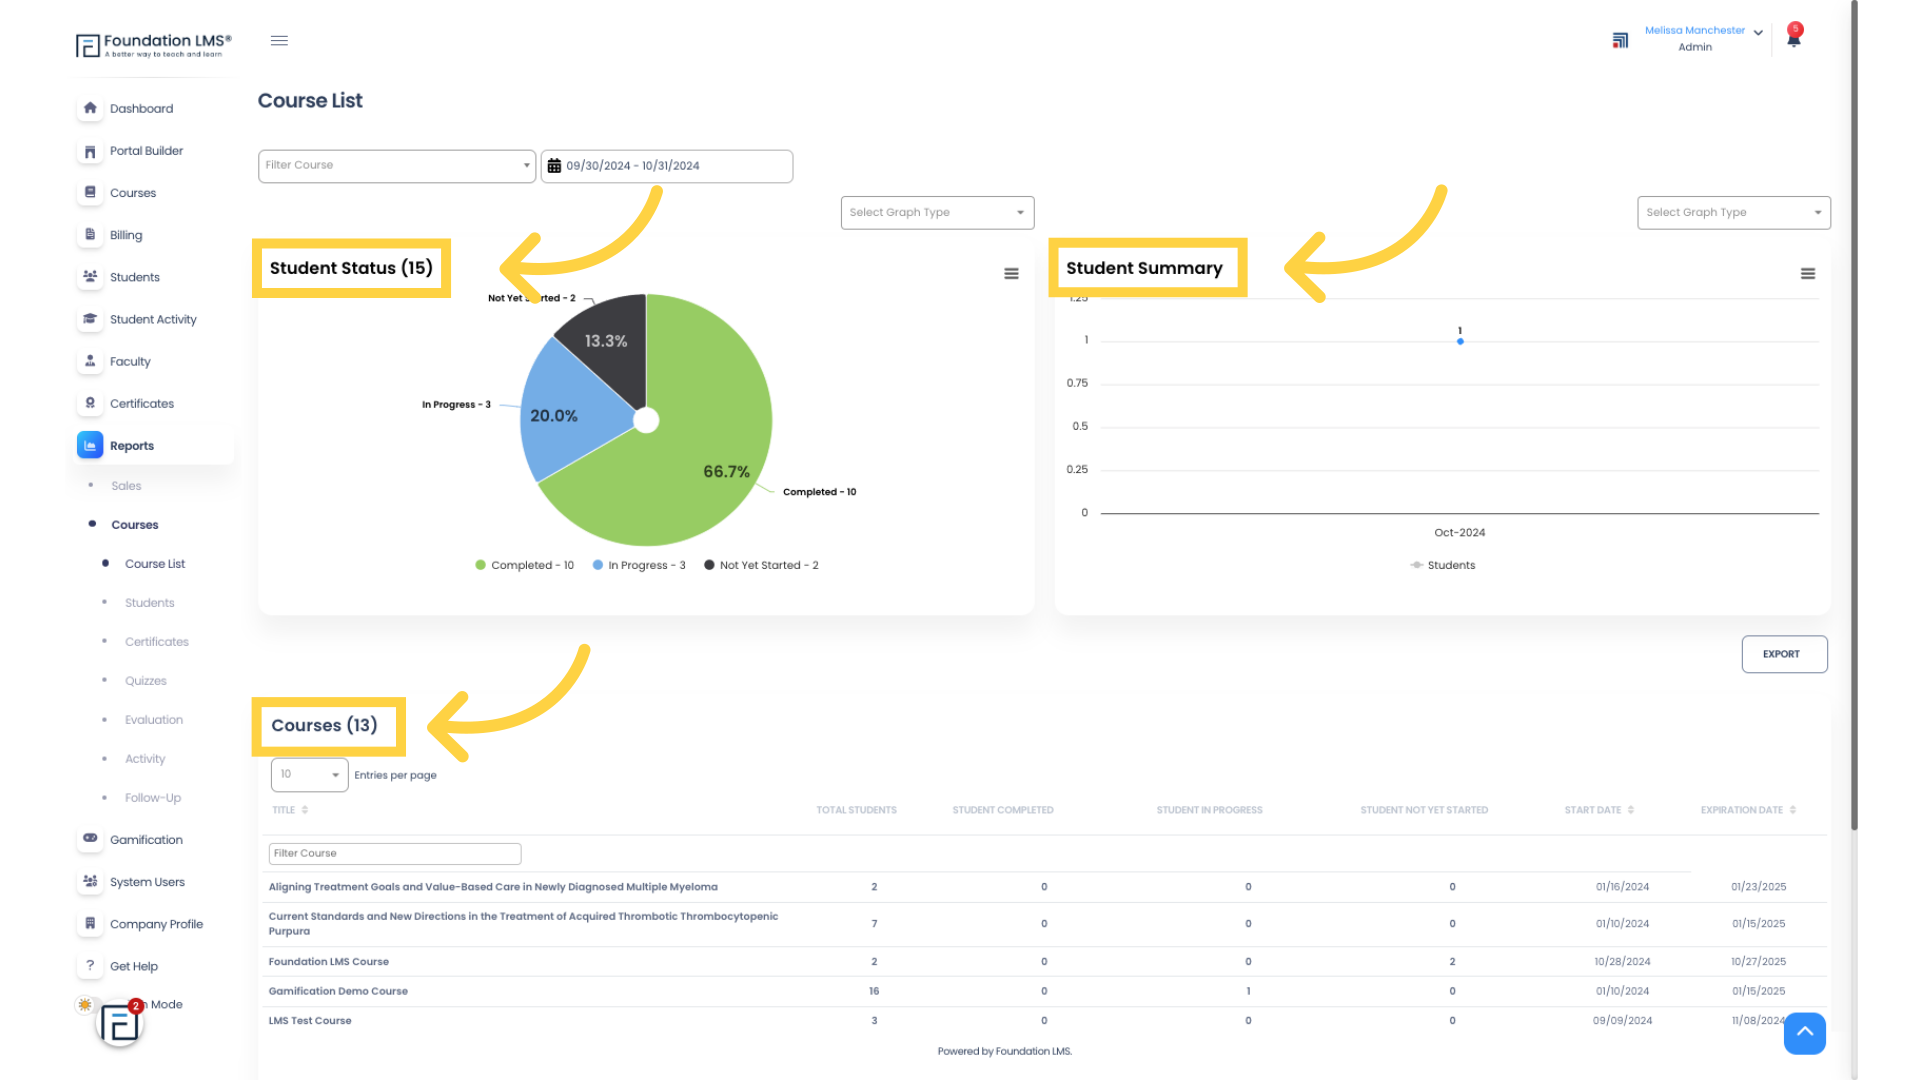
2. There are 3 sections on the Course List Report: Student Status, Student Summary, and Courses.
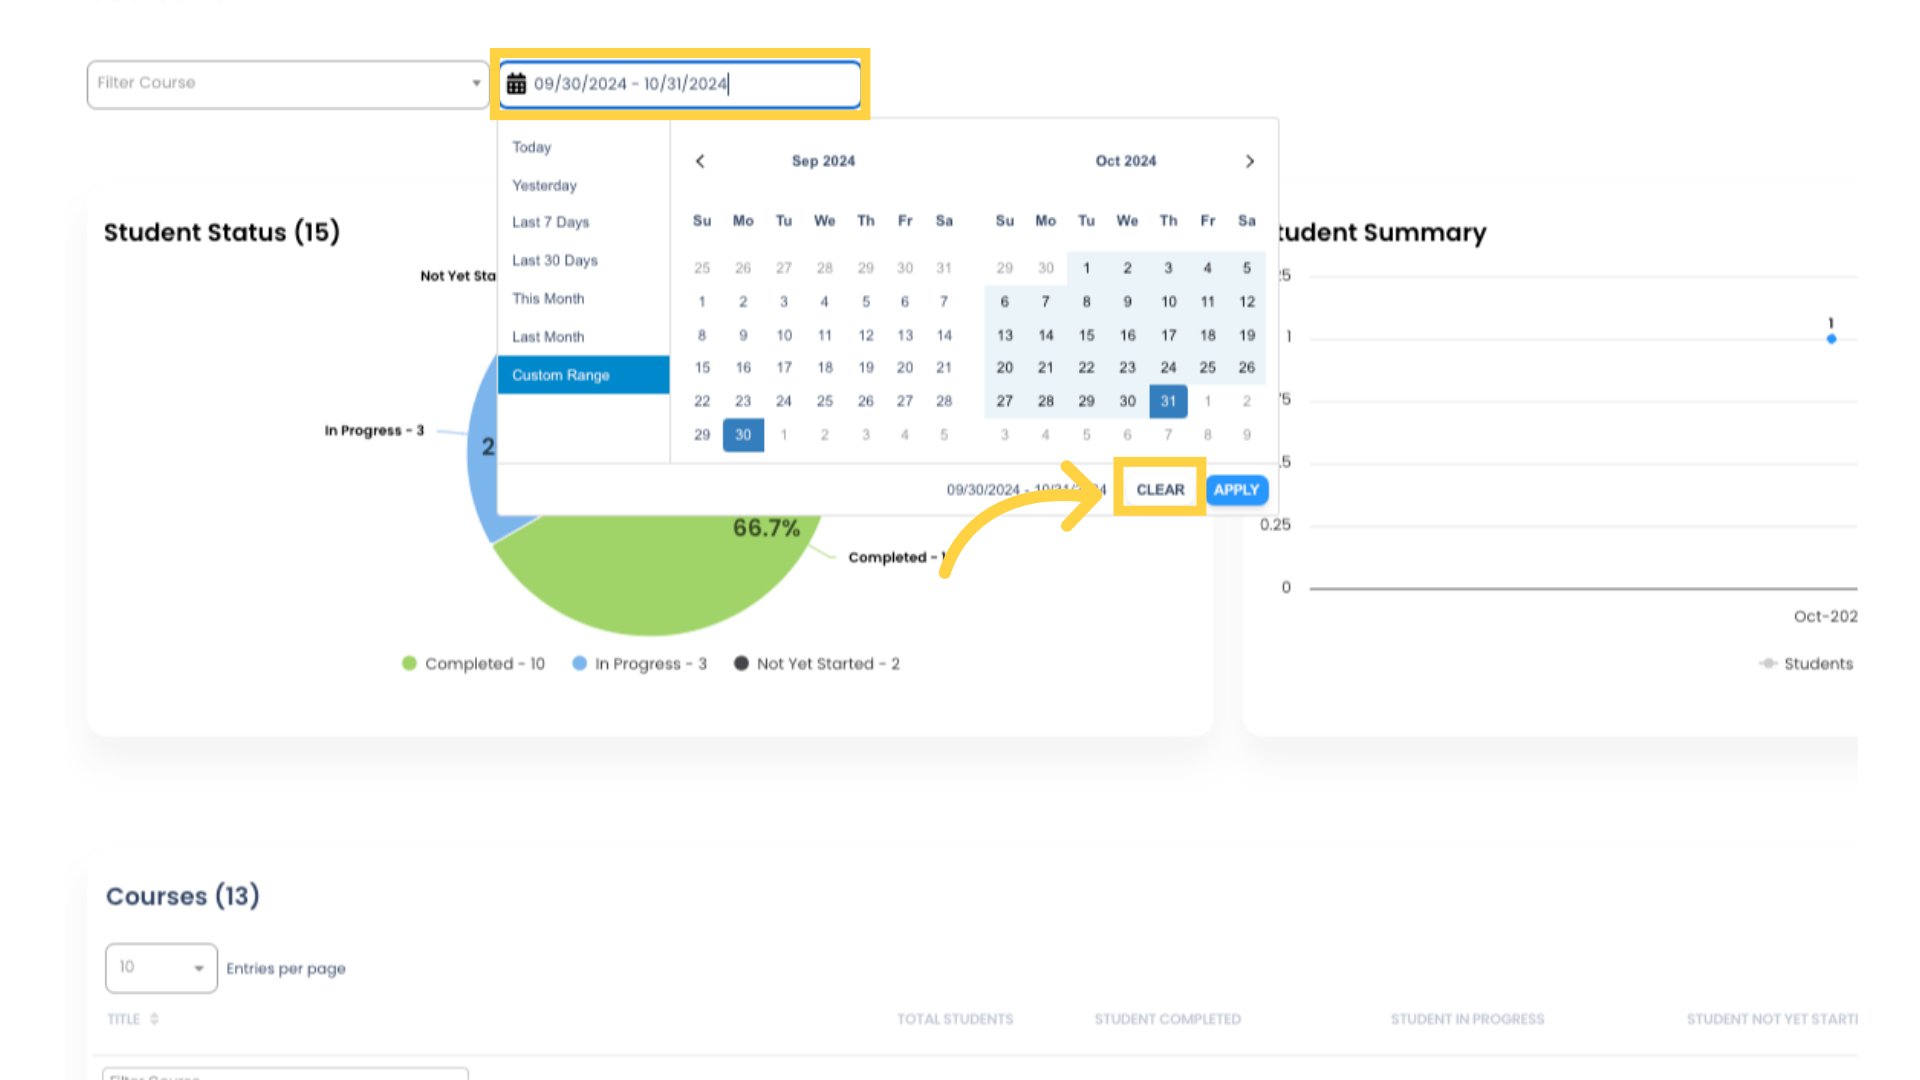
3. By default, the Student Status and Student Summary sections display aggregated data from all courses for the prior 30 days. You can adjust the date range by using the date picker field at the top. Use the “CLEAR” button to show all data.
4. The Student Status section provides an overview of student activity, showing the number and percentage of students with courses in progress, courses completed, and courses enrolled but not yet started.
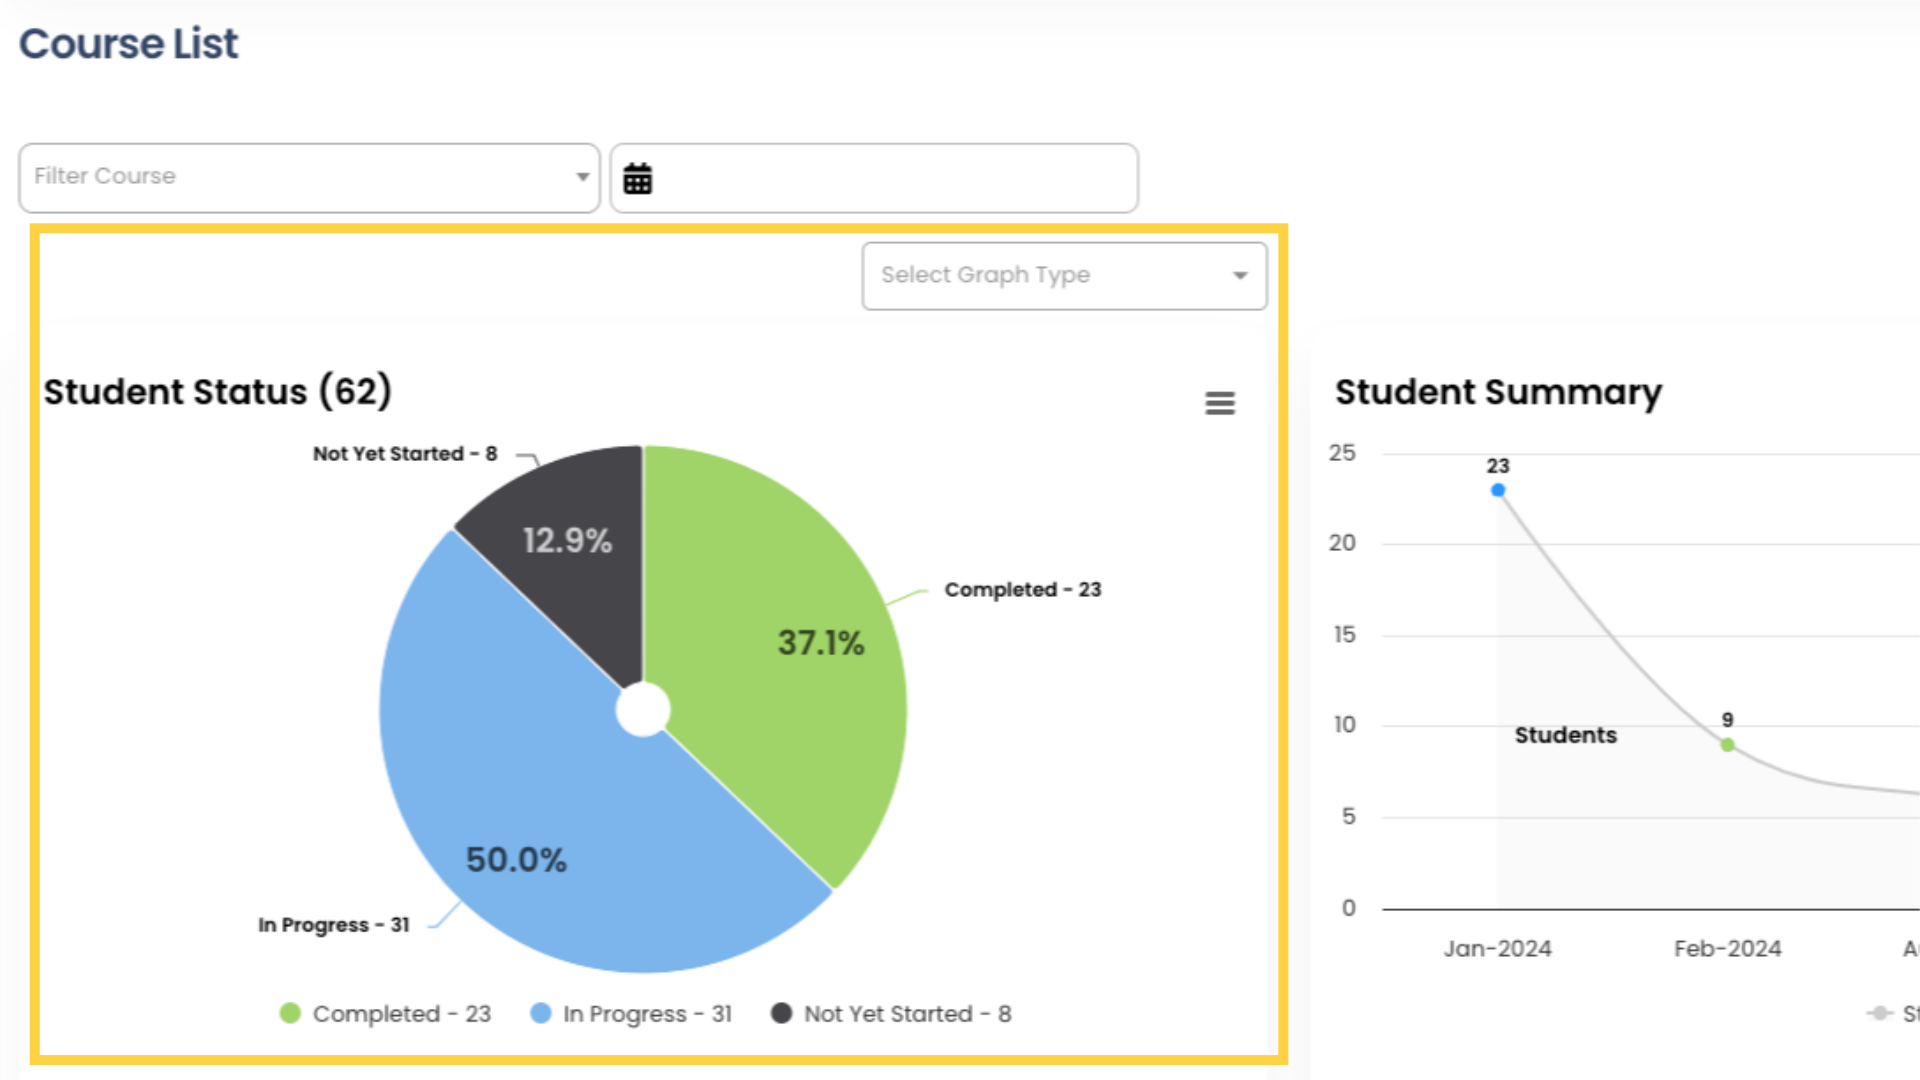
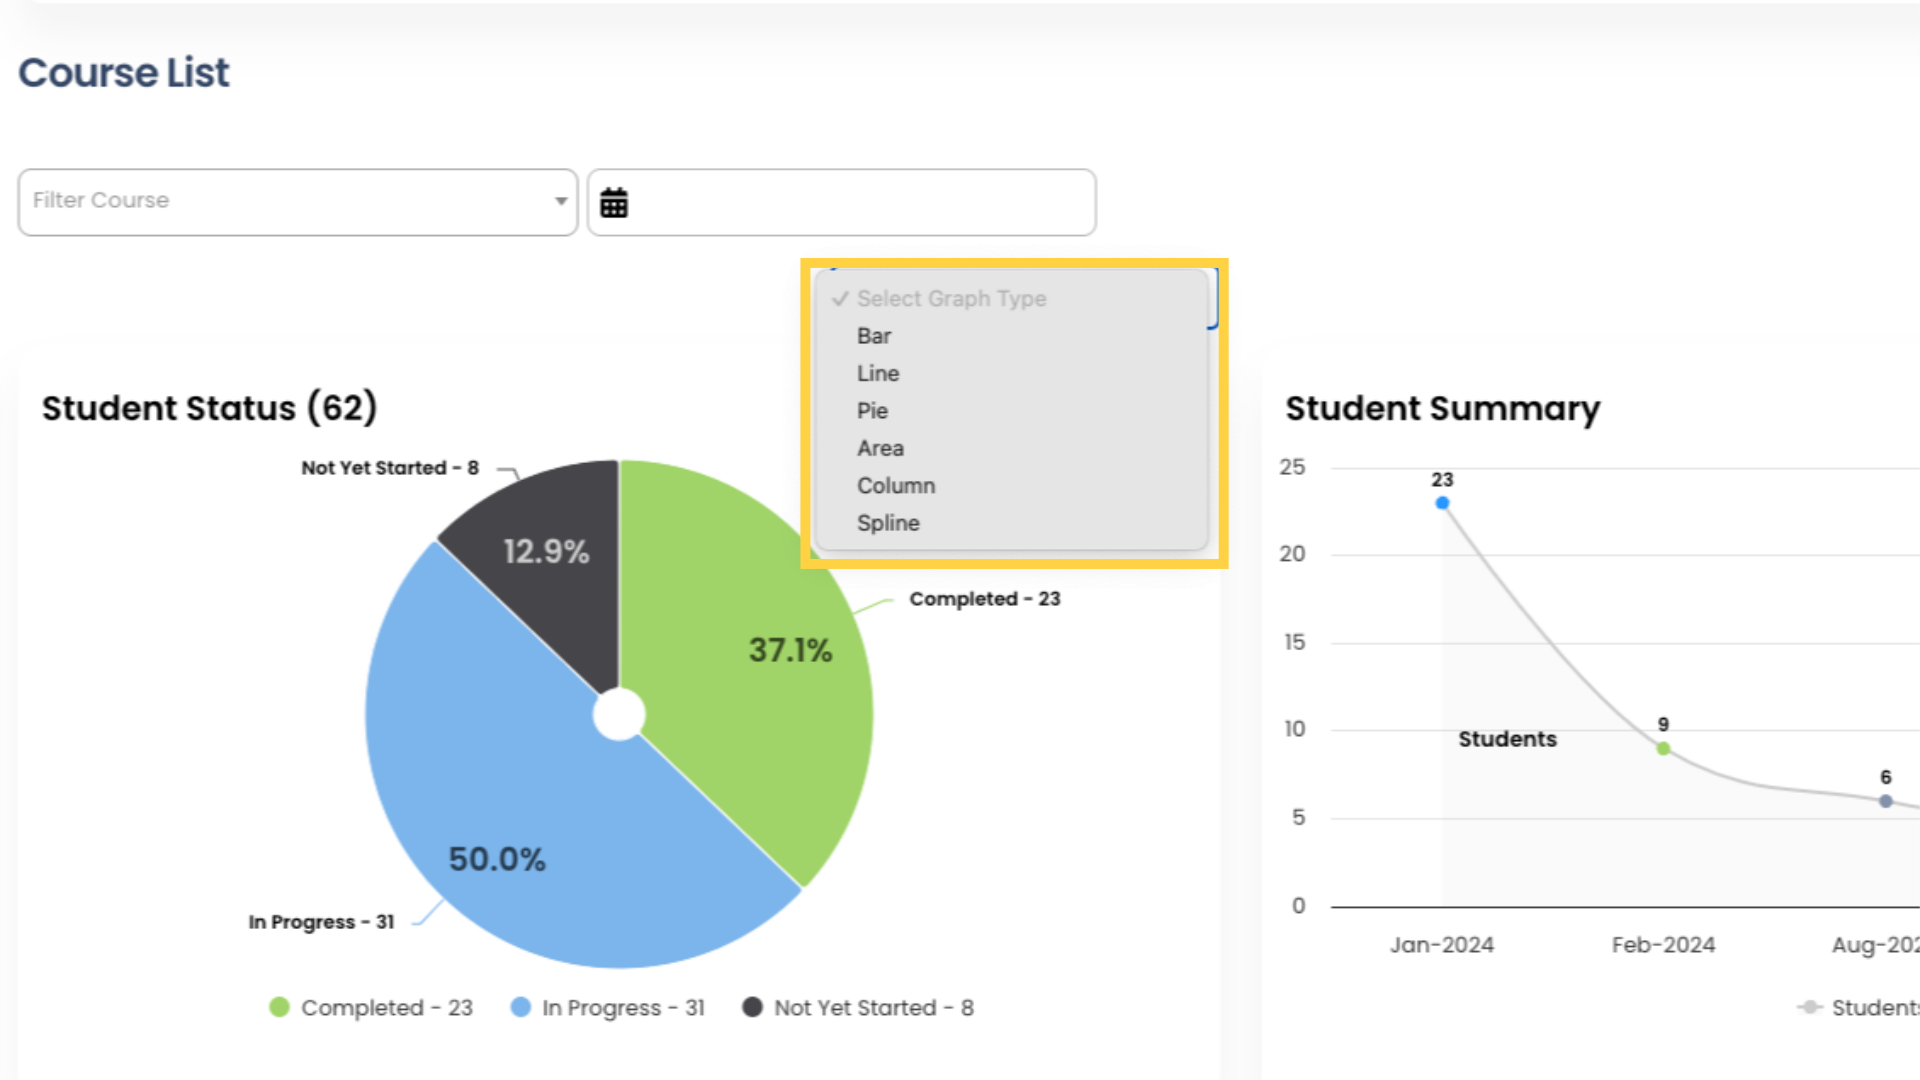
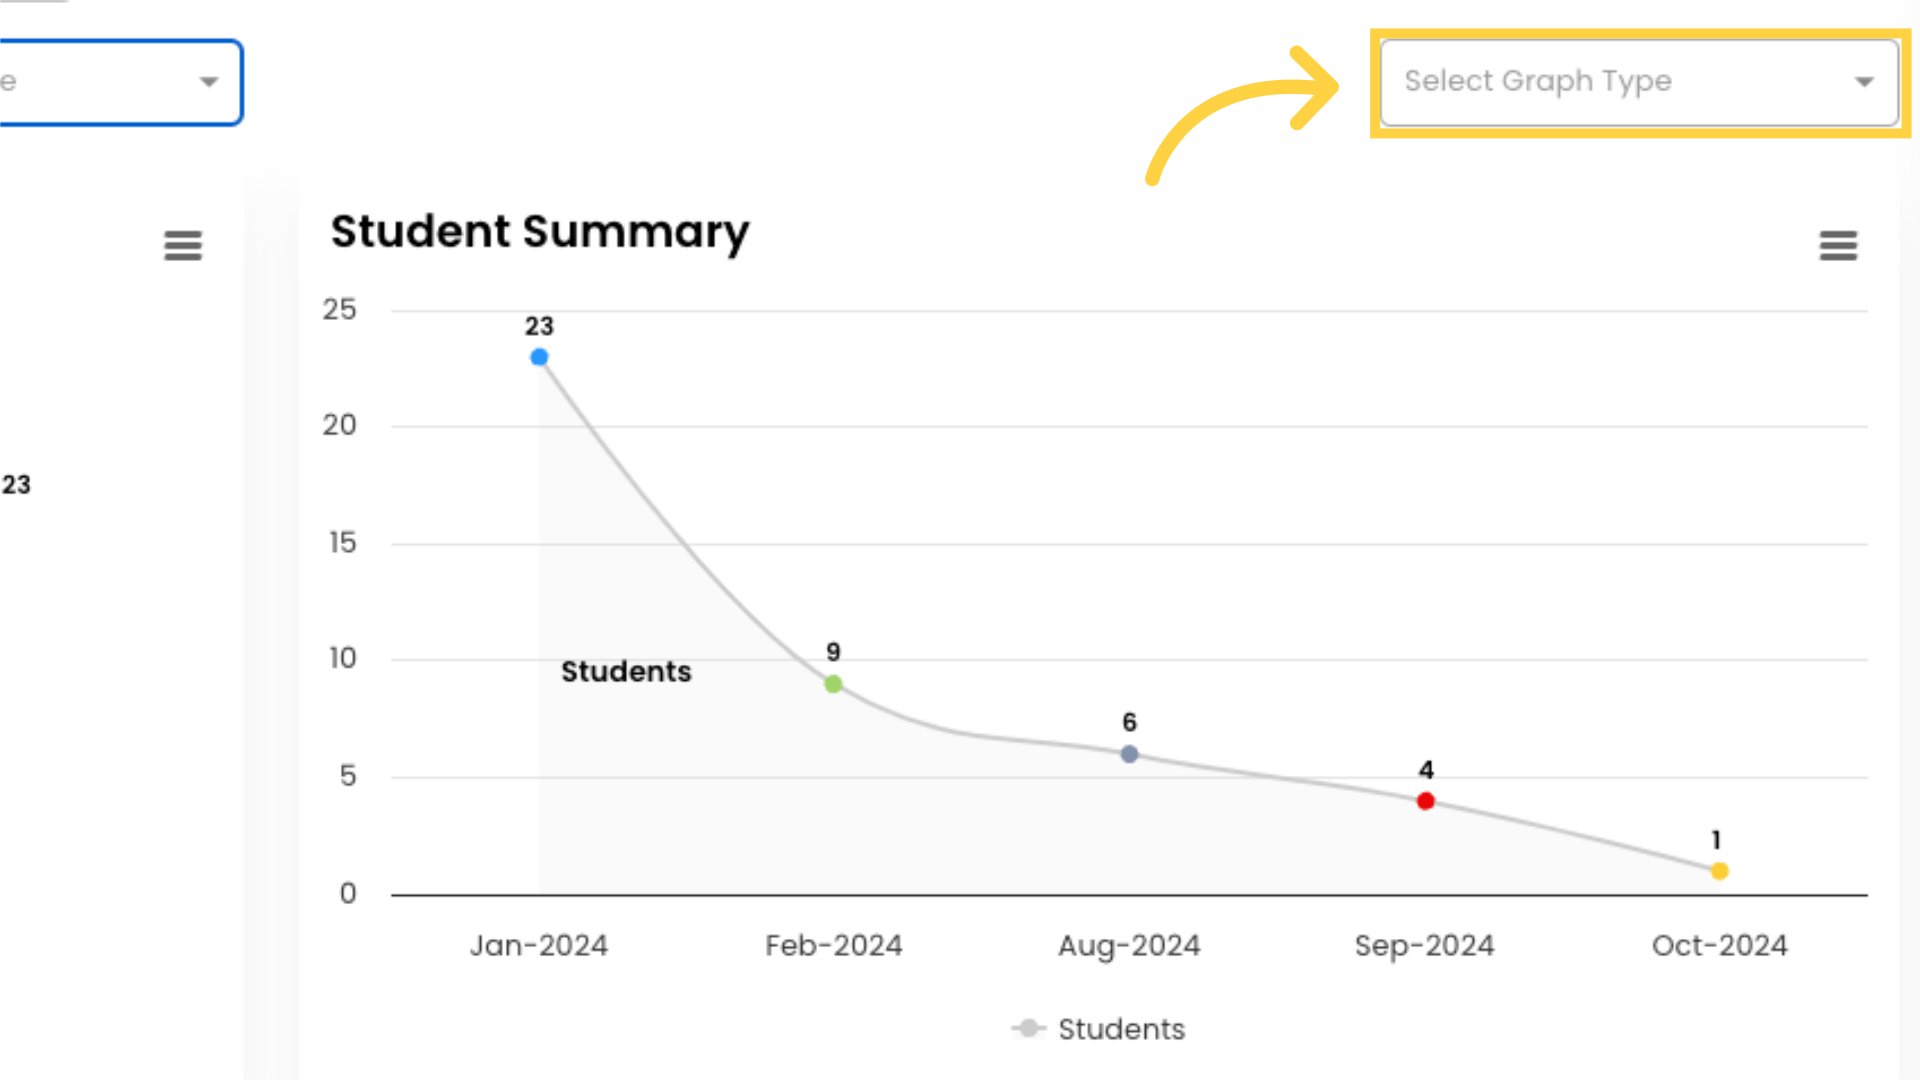
5. By default the Student Status graph is displayed in the pie chart format. To change this format, click “Select Graph Type” above the graph. All charts in Foundation LMS Reports provide the option of selecting from a list of graph types.
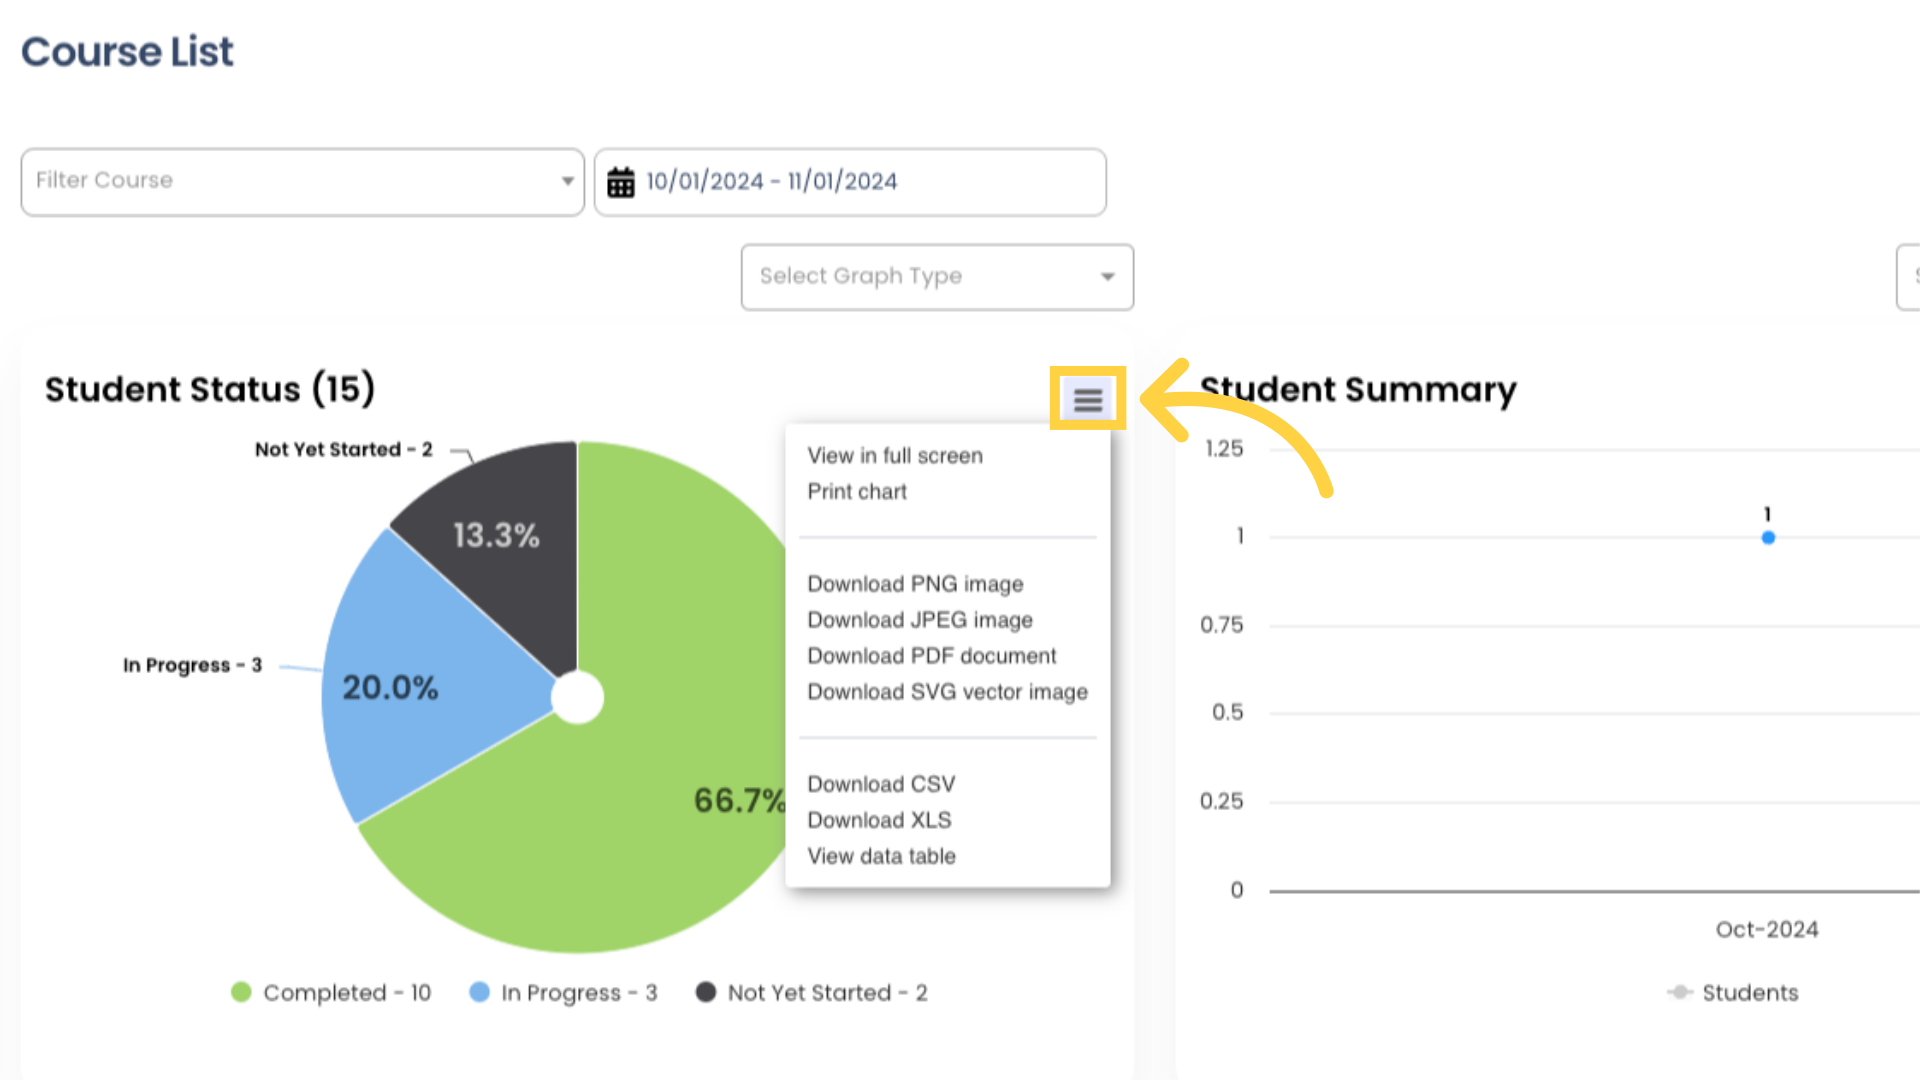
6. You can also print the graph, download the graph in various file formats, and download or view the graph’s source data. Click the hamburger icon to choose from a list of options.
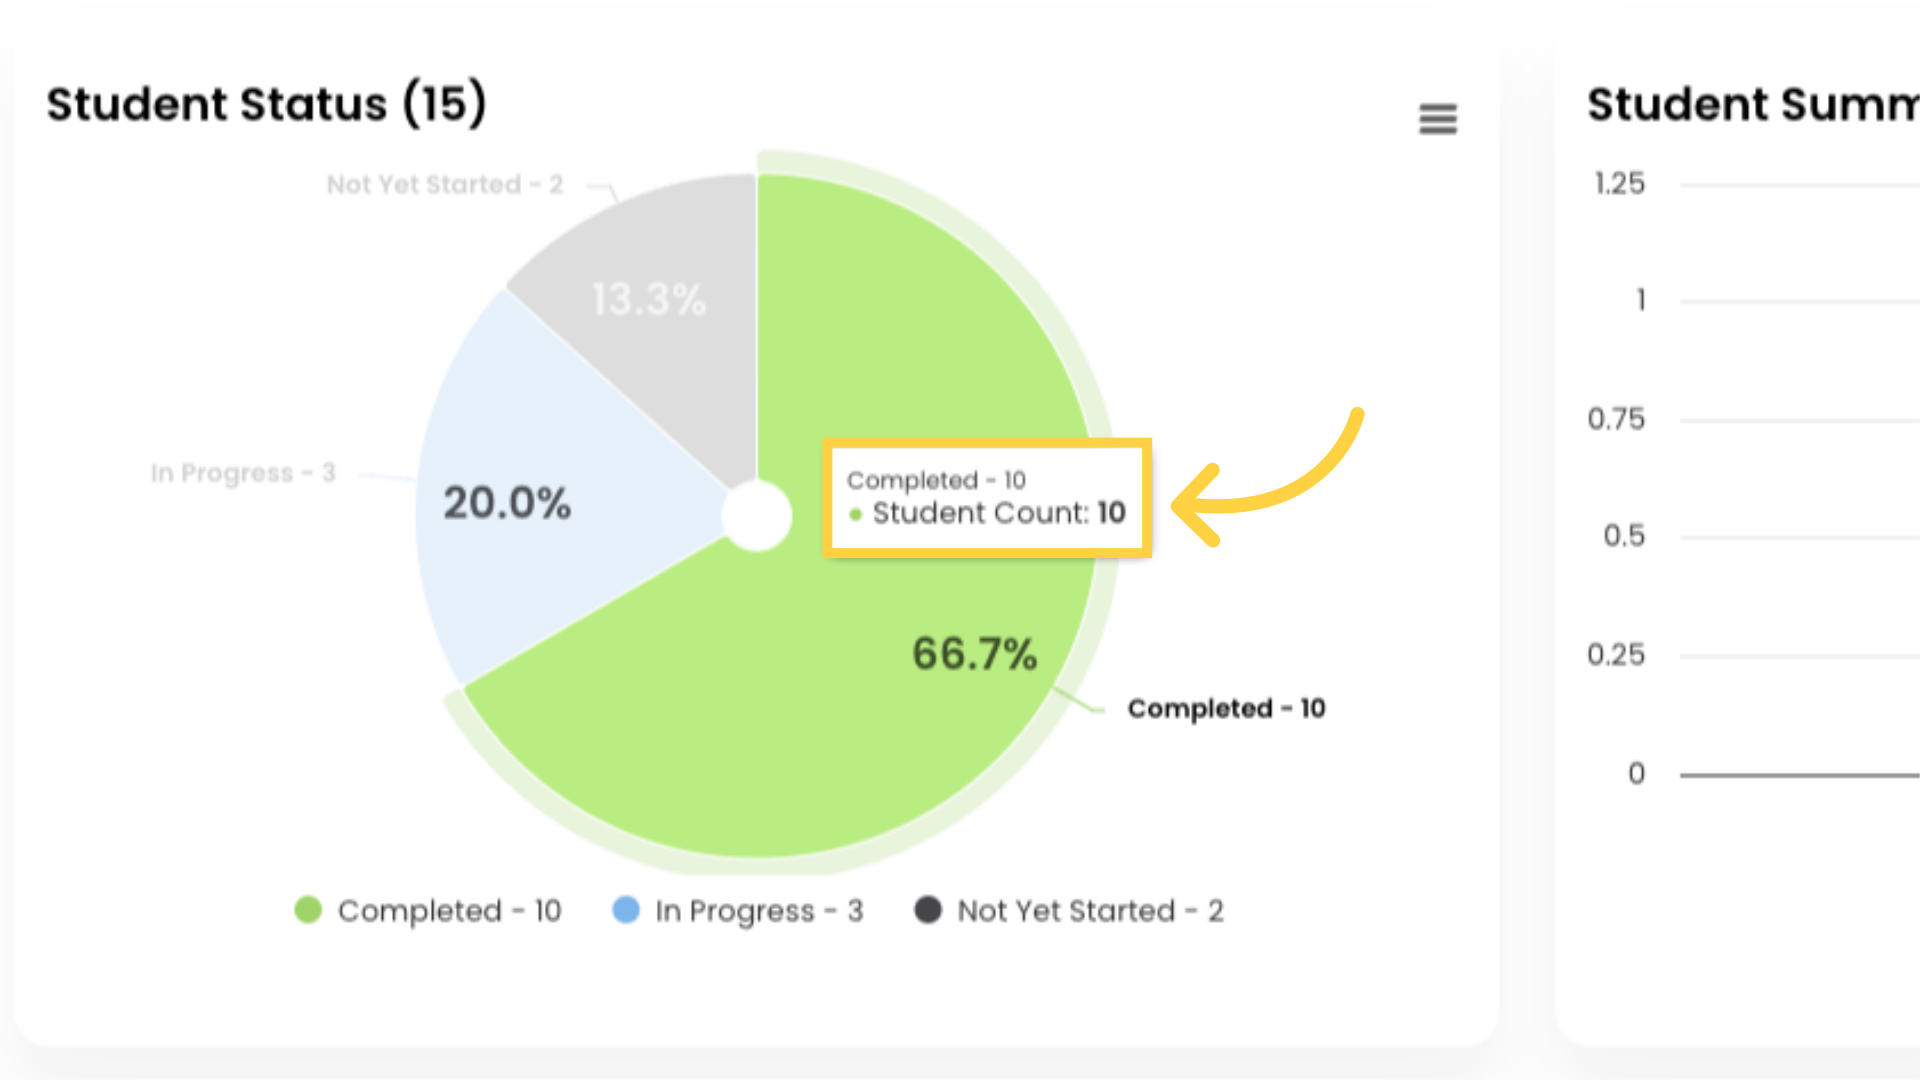
7. Hover over any colored section of a graph to see the total number of students represented by the section.
8. The Student Summary section displays how many students interacted with the Course within the selected date range, grouped by month. You can also select a different graph type for this chart.
9. The Courses section below displays a list of all Courses along with the total number of Students enrolled in the Course, the number of Students who completed the Course, the number of Students in progress, and the number of students who have not yet started the Course. The Course start date and expiration date are also displayed.

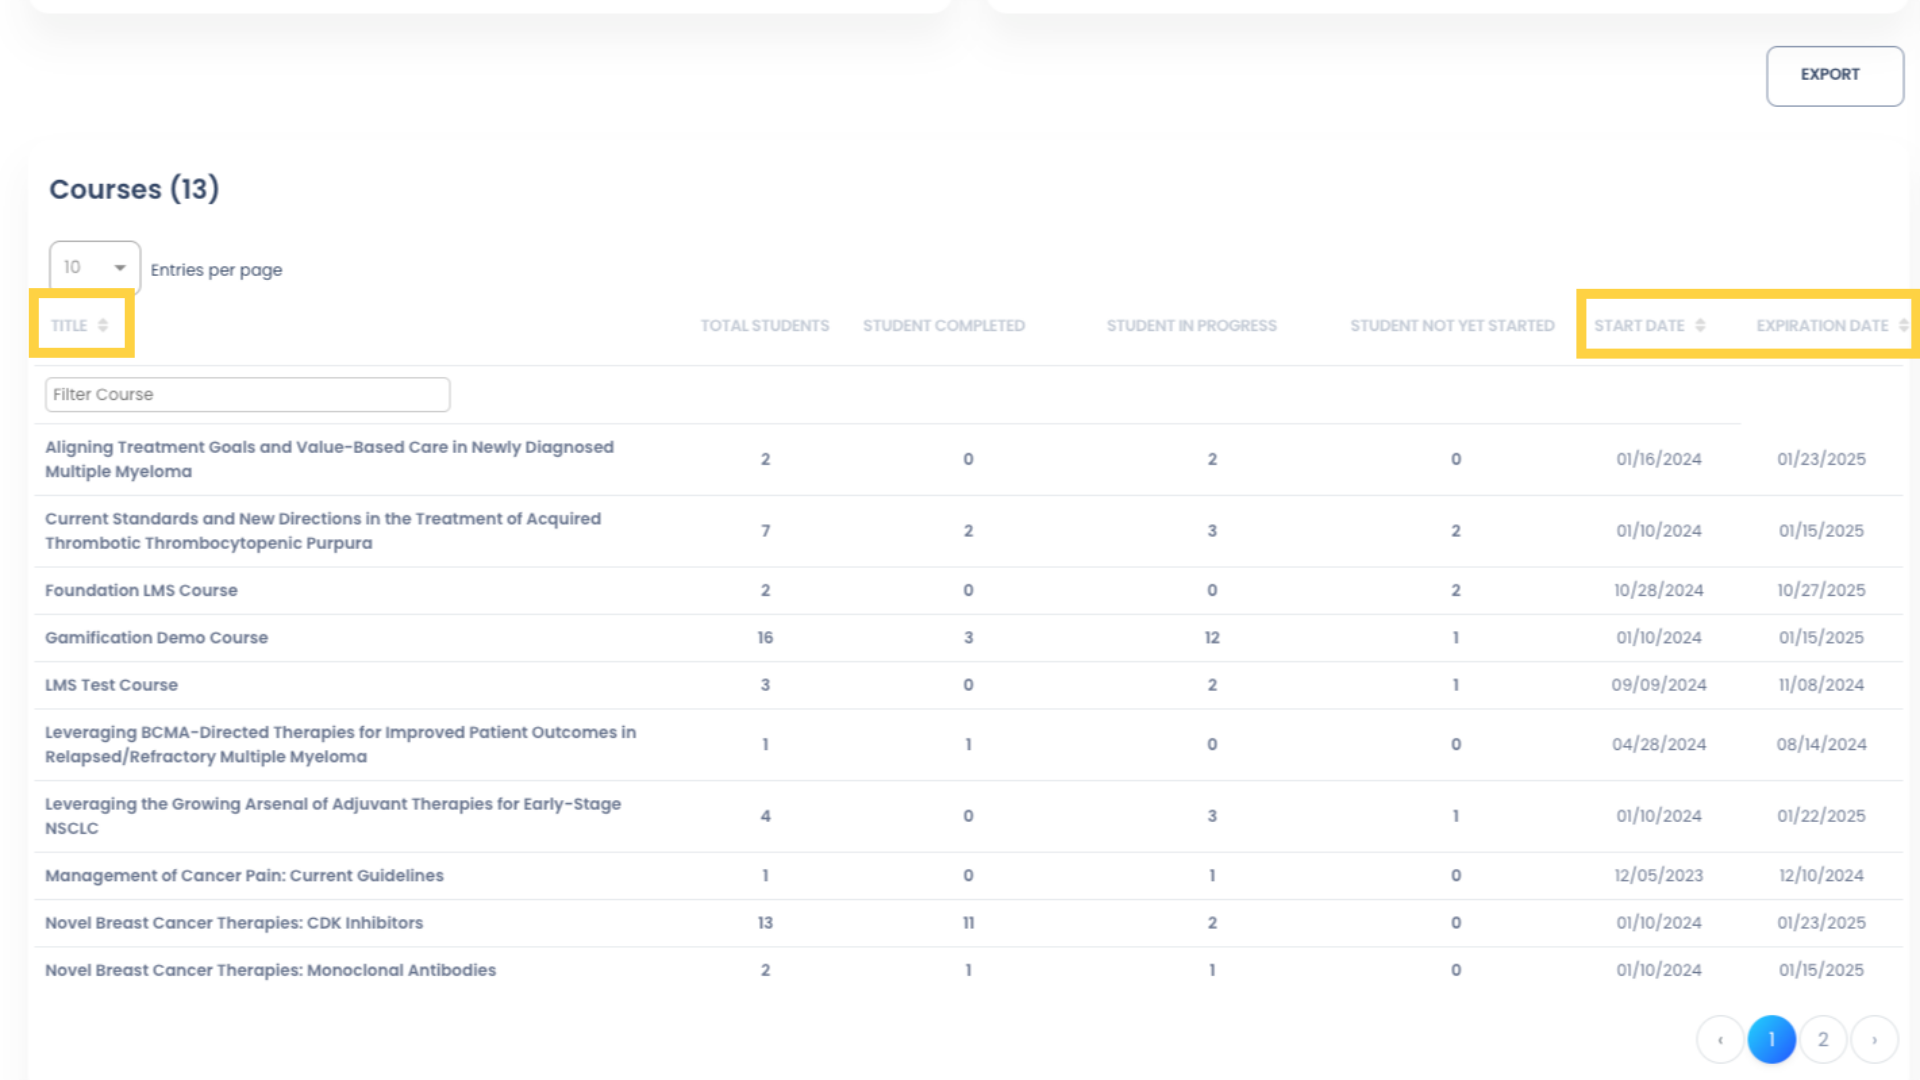
10. By default, the Courses are displayed in alphabetical order. The following columns can be sorted by ascending or descending order: Title, Start Date, and Expiration Date.
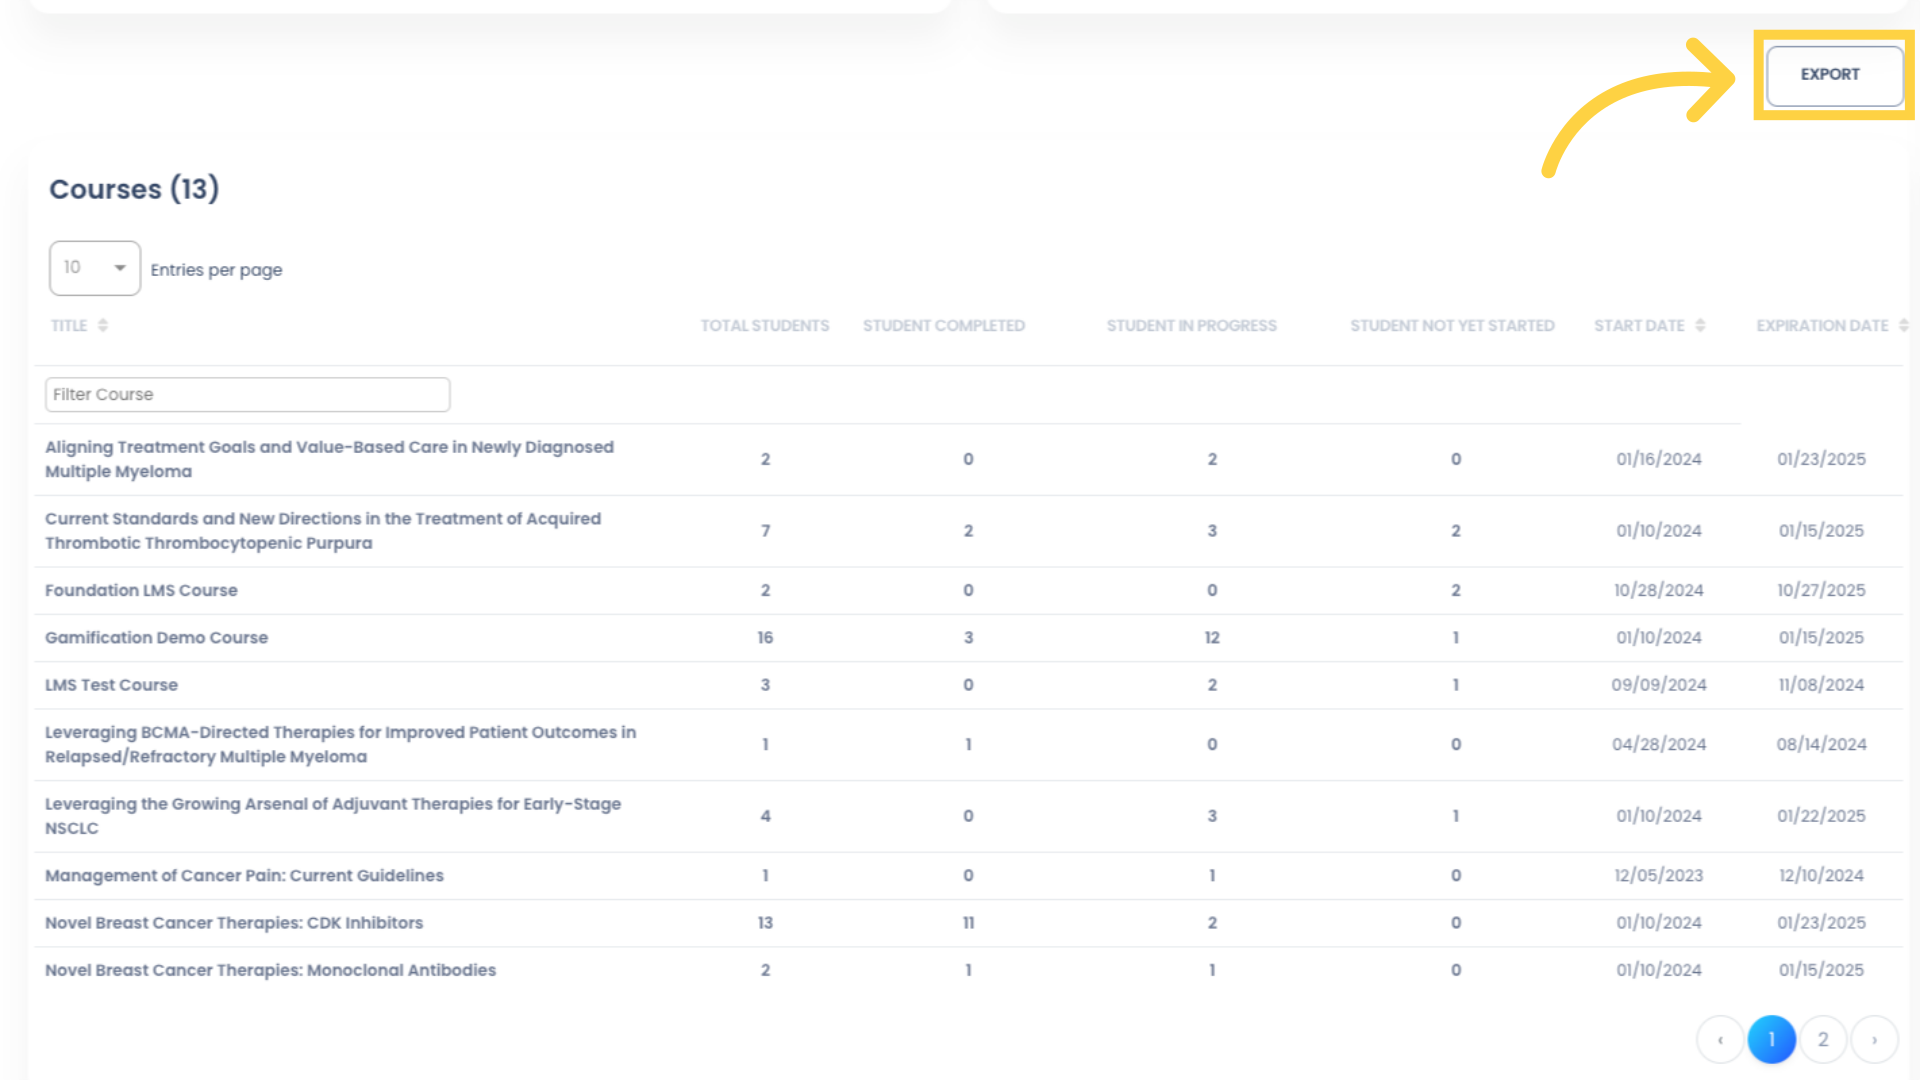
11. You can export the Course list as an Excel file. Any filtering you have applied to the report will also be applied to the exported file.
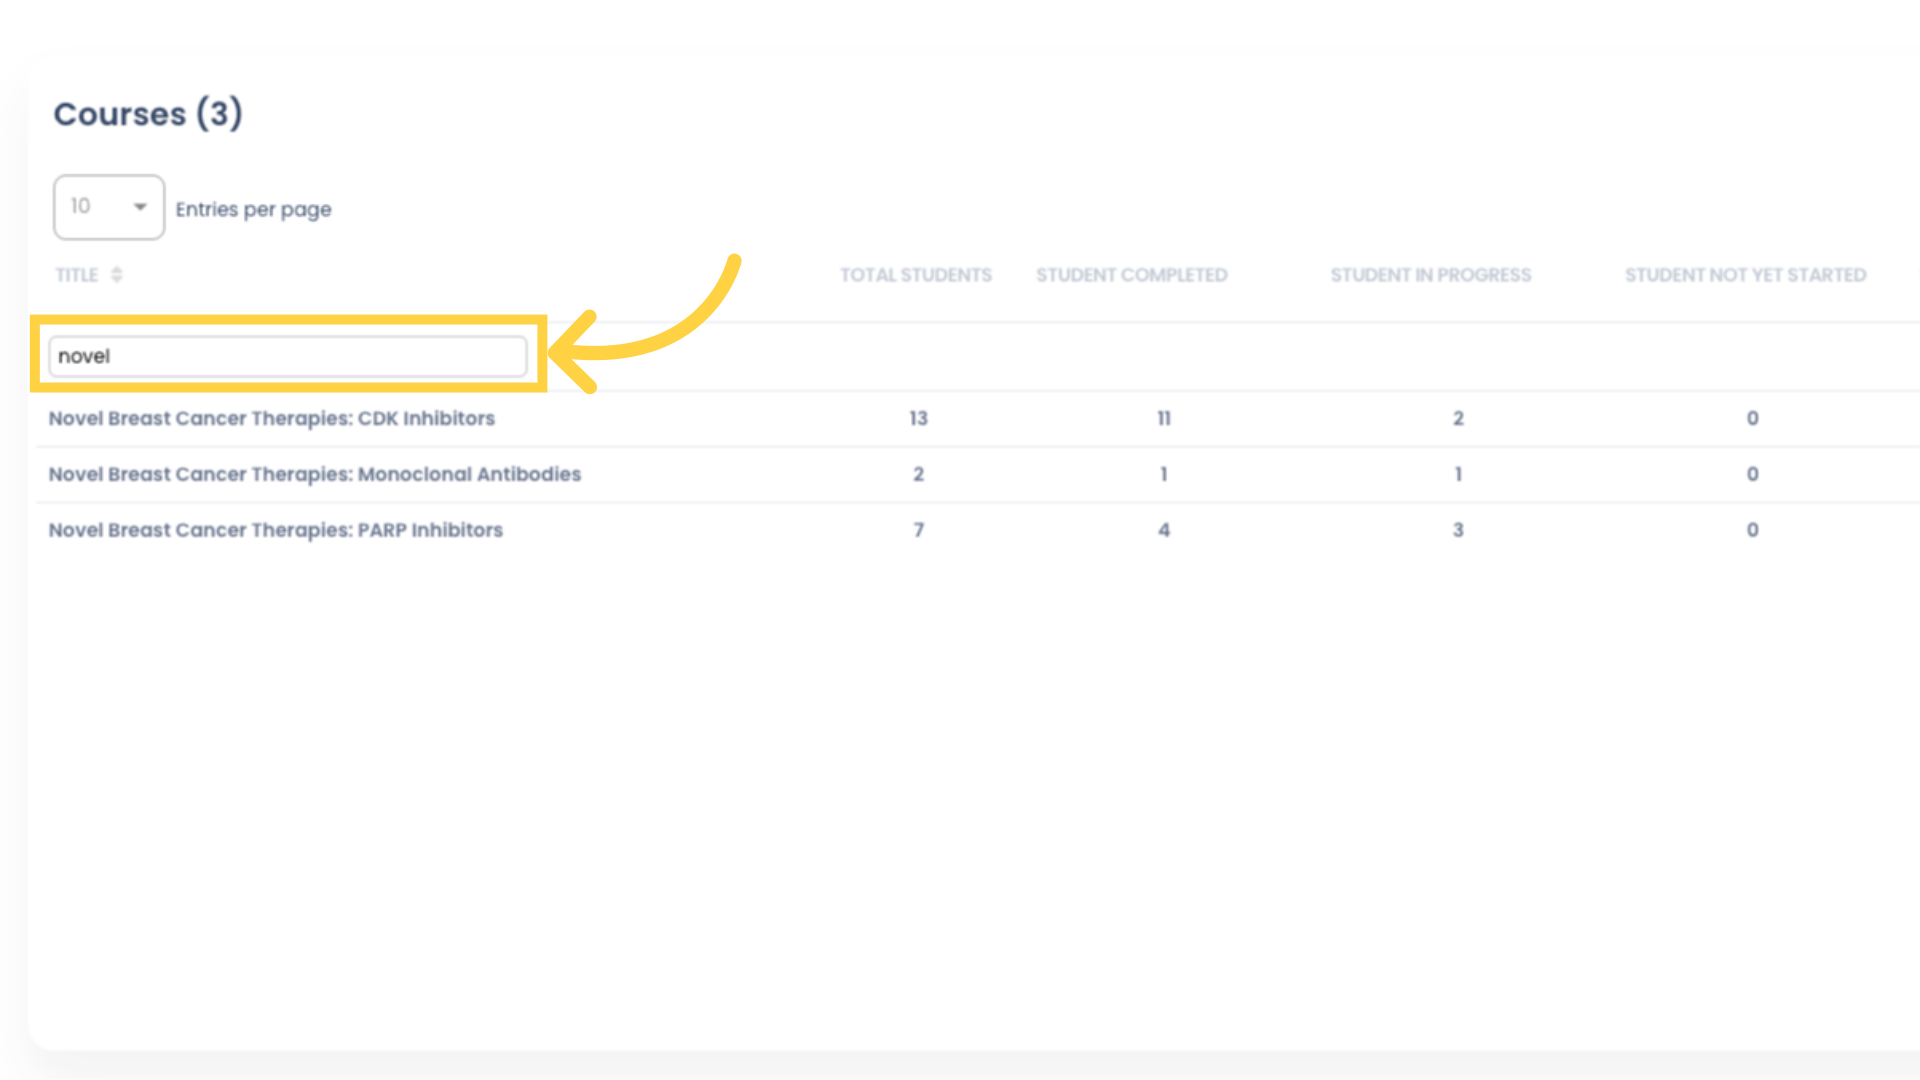
12. You can filter the Course list by typing in the “Filter Course” field, then hitting Tab or Enter.
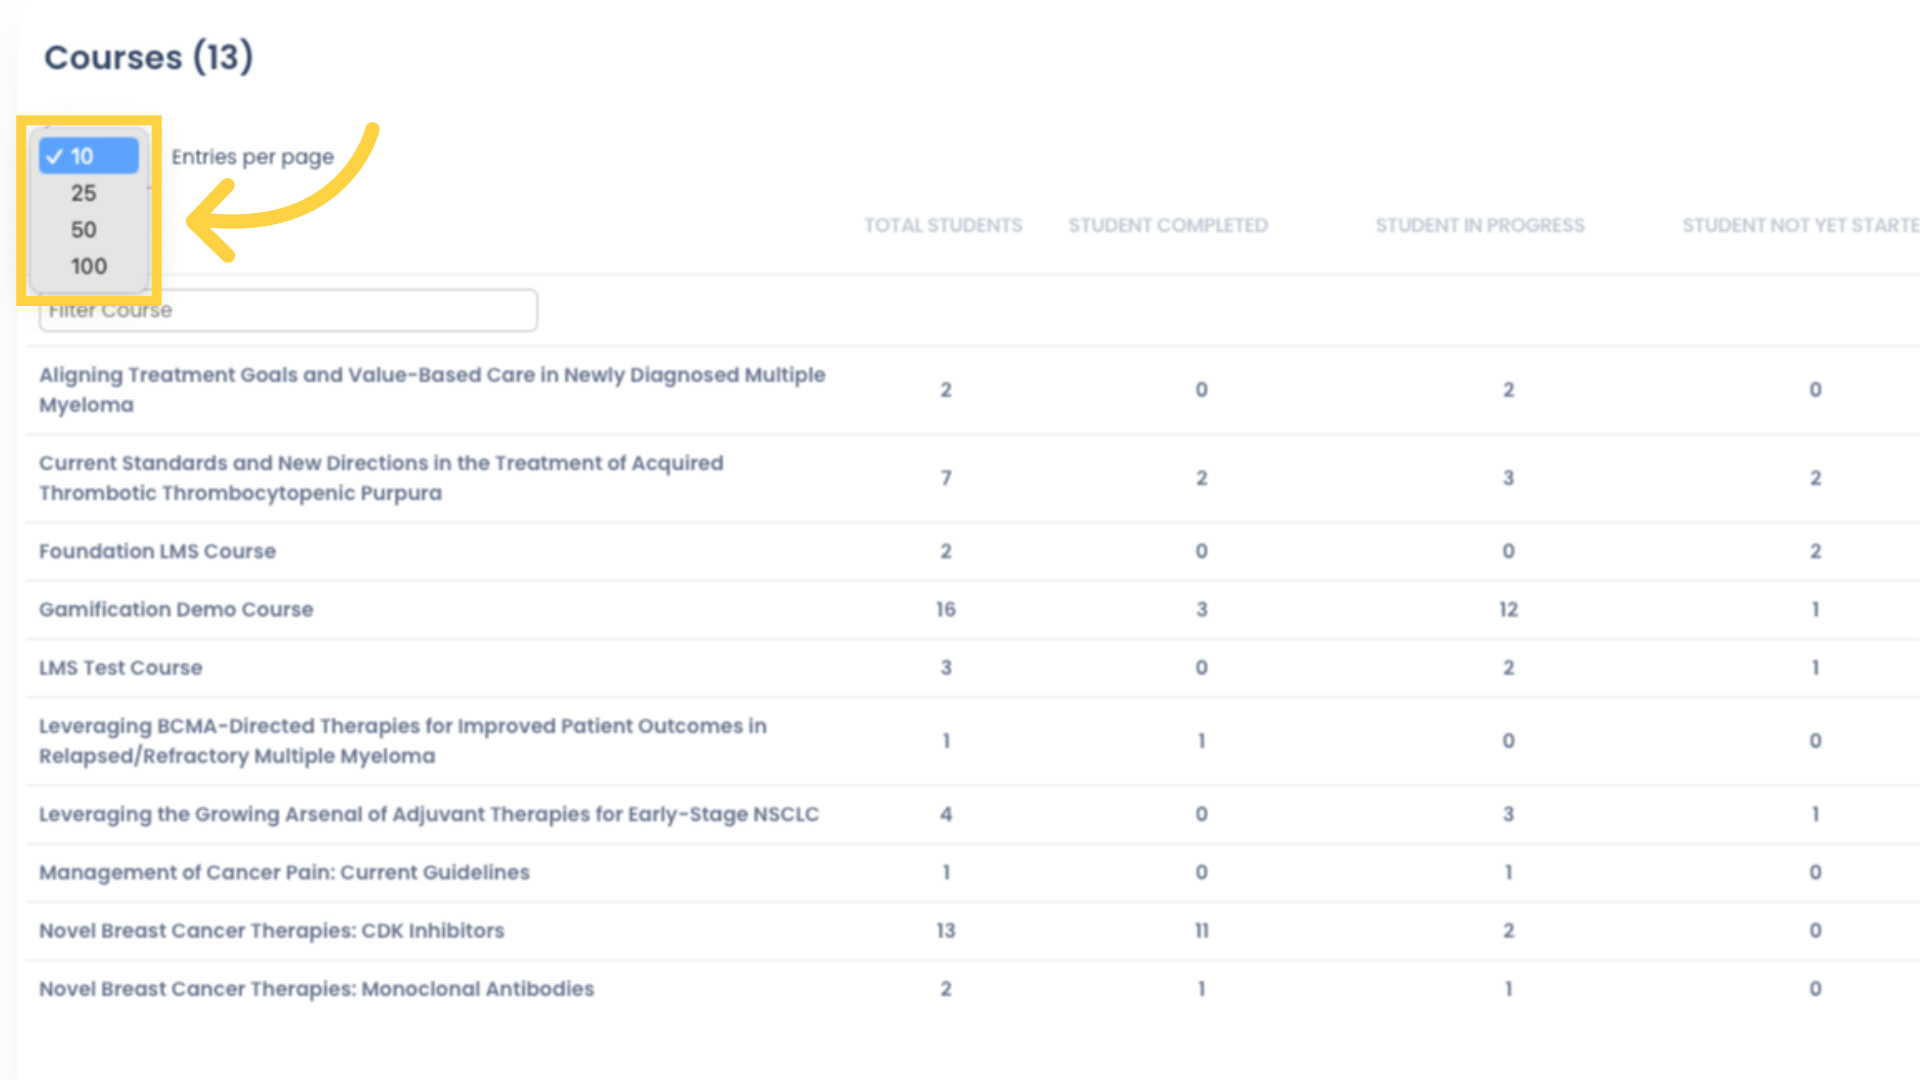
13. Use the “Entries per page” dropdown field to show more than 10 Courses per page.
14. You can filter the Student Status and Student Summary data by a specific Course by selecting your desired Course from the Filter Course list at the top of the Report. You can scroll to find your Course, or you can type in the field to search.
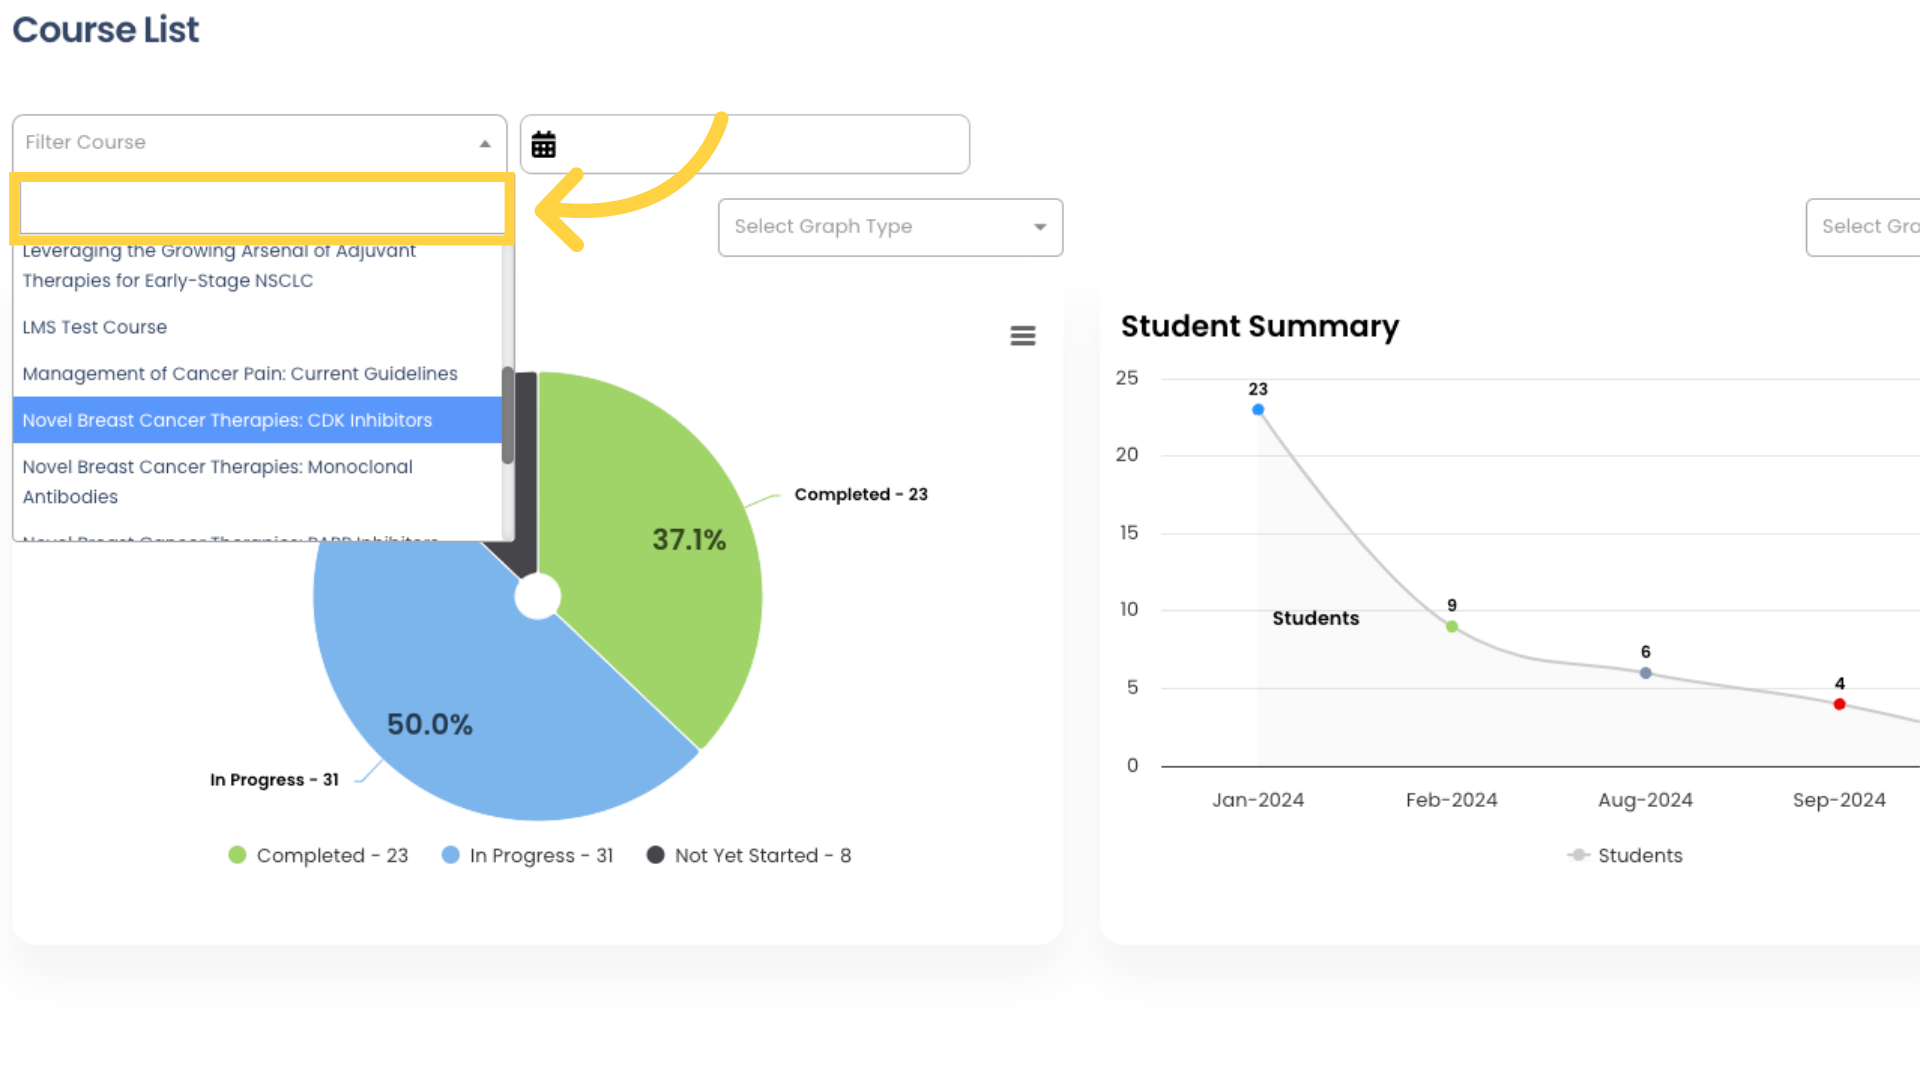
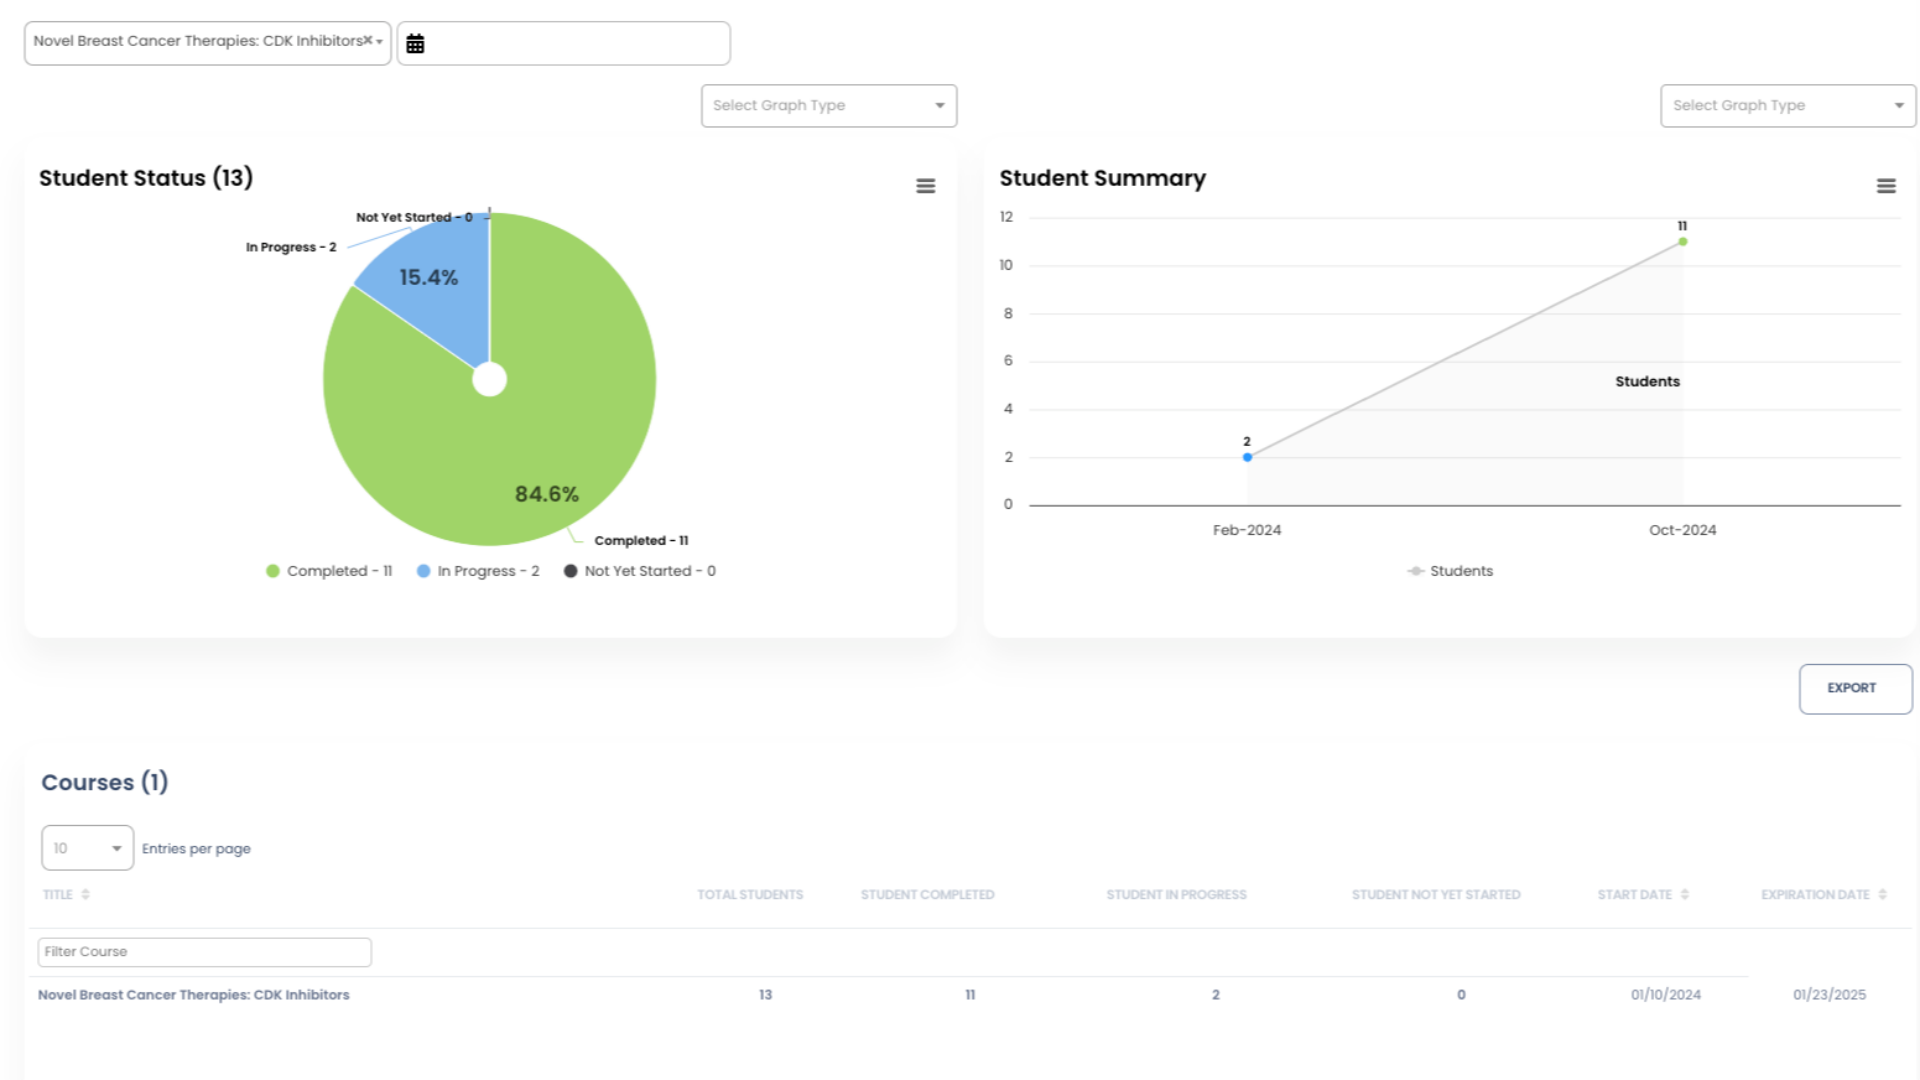
15. Now the Student Status and Student Summary charts, and the Course list below, only show aggregated data for the selected Course.
