Have a Question?
How to Add a Course Activity
This tutorial will walk you through the process of adding a Course Activity in Foundation LMS. A Course Activity is a question or set of questions that is located within the Course curriculum. Activities can be used to test knowledge and heighten Student engagement.
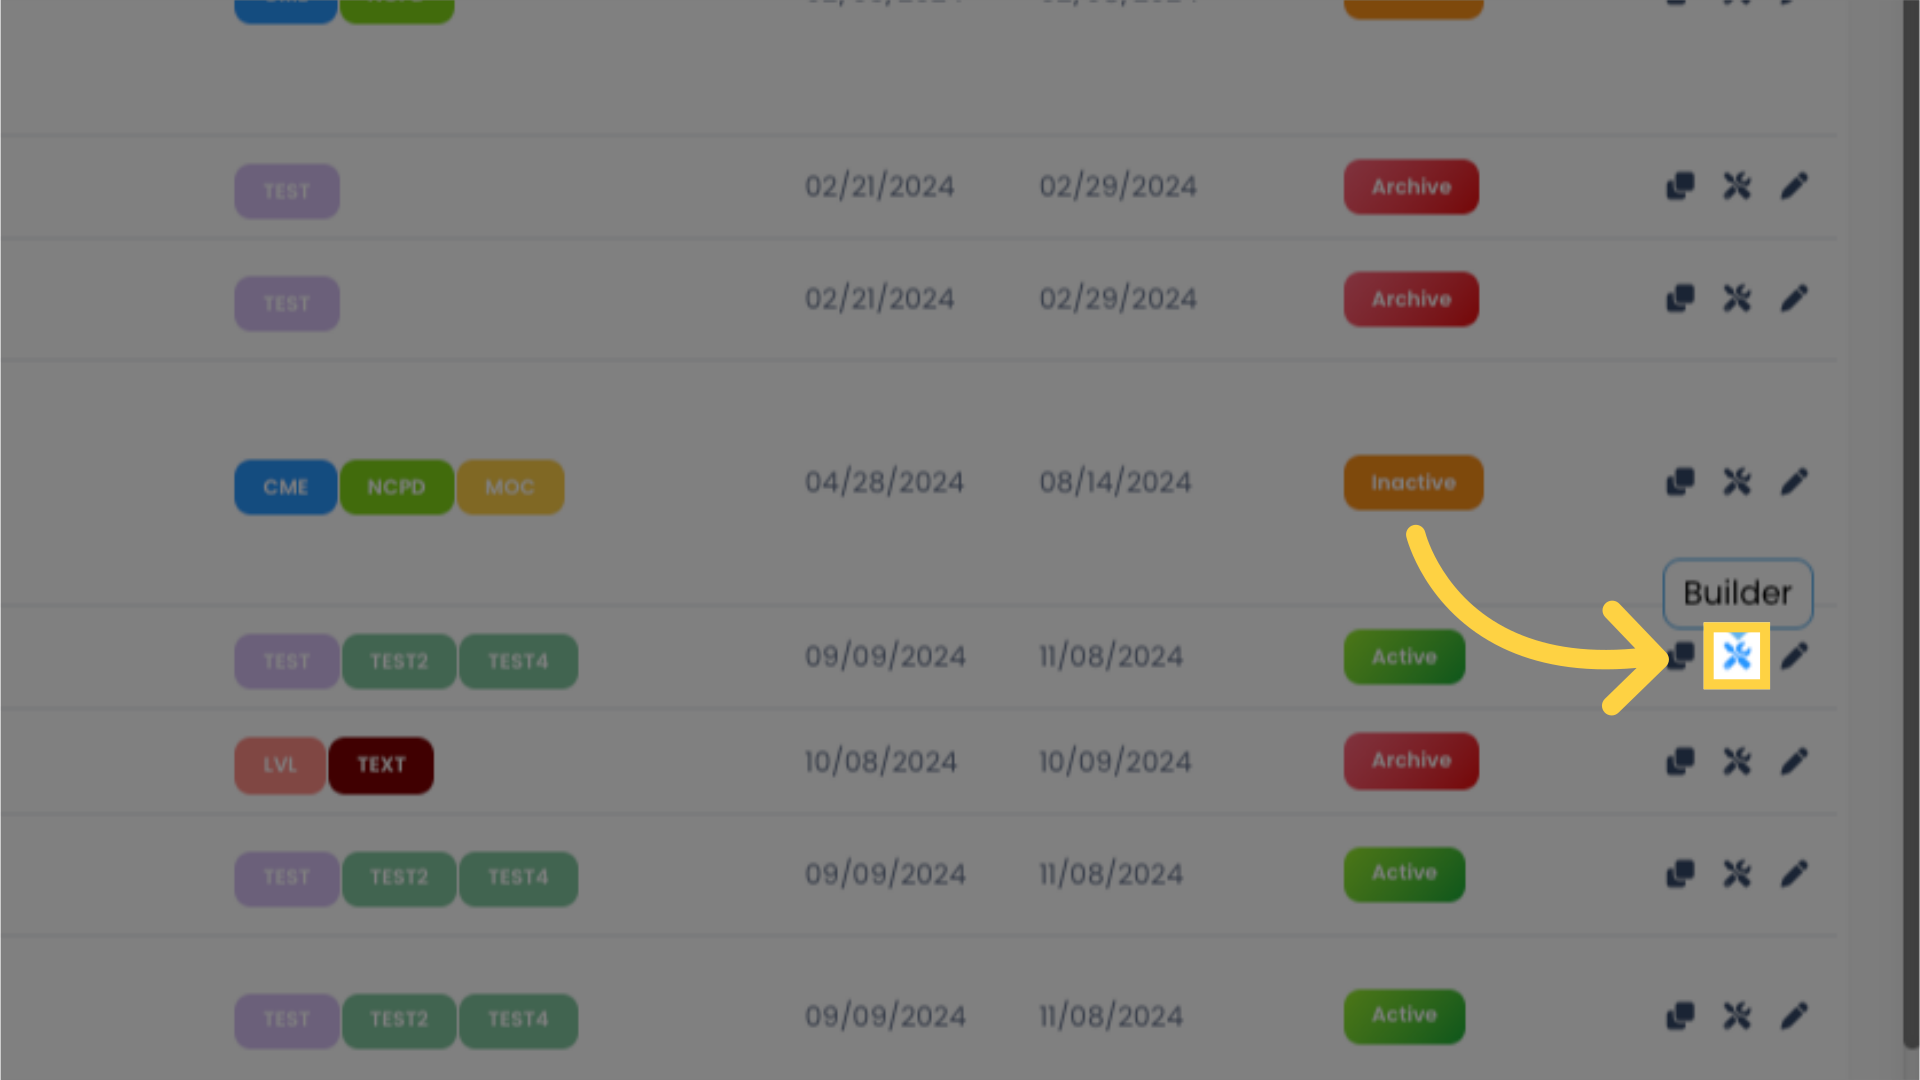
1. From Courses -> Online, navigate to your Course and click the Course Builder icon.
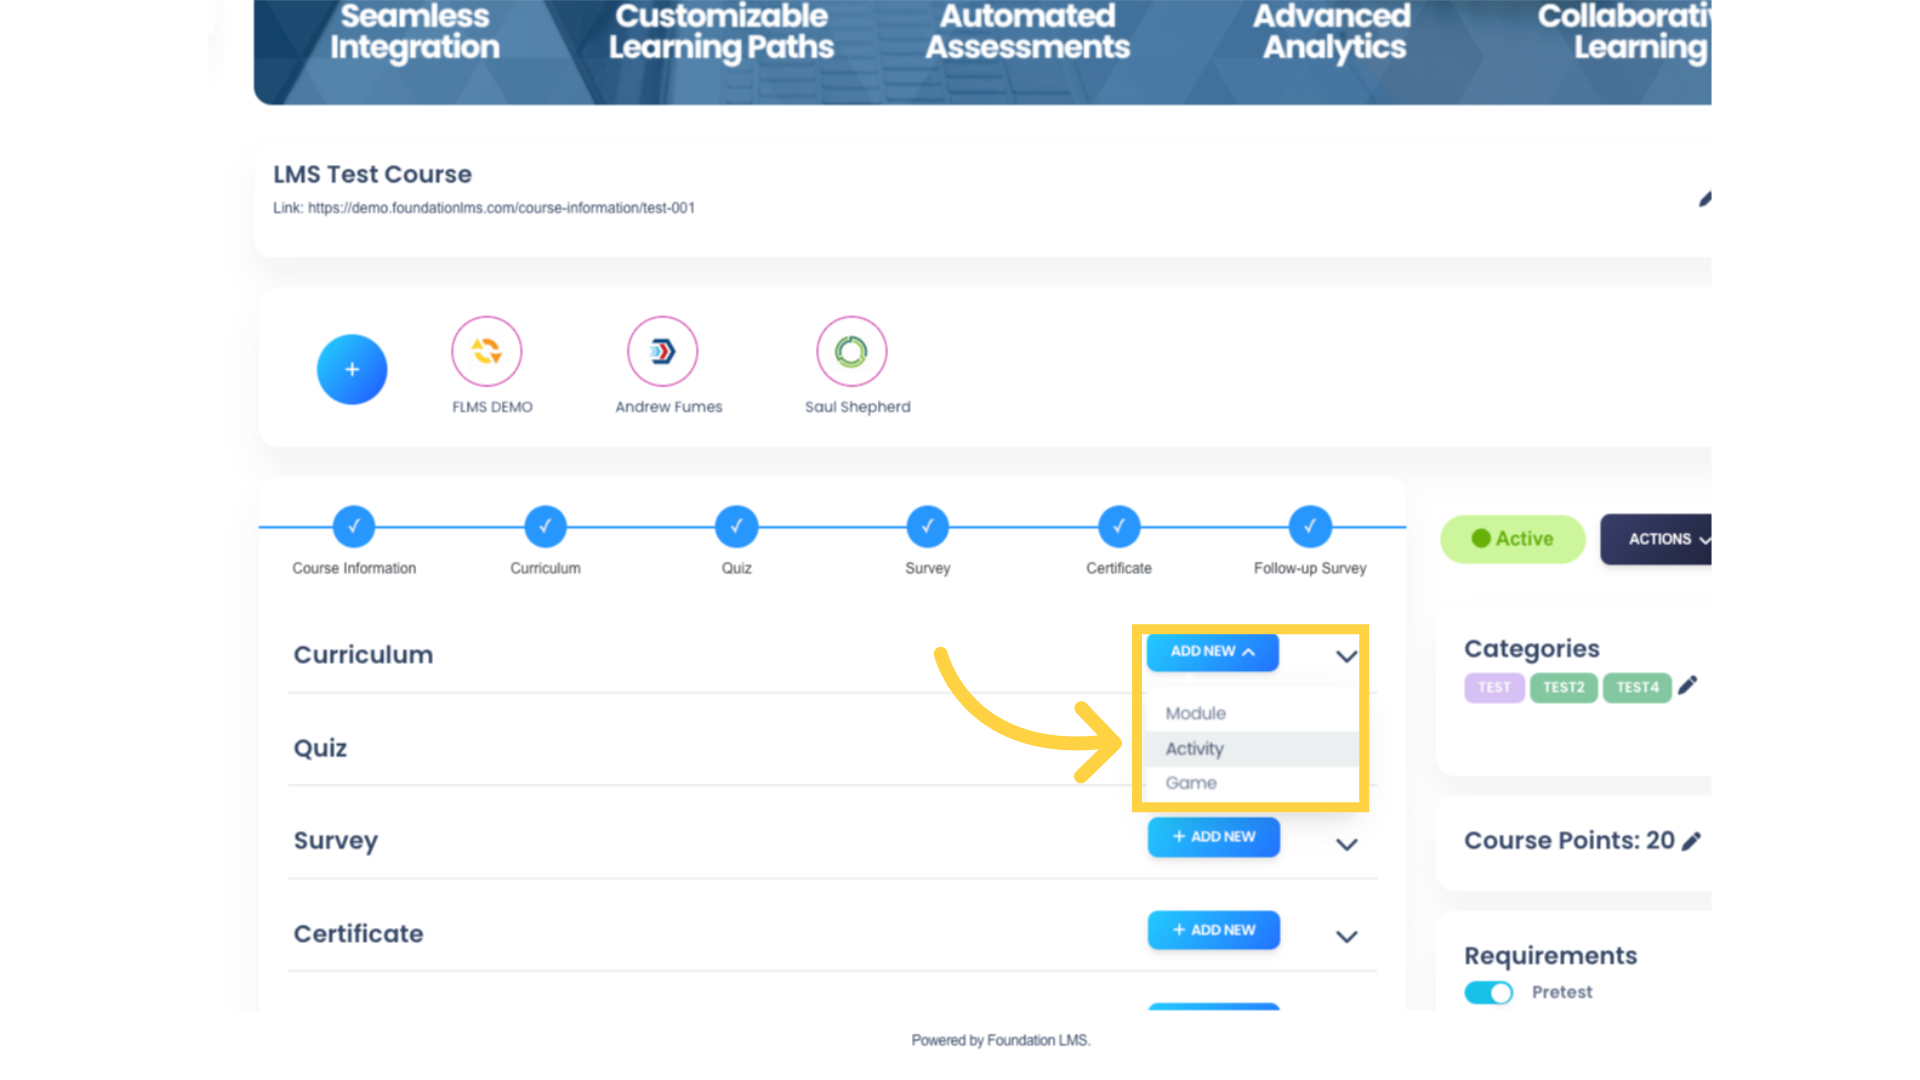
2. Under Course Curriculum, click “ADD NEW”, and select “Activity” to add a Course Activity.
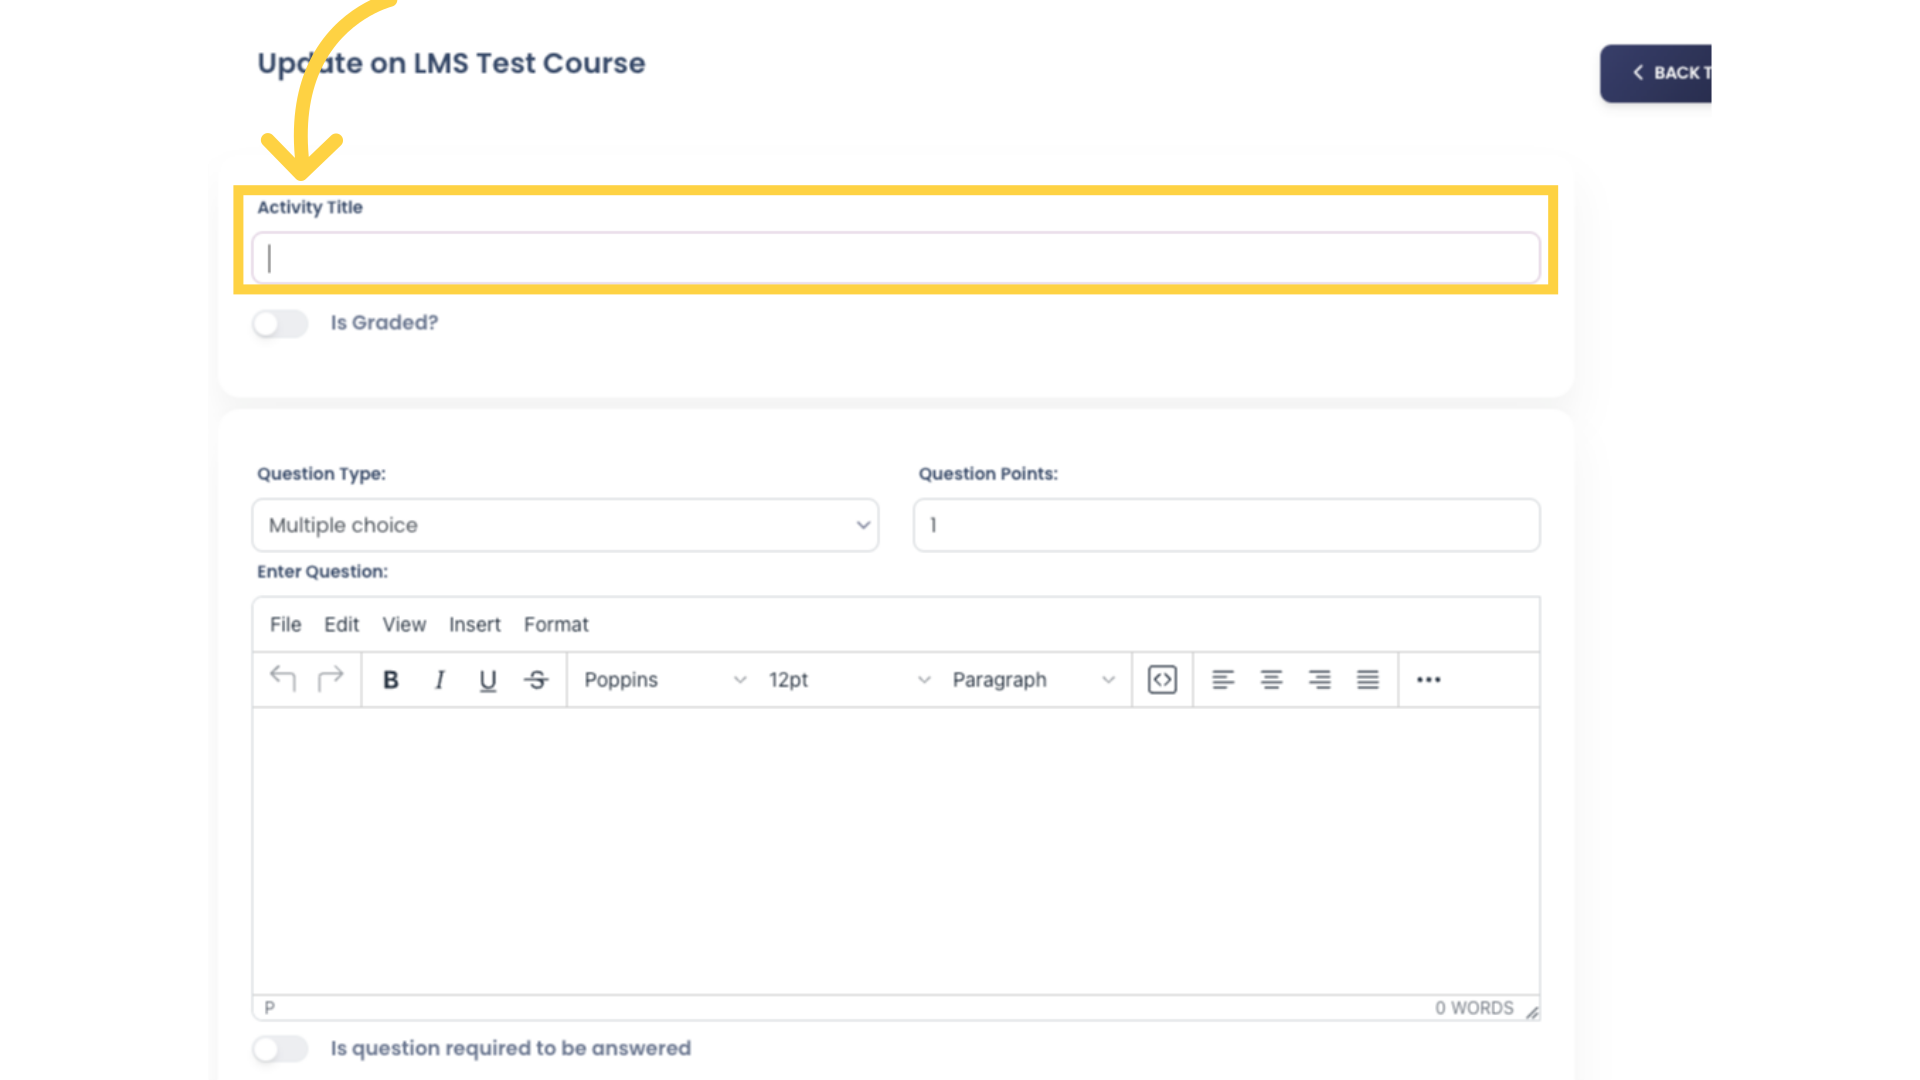
3. Click the “Activity Title” text field to enter your Activity Title. Students will be able to see this in the Course Learning Path, so be sure to give it a short, descriptive title.
4. Click the “Is Graded?” toggle button if applicable. Graded activities will require Students to earn a Passing Percentage in order to advance to the next Course step.
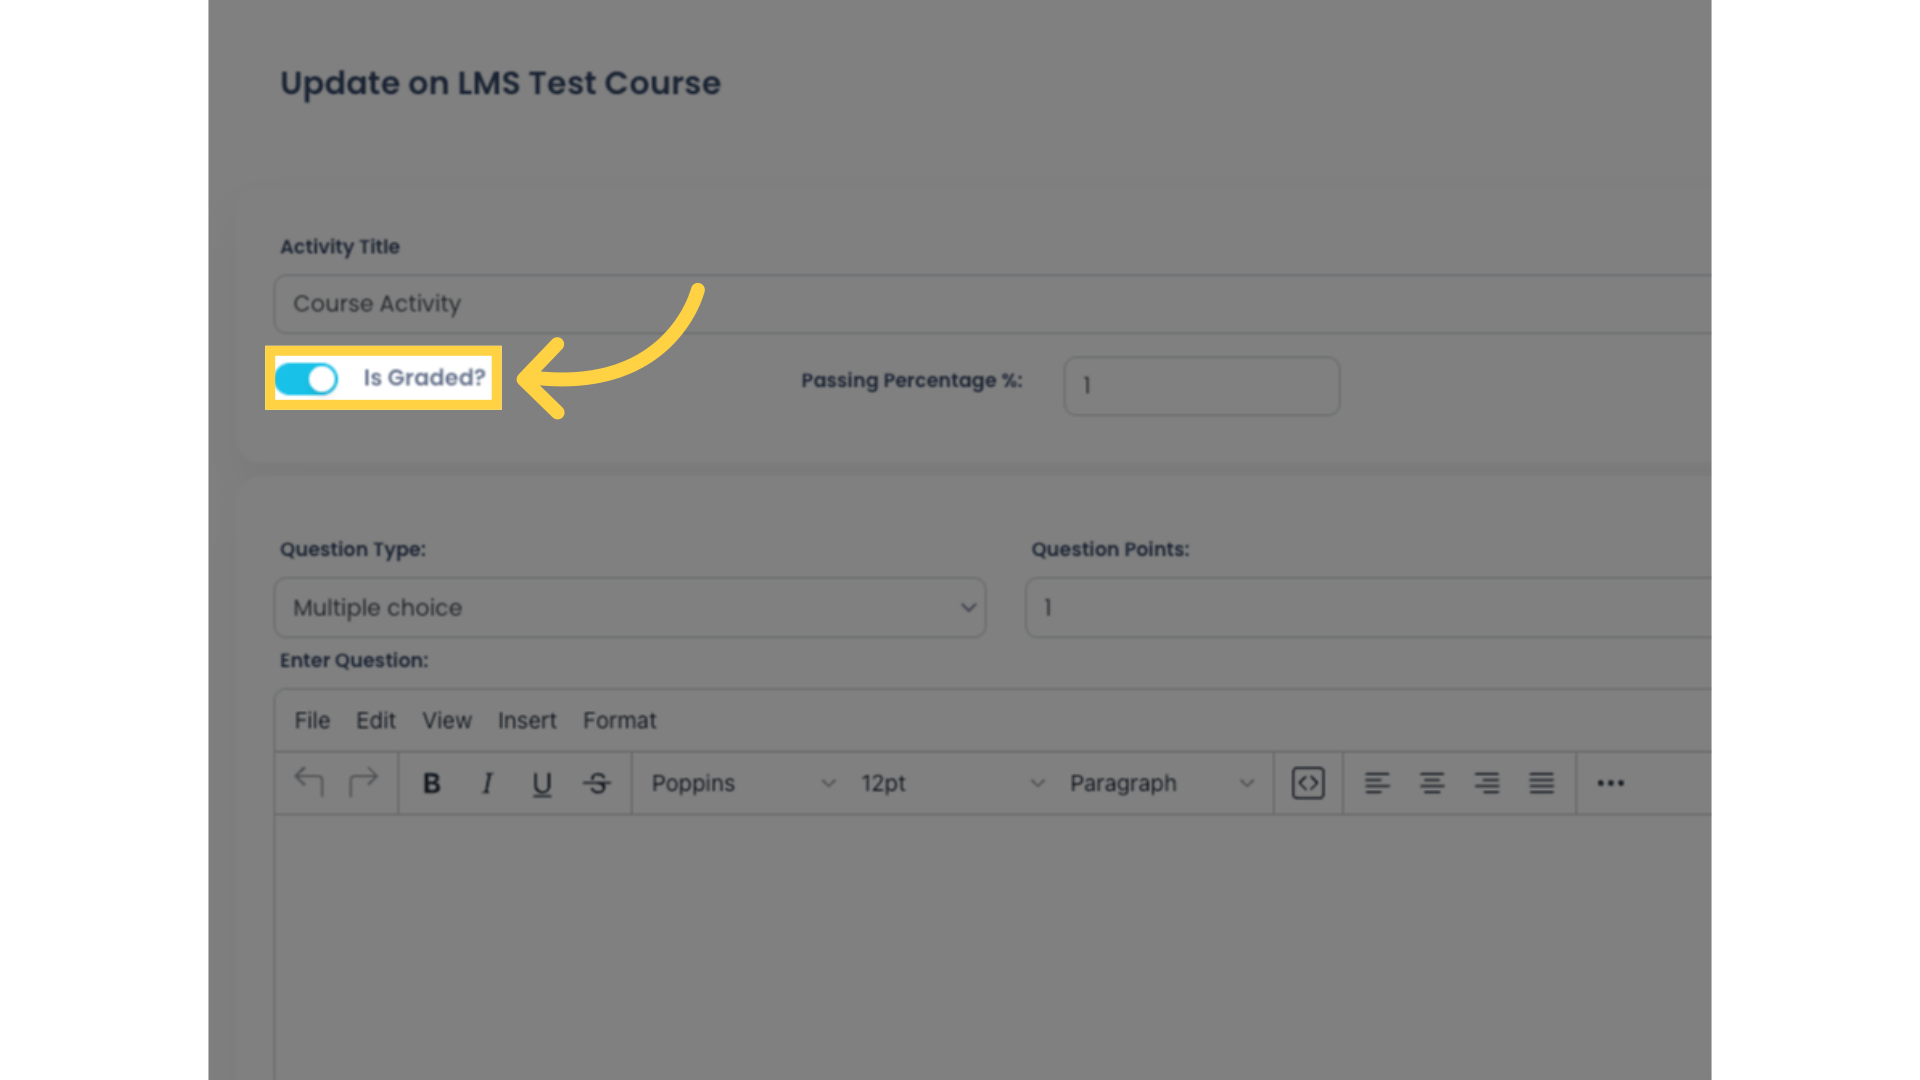
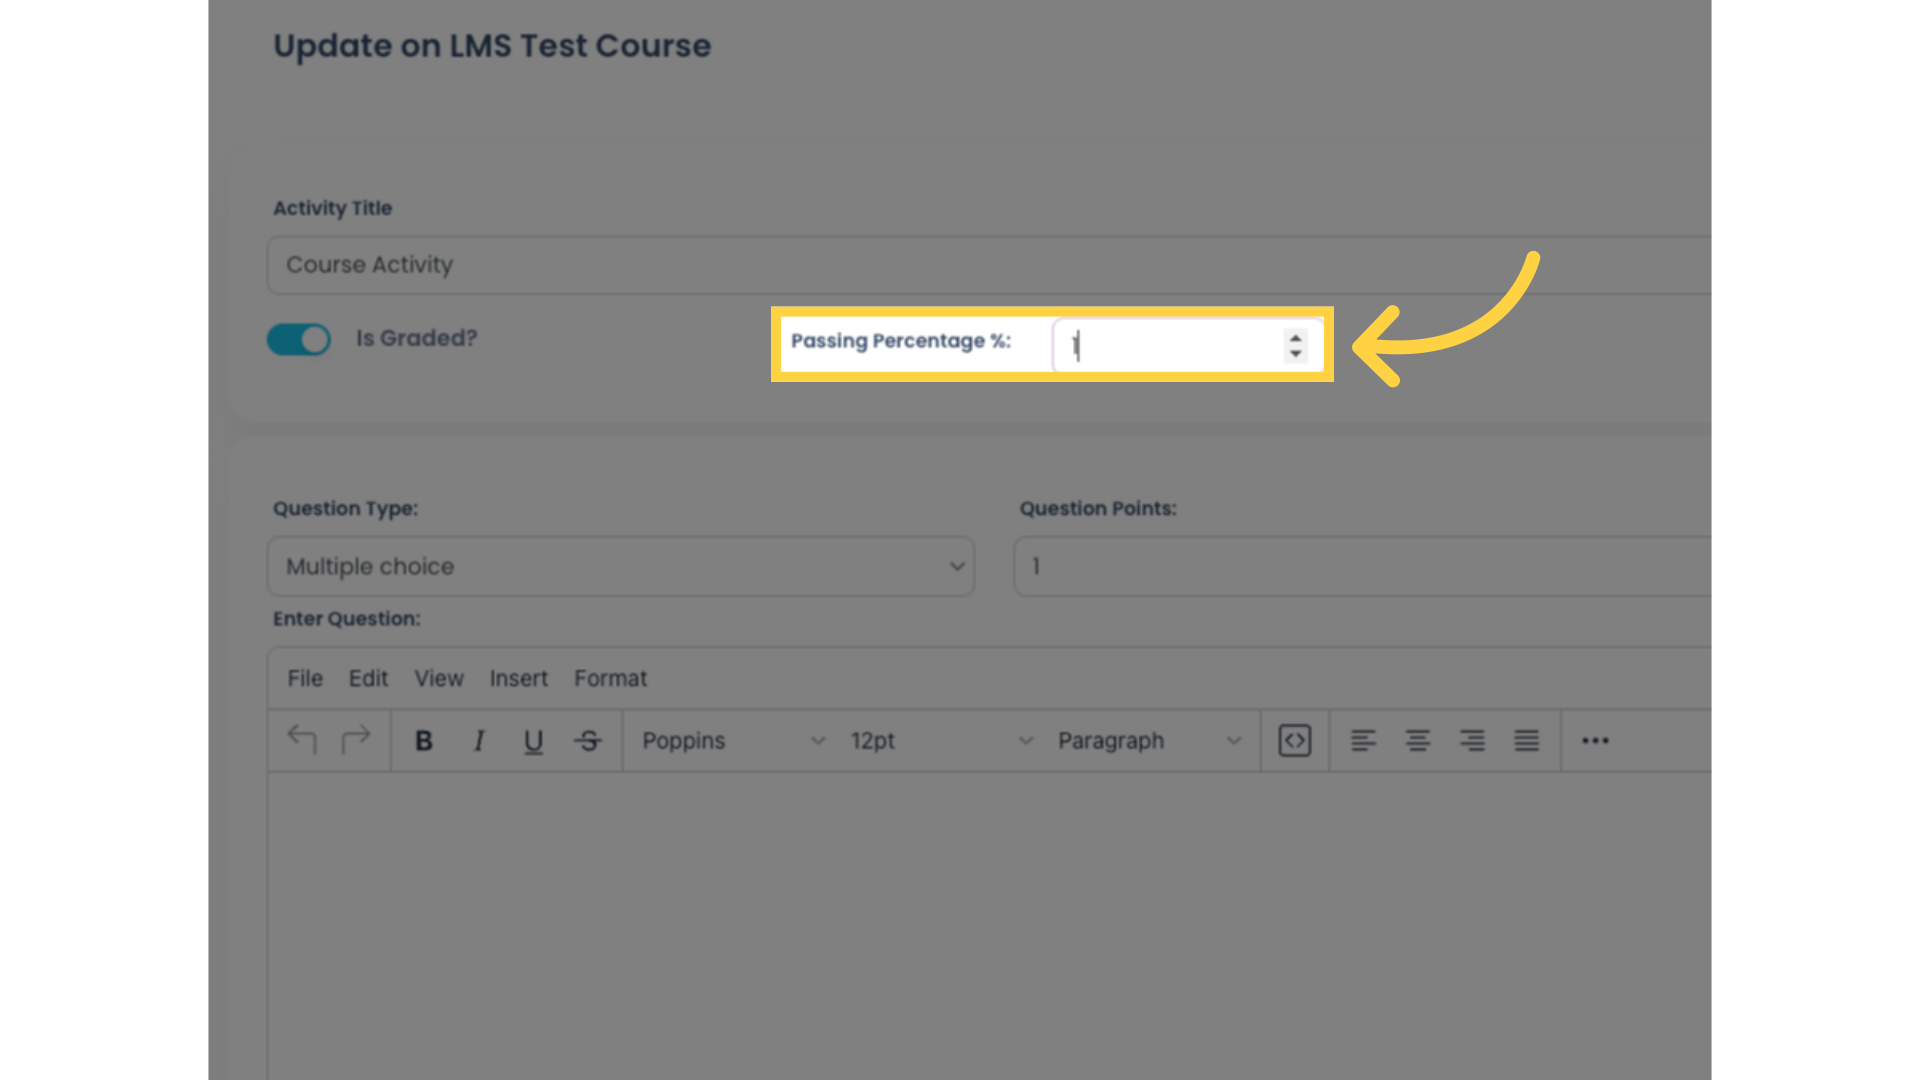
5. By default, the Passing Percentage is set to 1%. Type in your desired Passing Percentage, or you can increment its value using the up and down arrows.
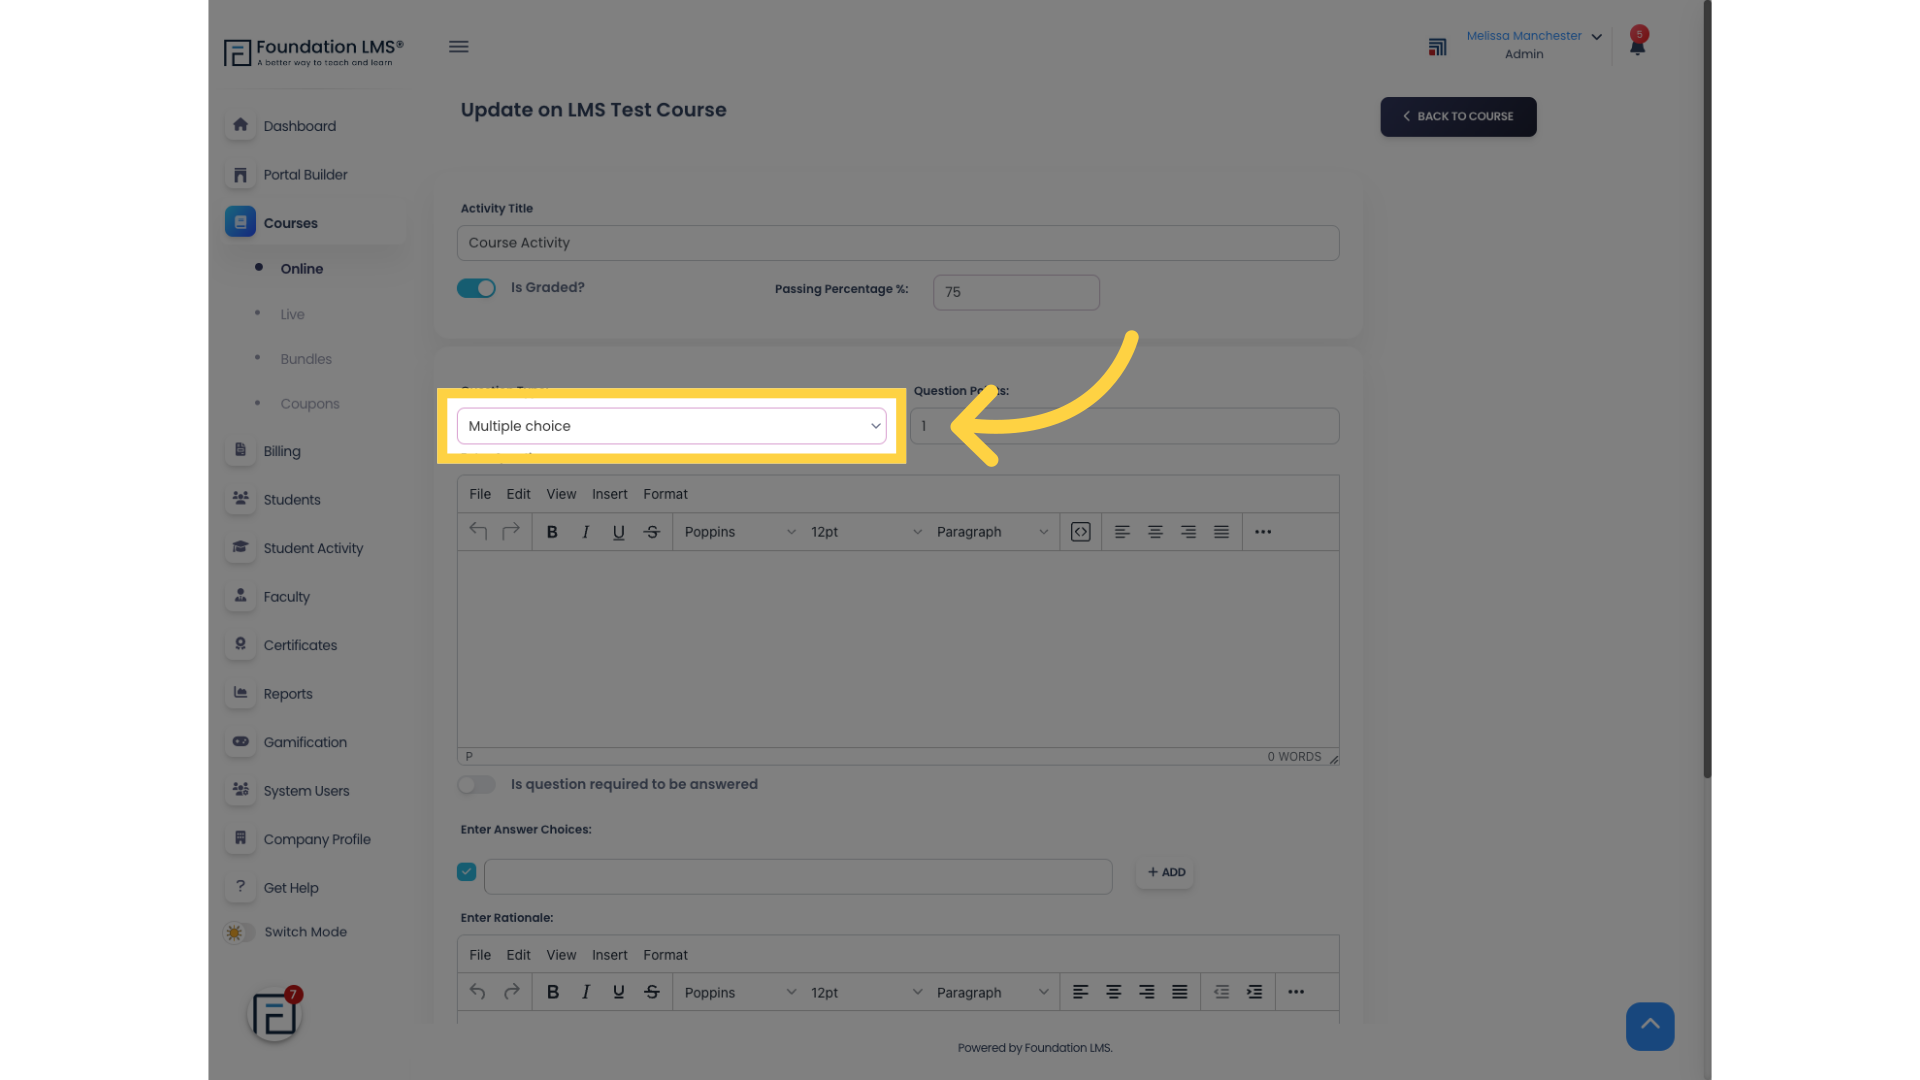
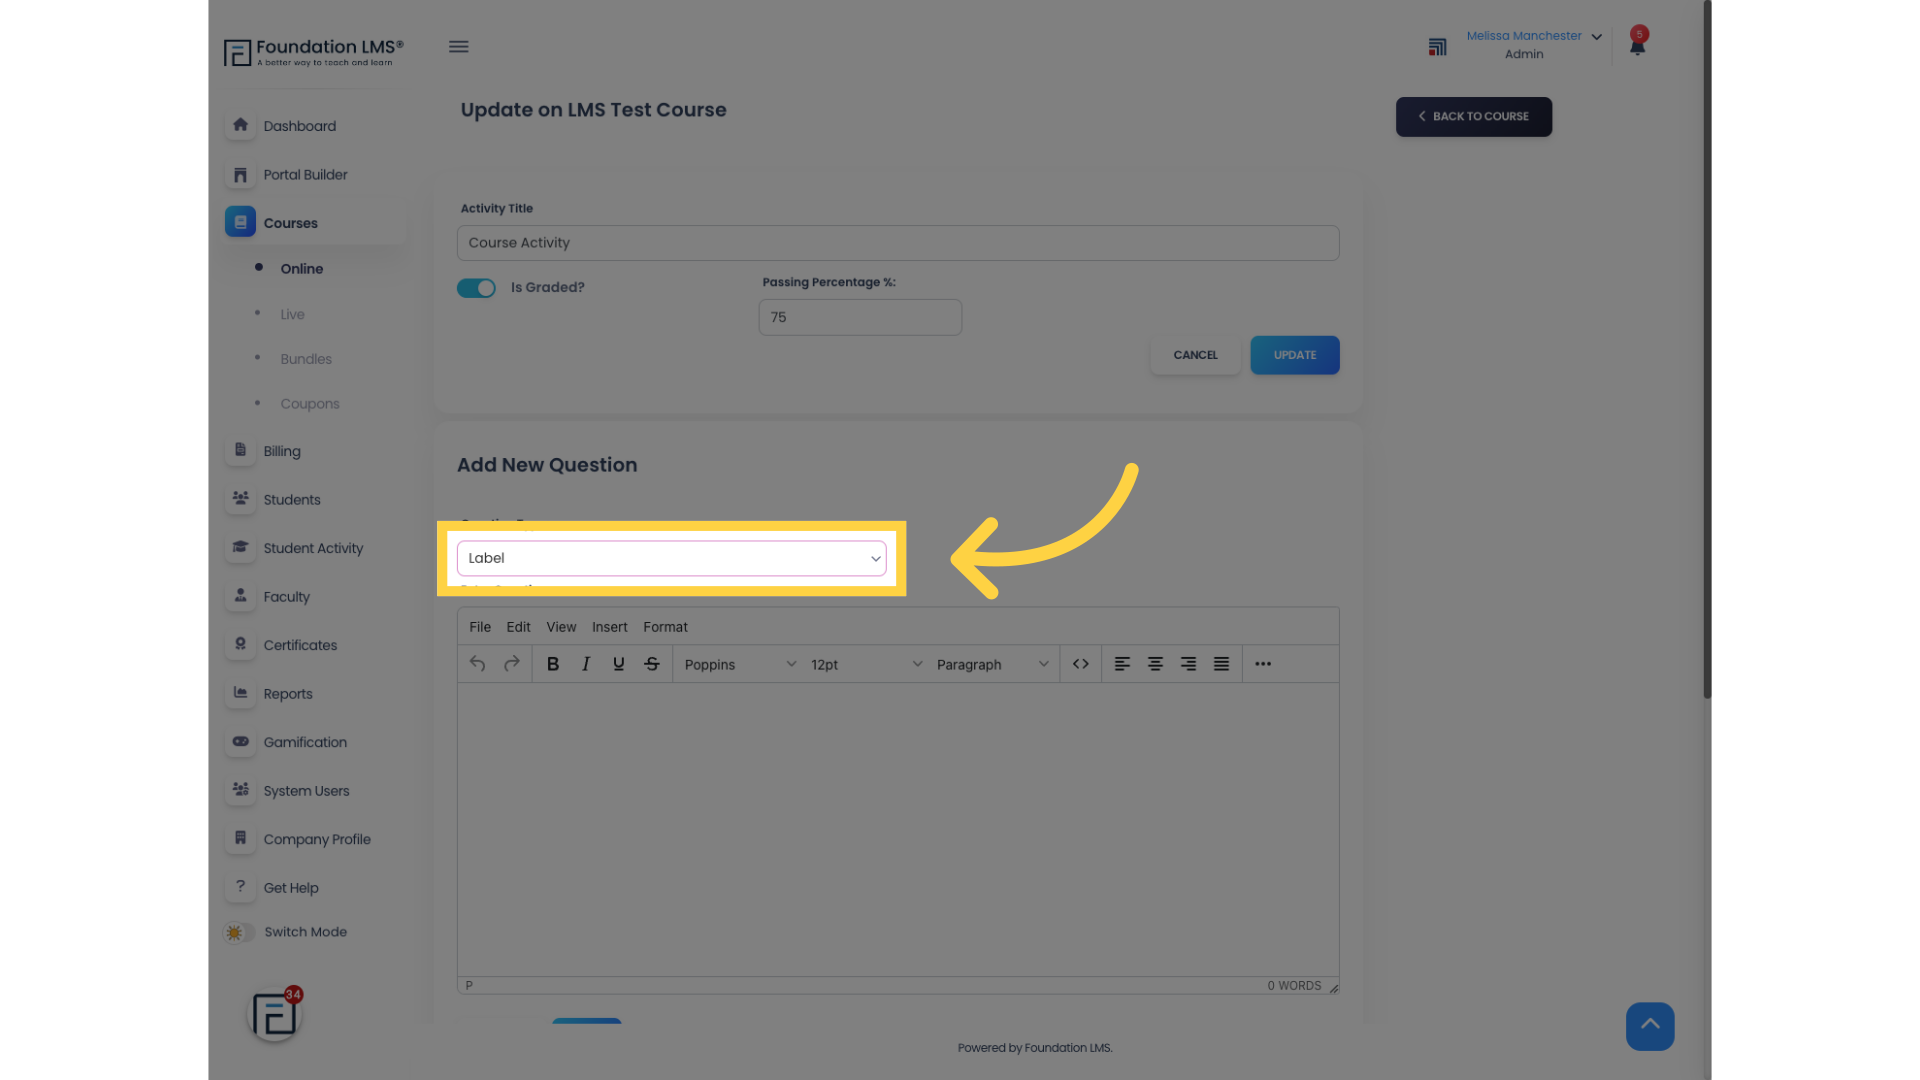
6. Click the dropdown menu to select a Question type. There are three Question types: Multiple choice, Text, and Label. Multiple choice: The Student must select the correct answer from a list of options. Text: The Student must type the correct answer. Label: Use this Question type to add a text label. This can be used to add any text that is not a Question, such as a section heading or special instructions.
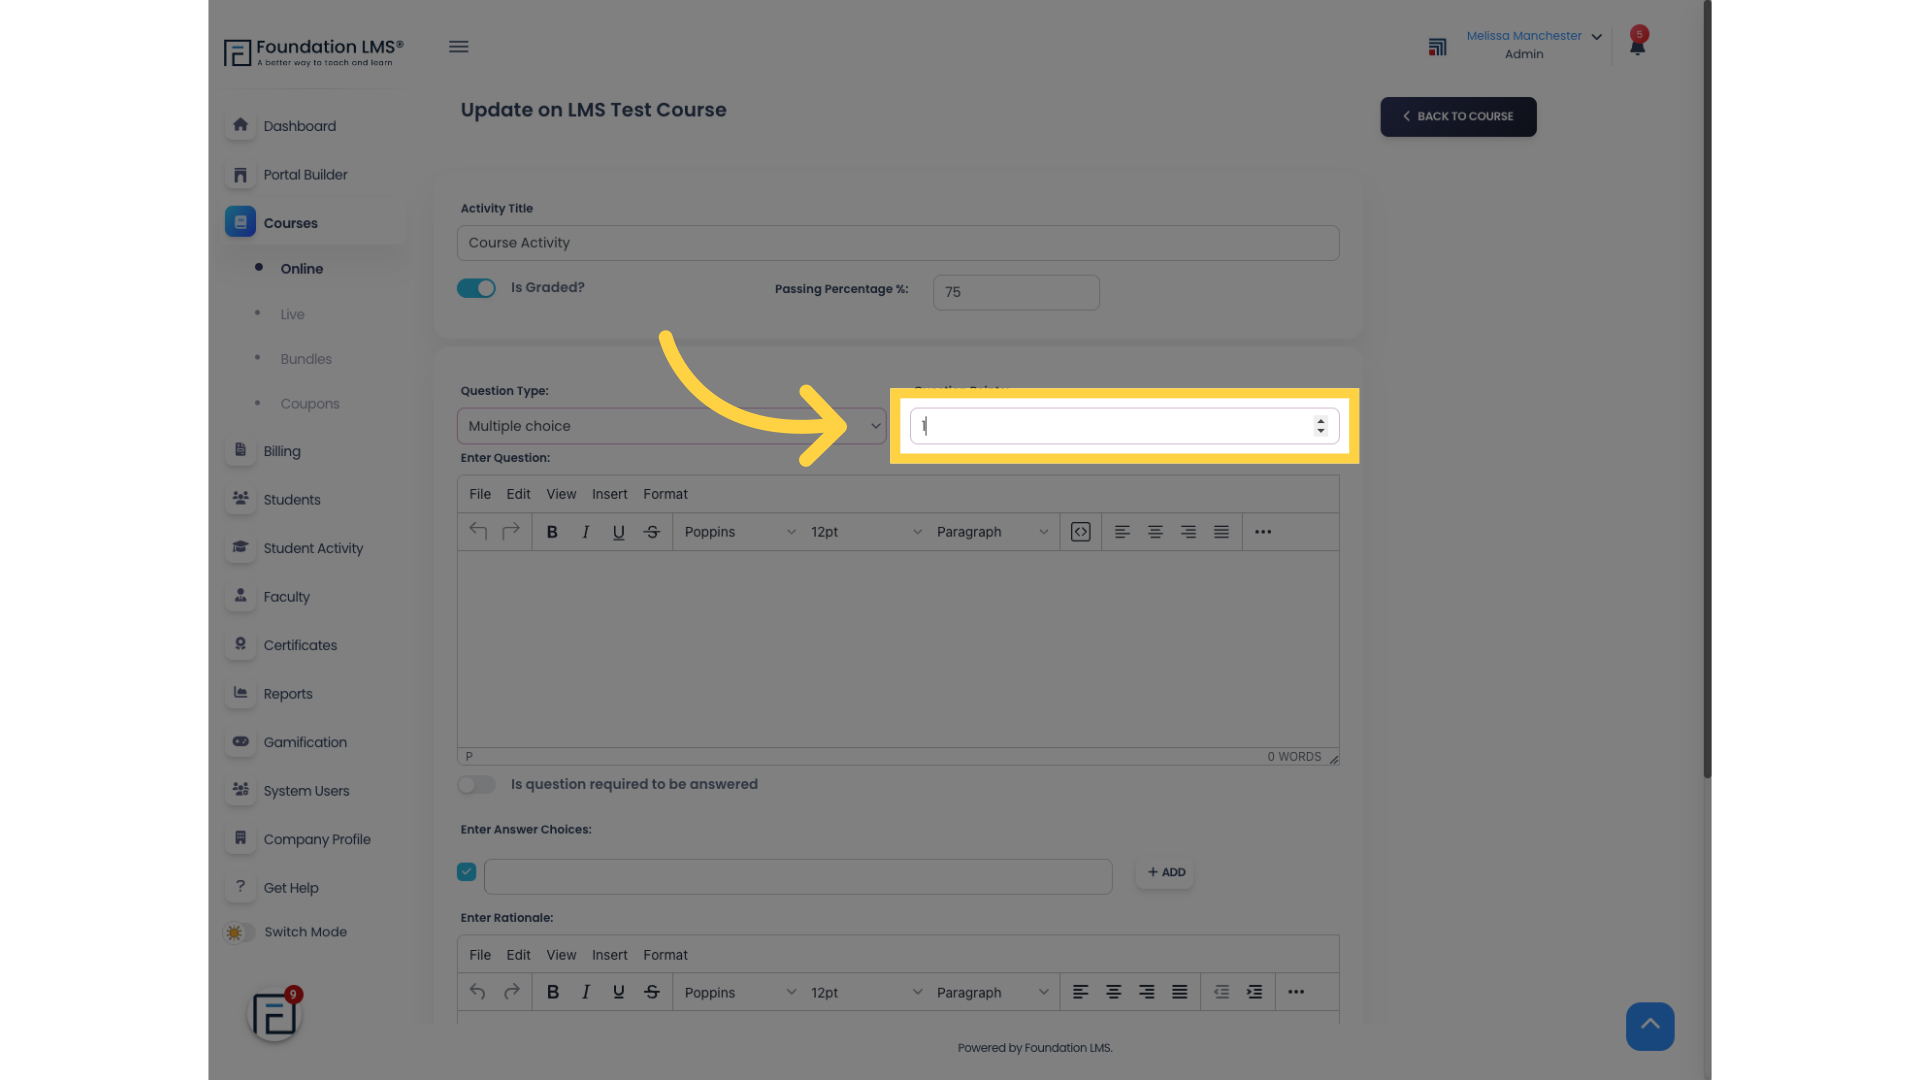
7. If your Activity is graded, assign a point value to your Question. You may type it in manually or you could increment or decrement the points with the arrow buttons.
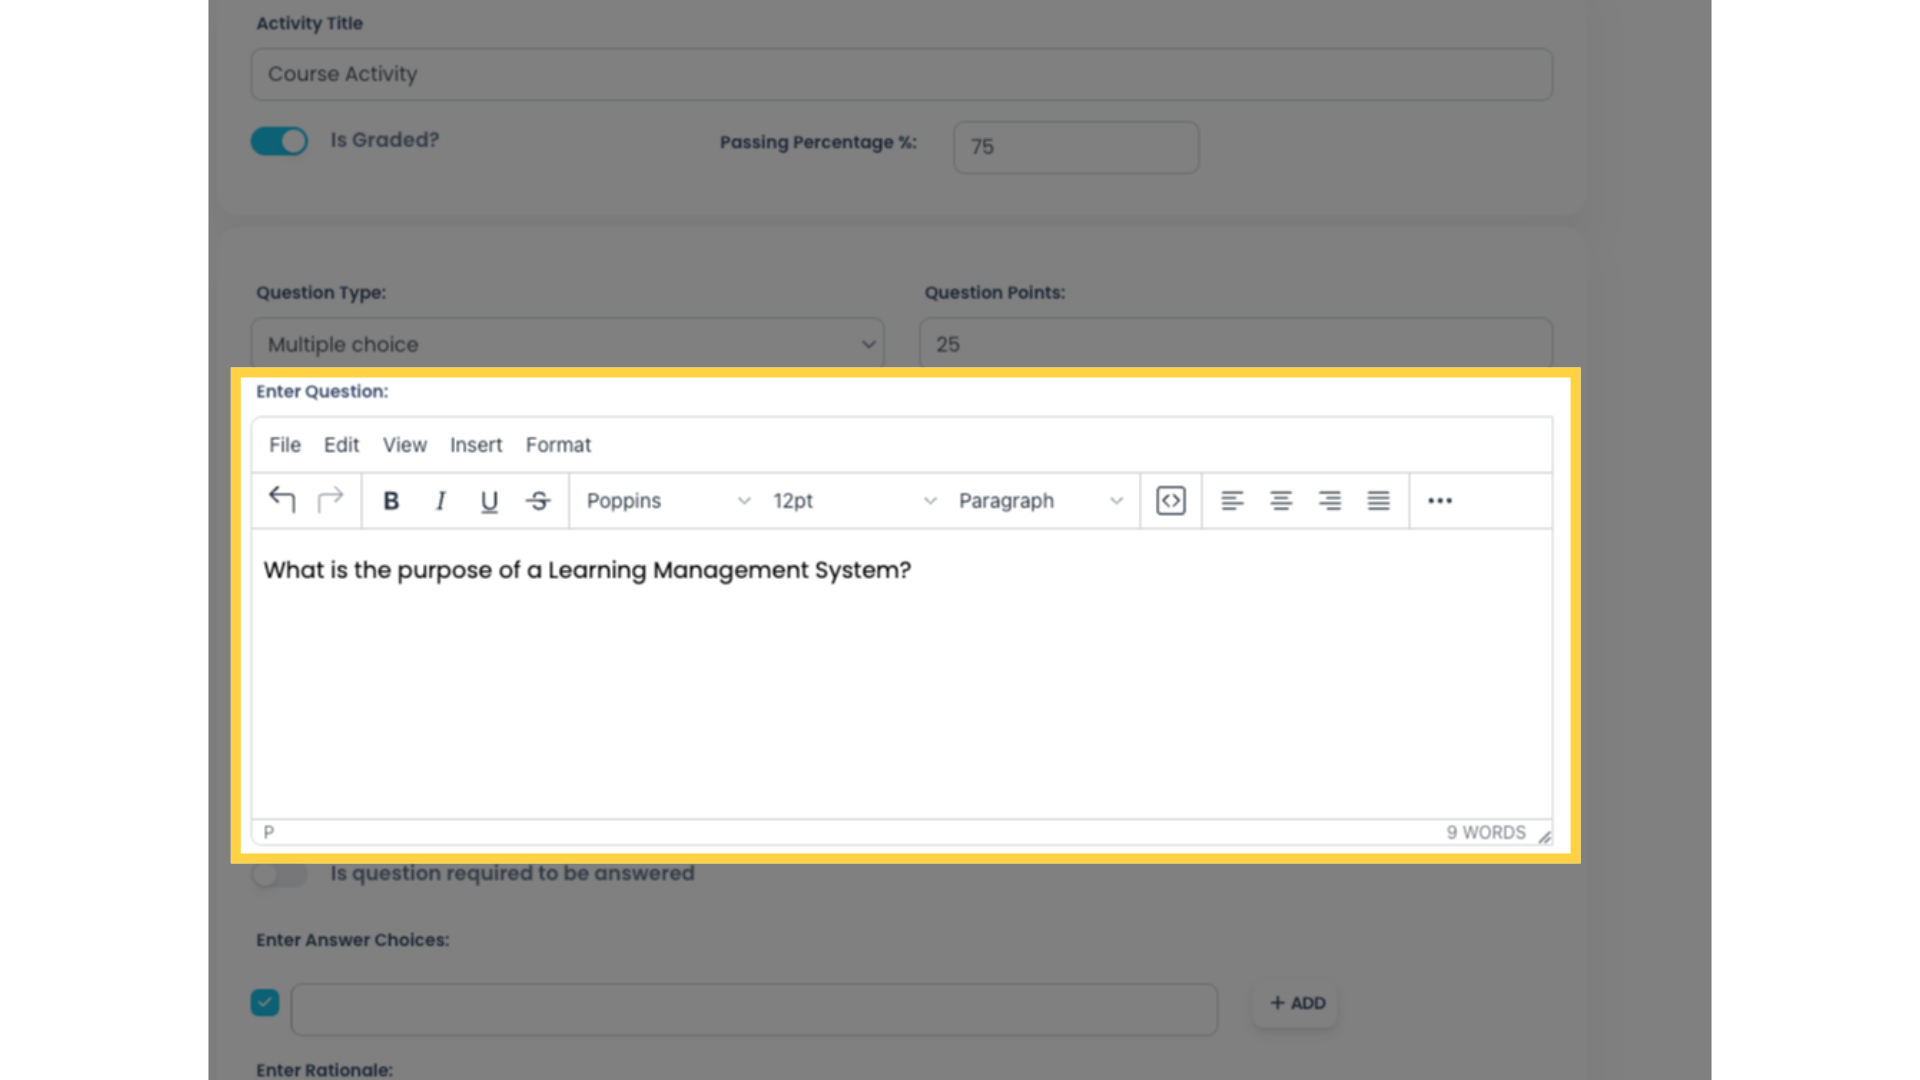
8. Type in your Activity question. The built-in text editor enables Course creators to format text color, size, and style, and enhance Questions by allowing the insertion of media, such as images and videos.
9. Enable the “Is question required” option to make the Question mandatory. Students will not be able to submit their Activity until all required Questions have been answered.
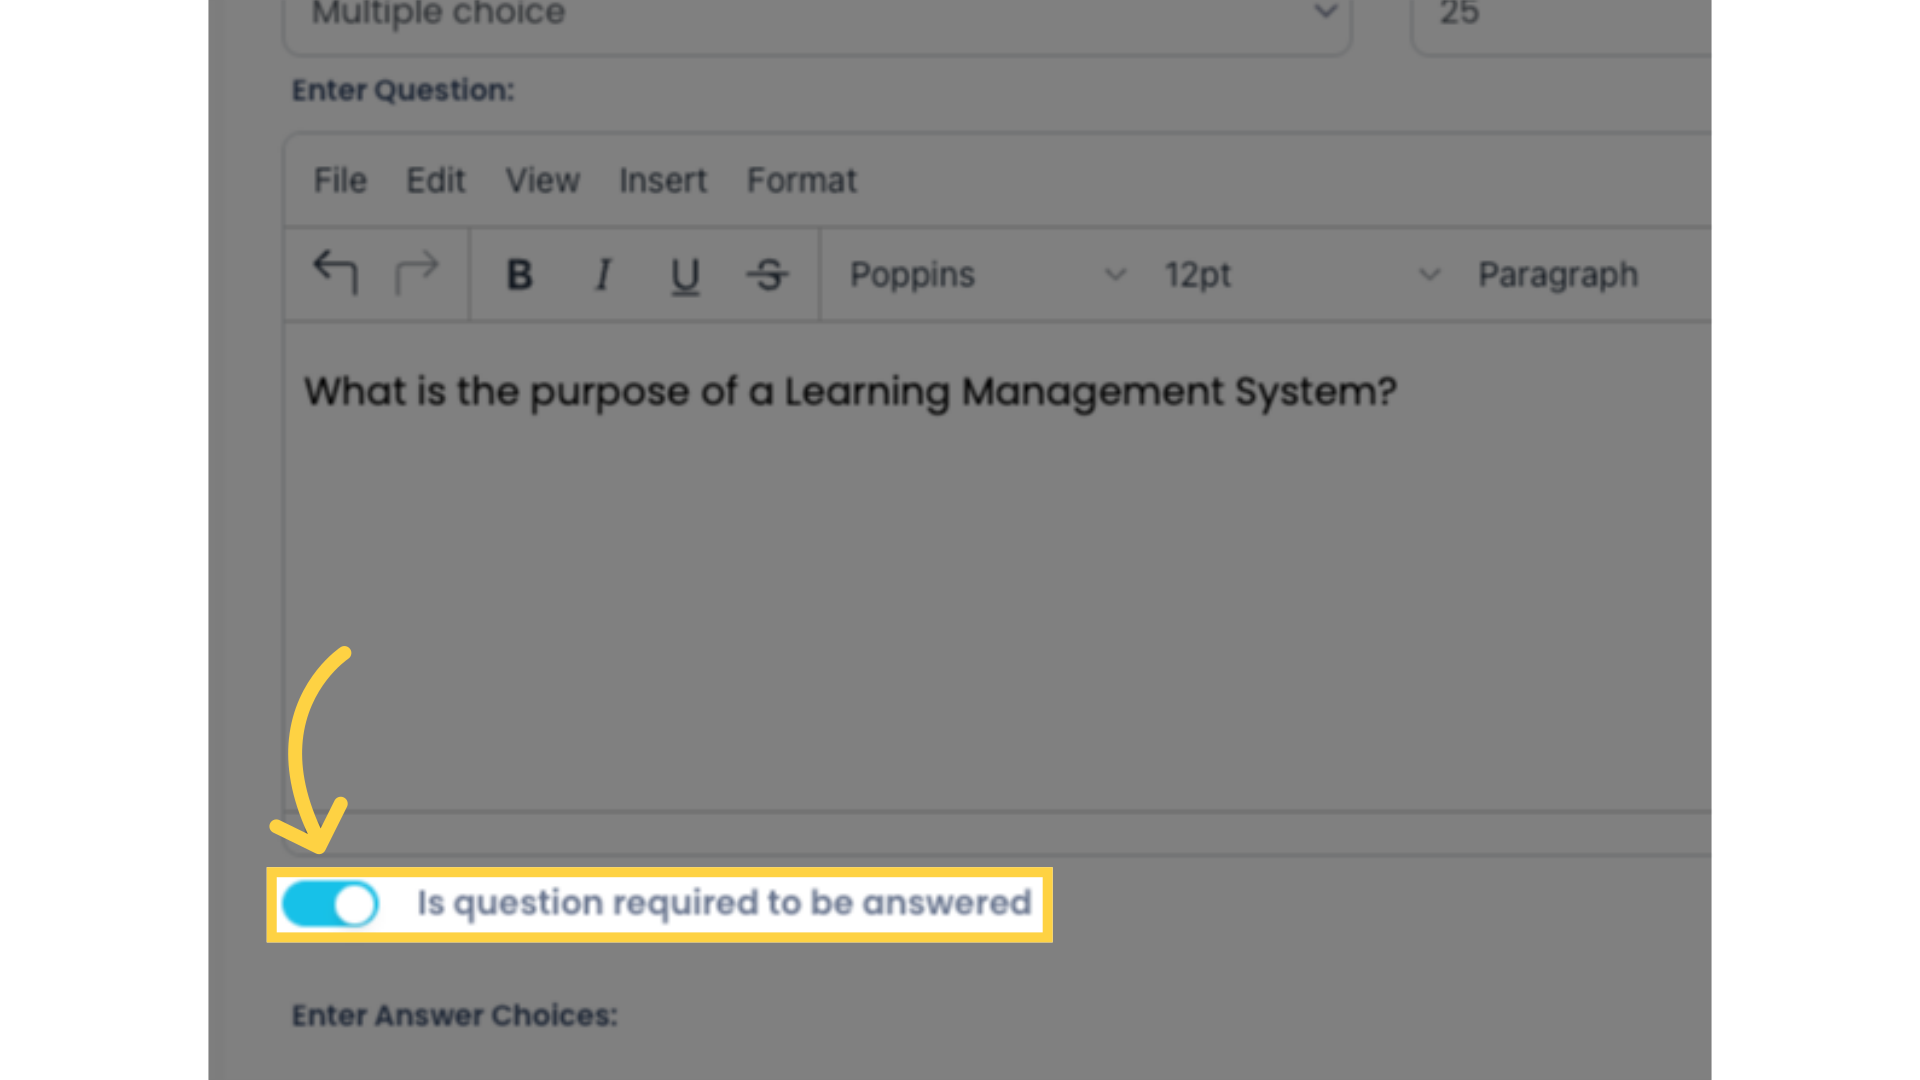
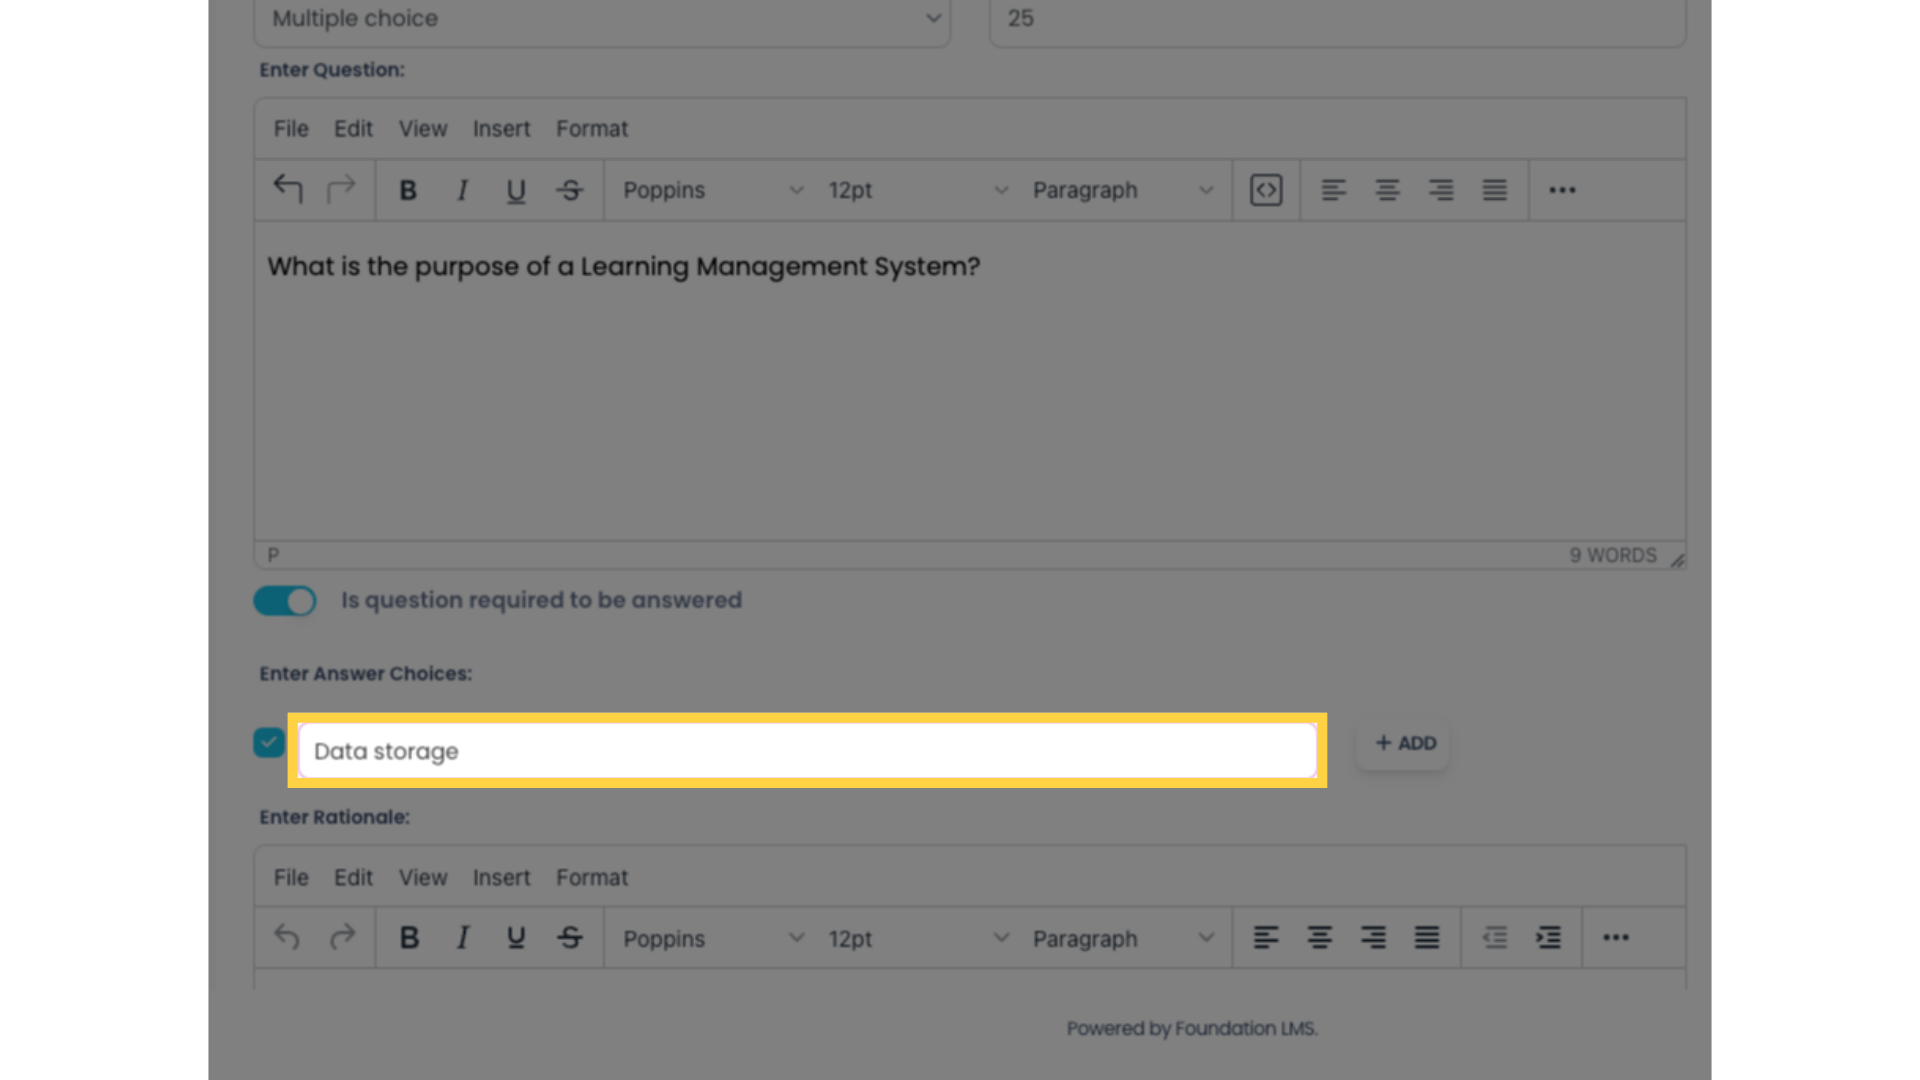
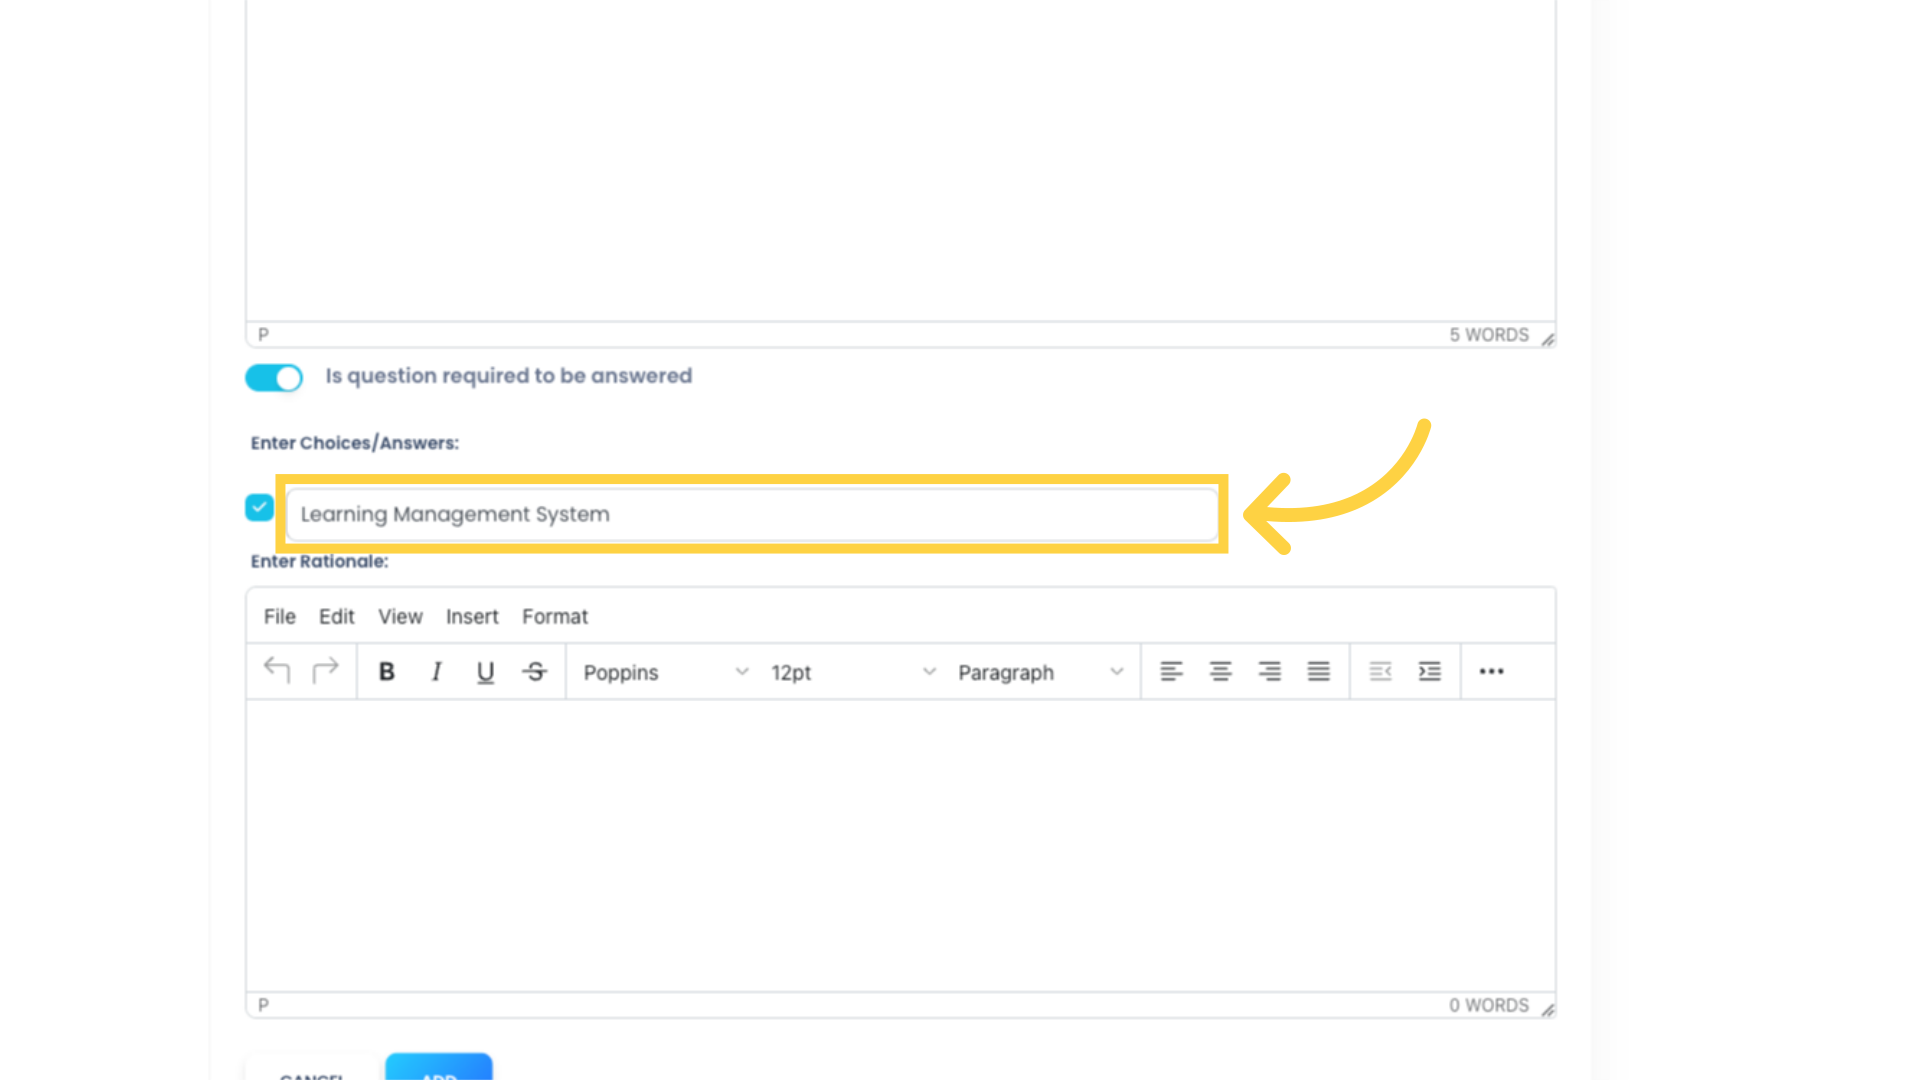
10. Type in the first answer choice.
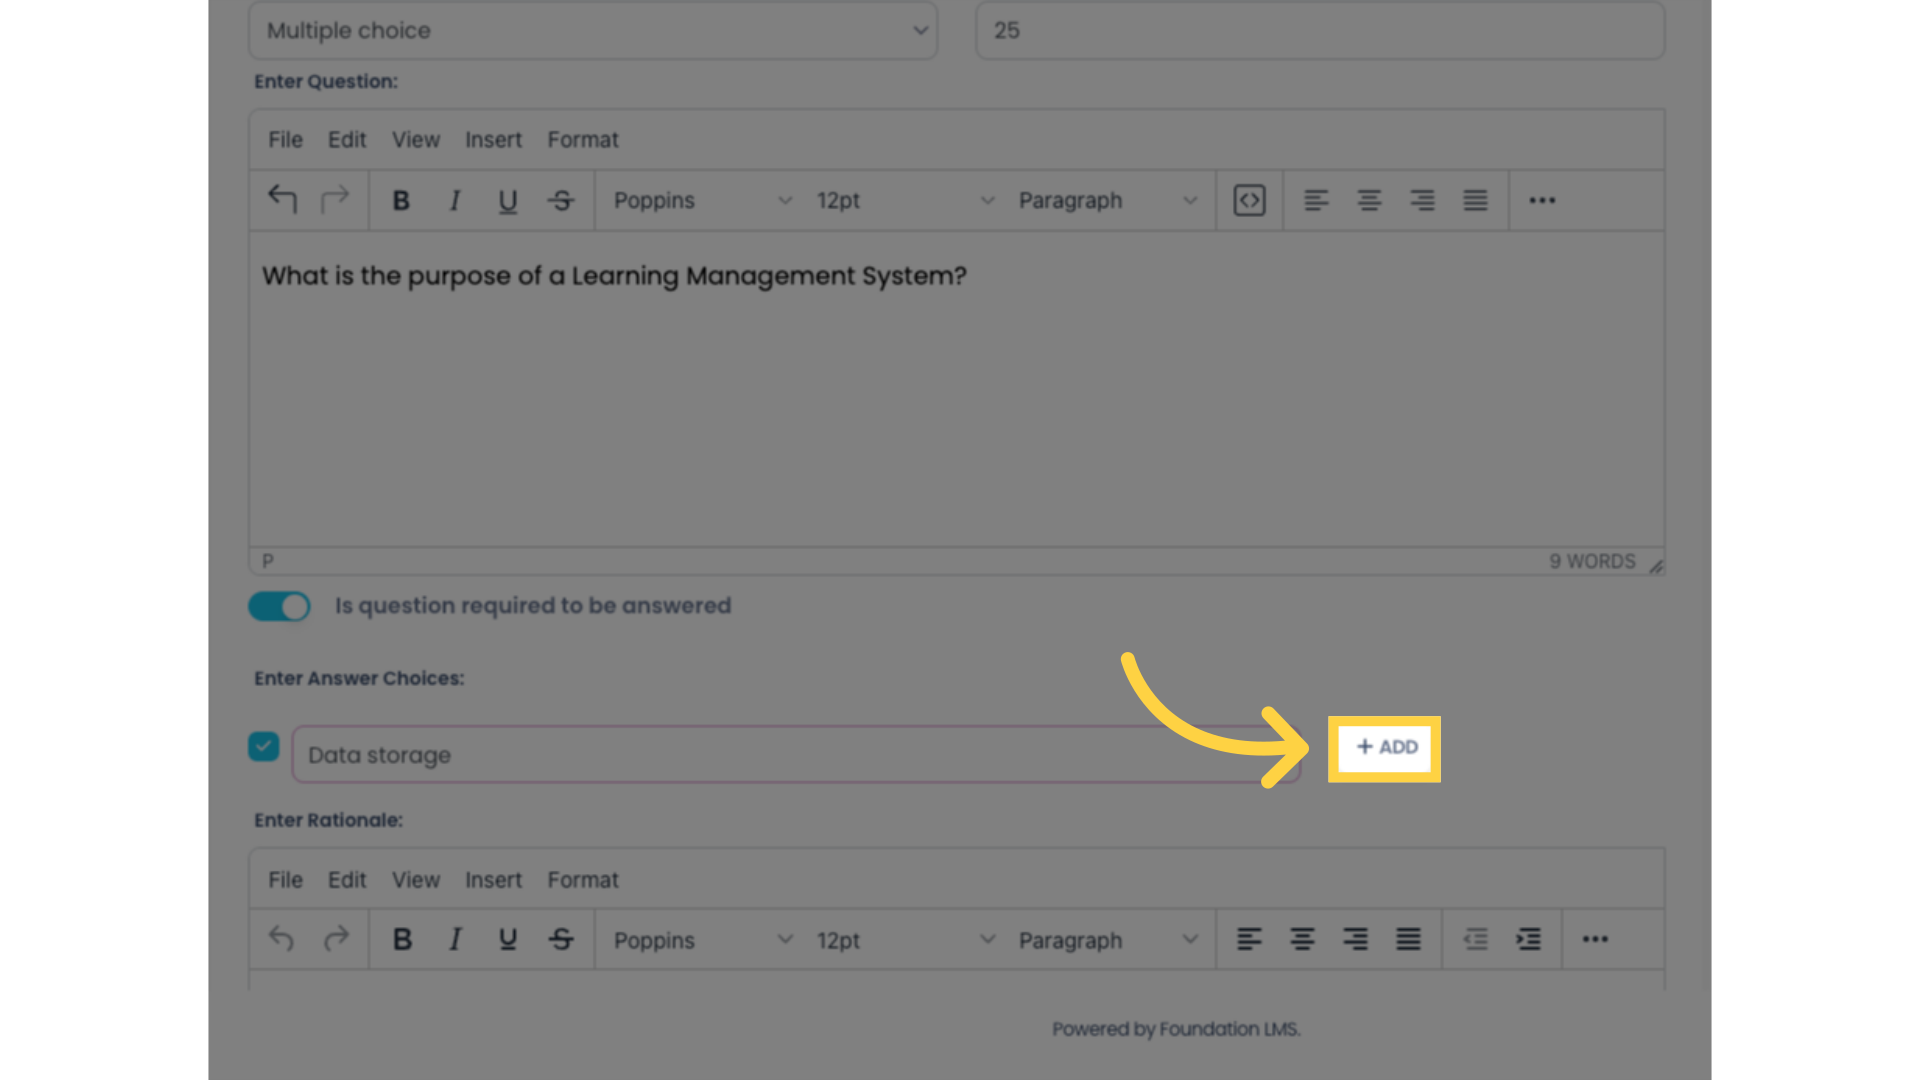
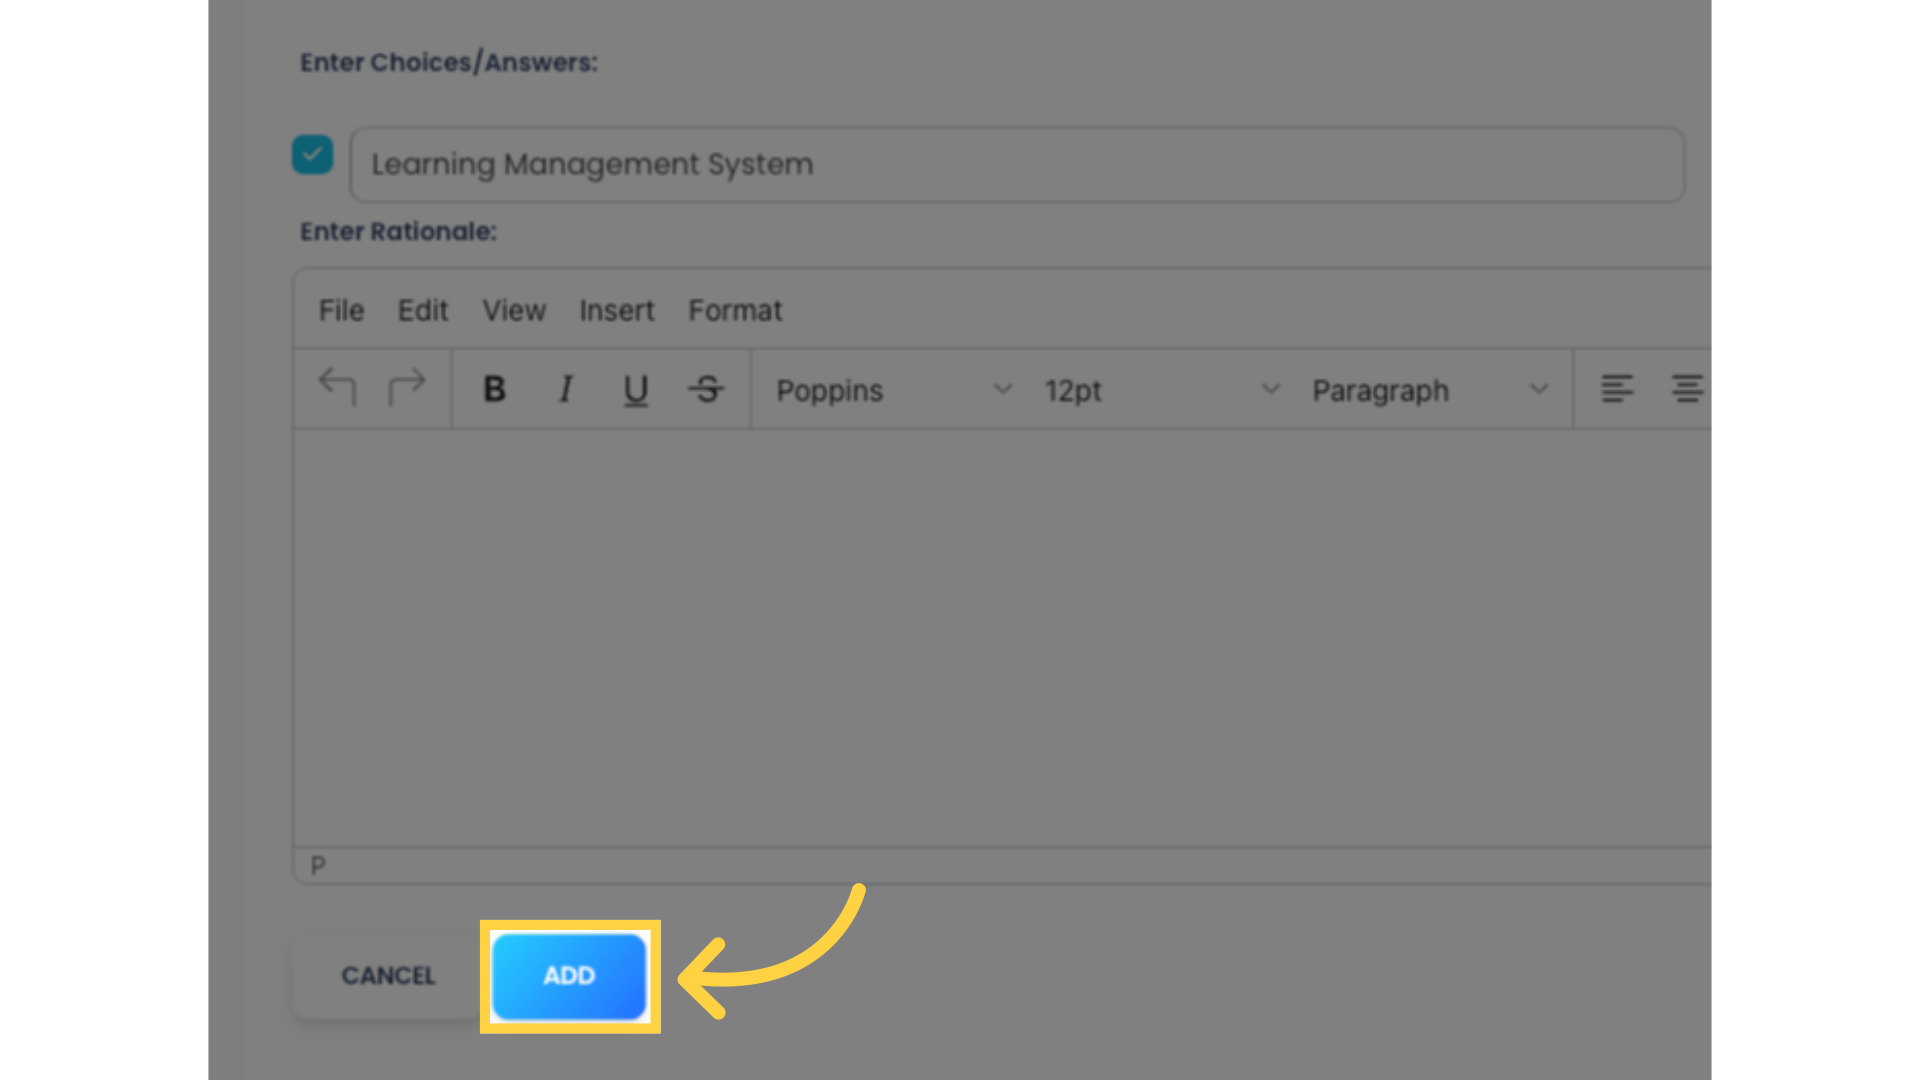
11. Click the “ADD” button to add additional answer options to your Question. Repeat this step as needed.
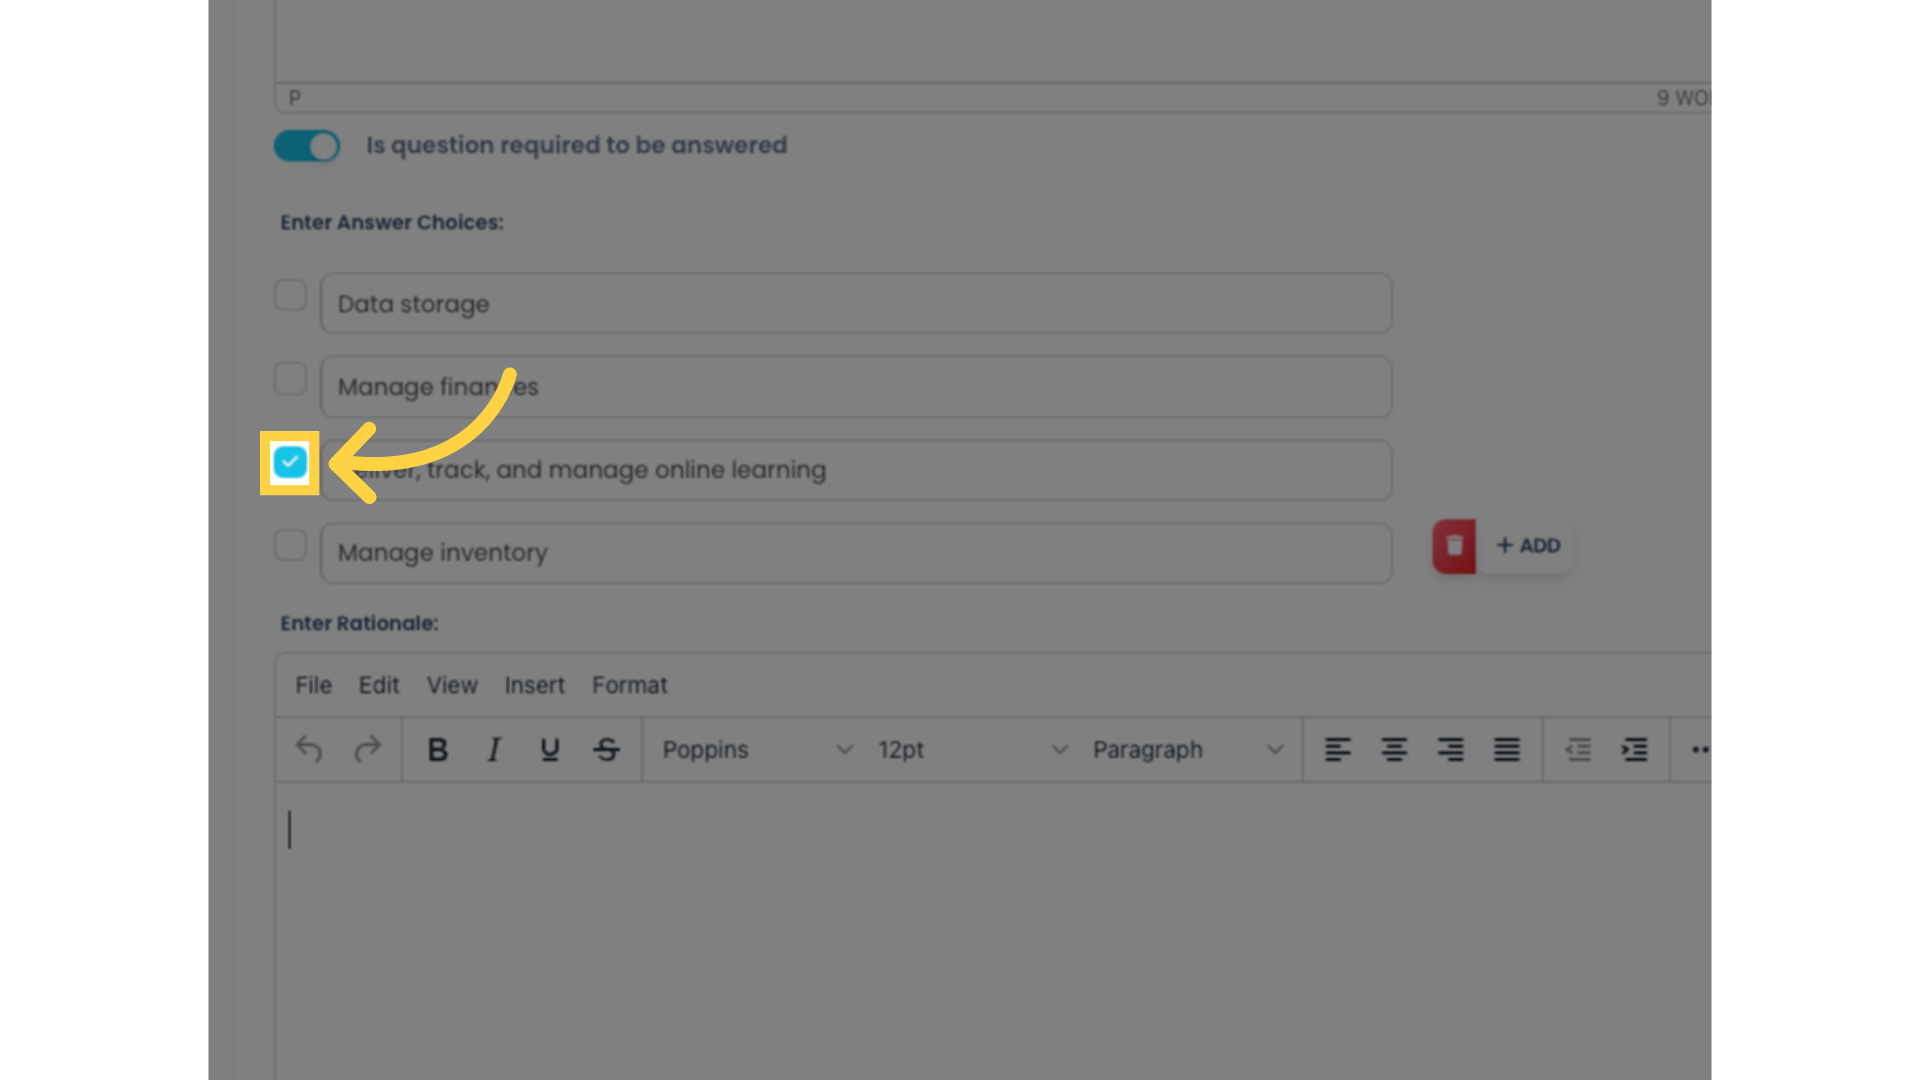
12. Click the check box to set the correct answer. Only one of the available answer options can be set as the correct answer.
13. Enter a rationale in the text box to provide an explanation as to why the answer is correct or incorrect. This is an optional field and can be left blank. The rationale is shown to Students on the Activity Results page only after they submit the Activity. If the Activity is graded, they will see the Rationales after they submit with a passing score.
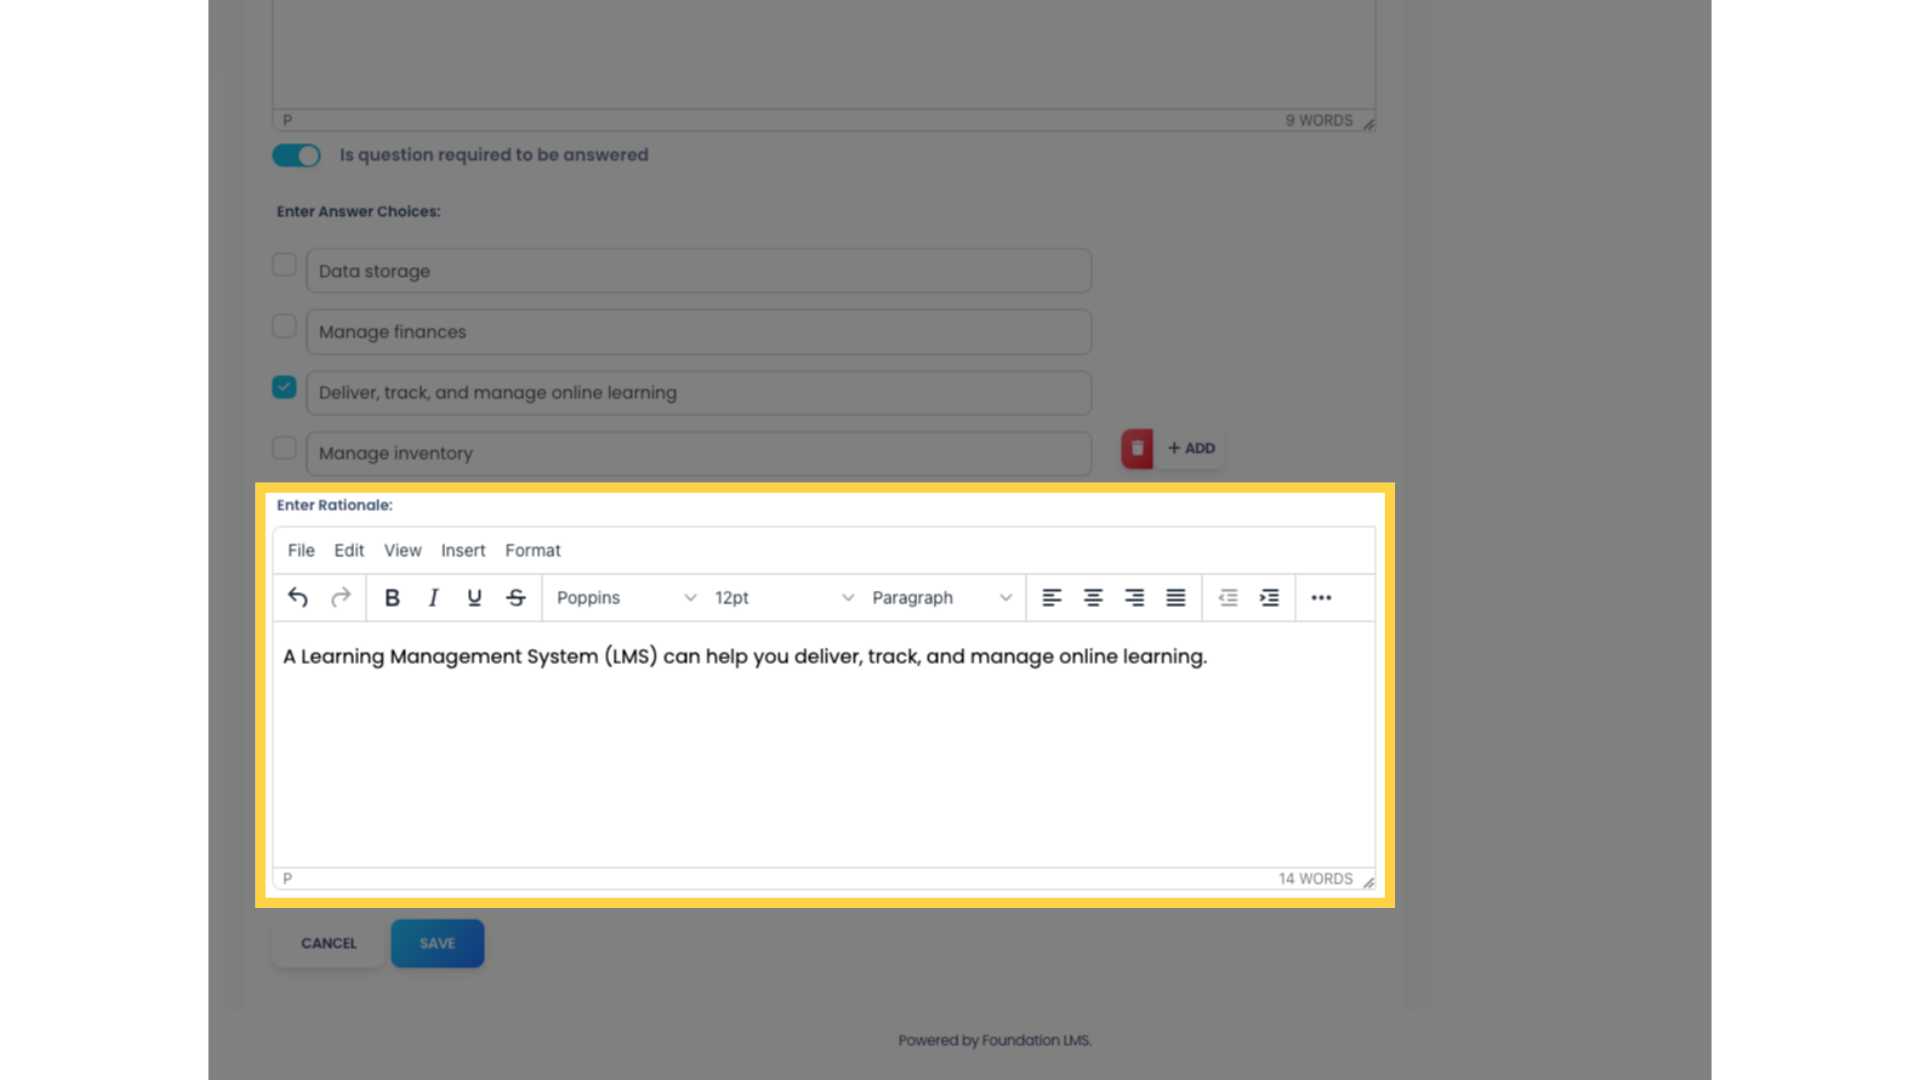
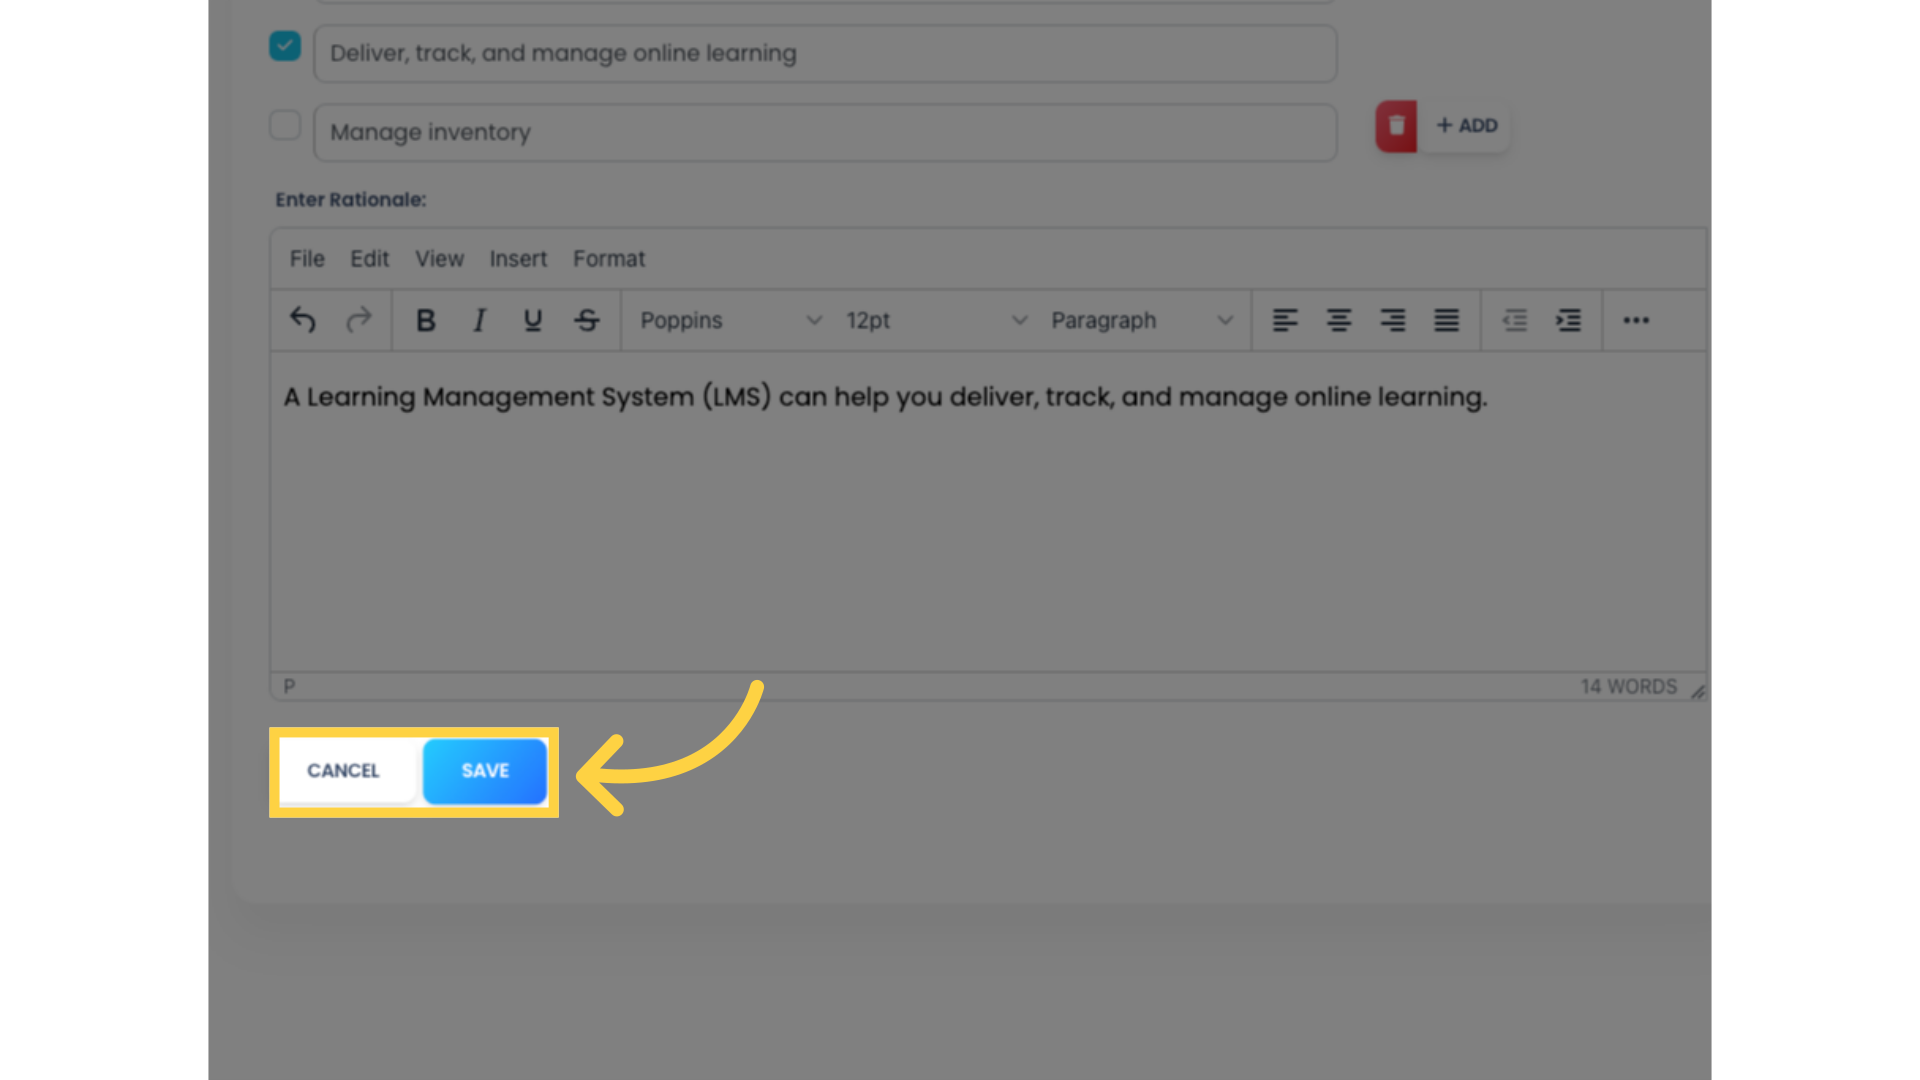
14. Click “SAVE” to save your Question and continue adding more Activity Questions, or click “CANCEL” to return to the Course Builder without saving your activity. We’ll click “SAVE” to demonstrate adding a different Question type.
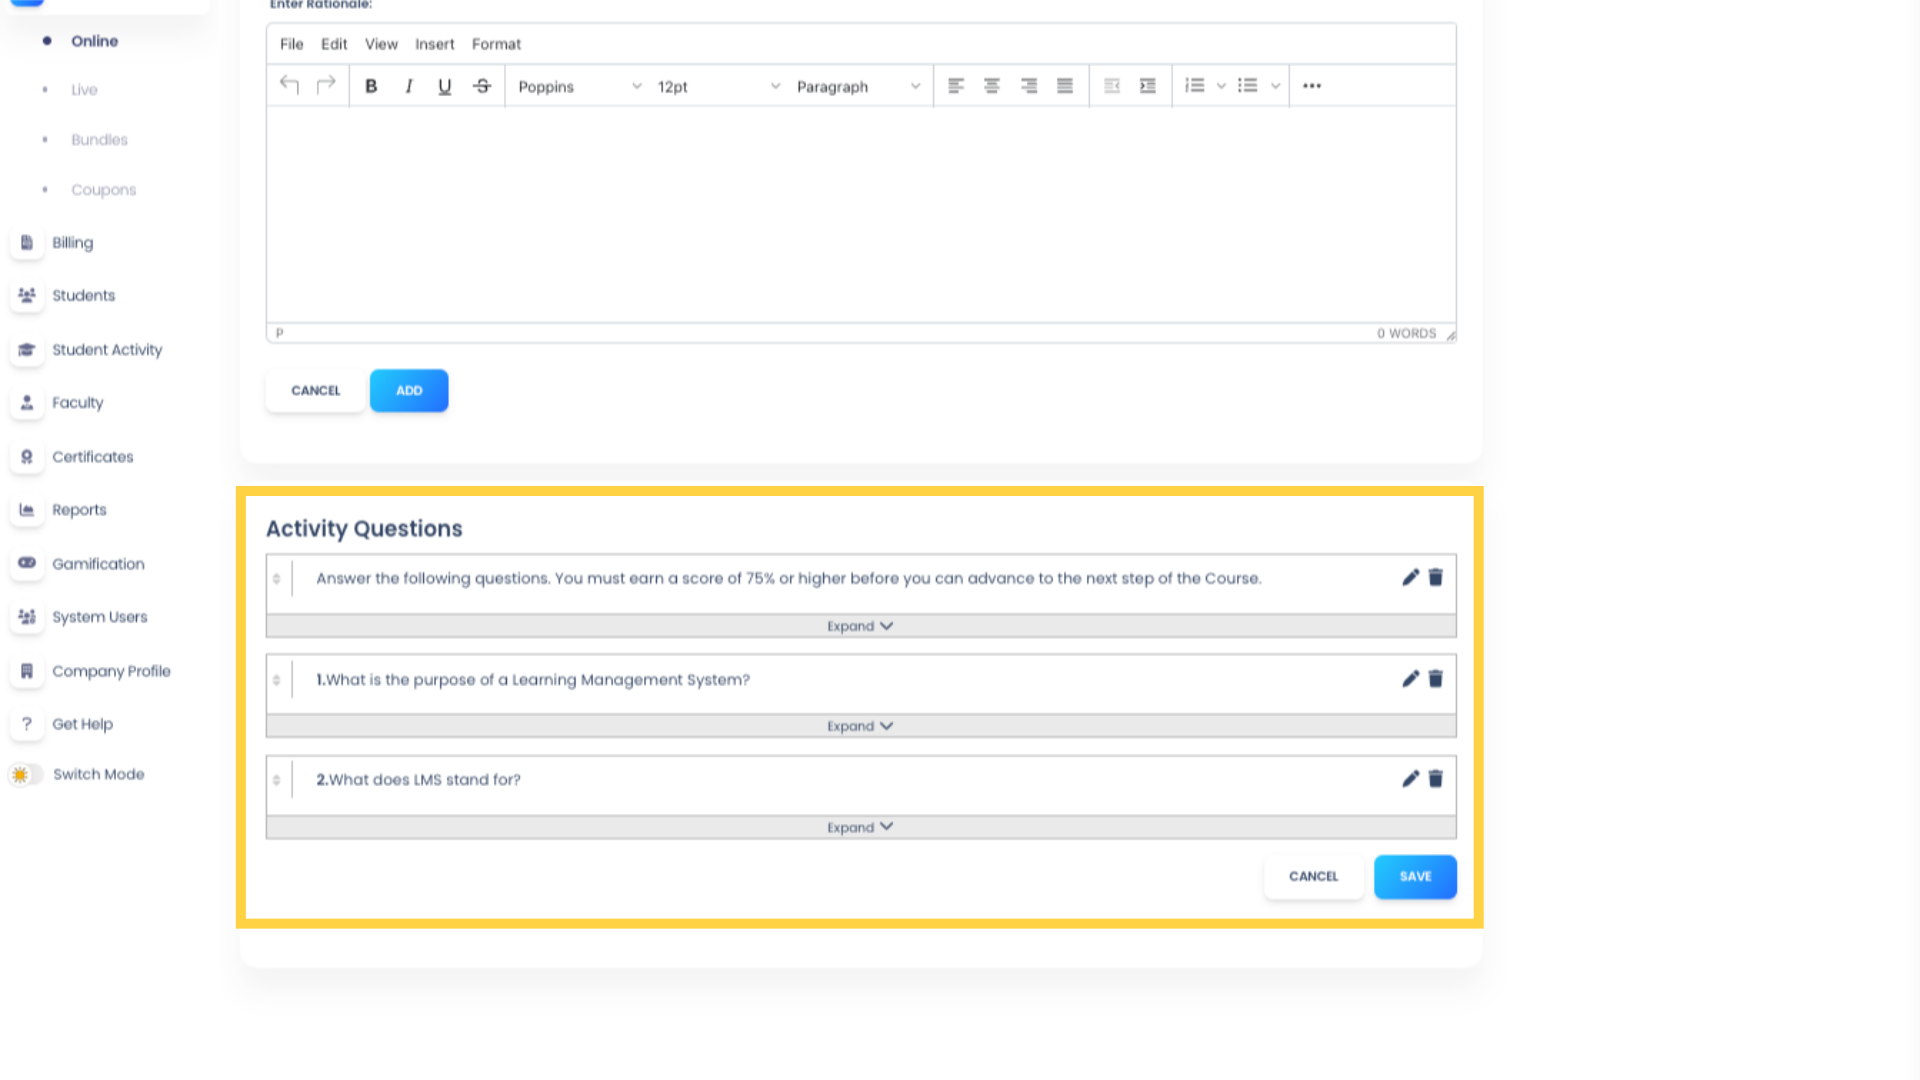
15. Before we continue, scroll down to see your newly added Questions. As Questions are saved to your Activity, they will be added to the list below. You can edit or delete Questions from here as needed.
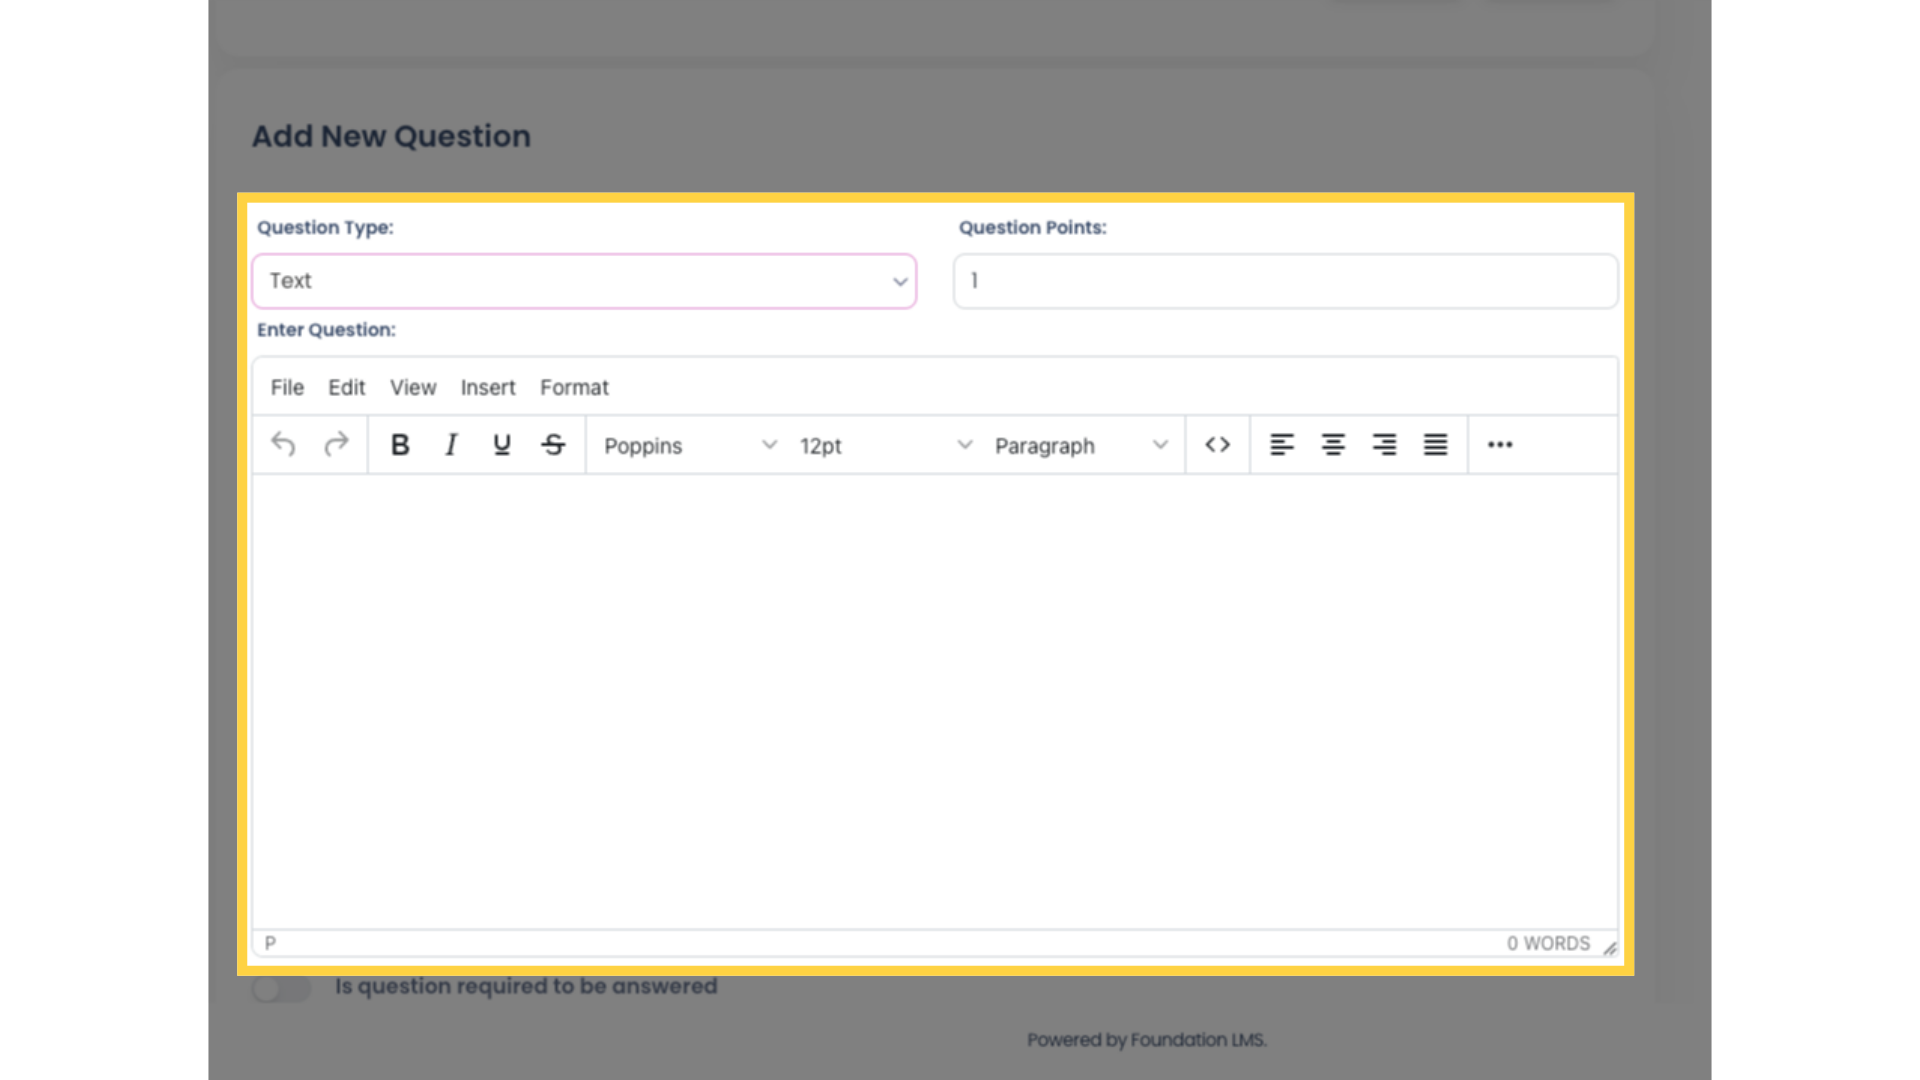
16. Scroll back up so we can continue adding Questions. Select “Text” as the Question type from the dropdown menu. In a Text Question, Students must type in their answer. As with the Multiple Choice Question type, set the Question’s point value and add your Question to the “Enter Question” field.
17. Toggle, “Is Question required”, if the Question is mandatory.

18. Type in the correct answer. For Text-based Question types, answers must be carefully considered, as Students must answer as they are entered here. Answer options are not case-sensitive.
19. We’ll click “ADD” to demonstrate one last Question type.
20. Select “Label” as Question type from the dropdown menu to insert text between Questions. Labels can be used to provide instructions or additional information as needed. They are not numbered, so they won’t affect the Question sequence.
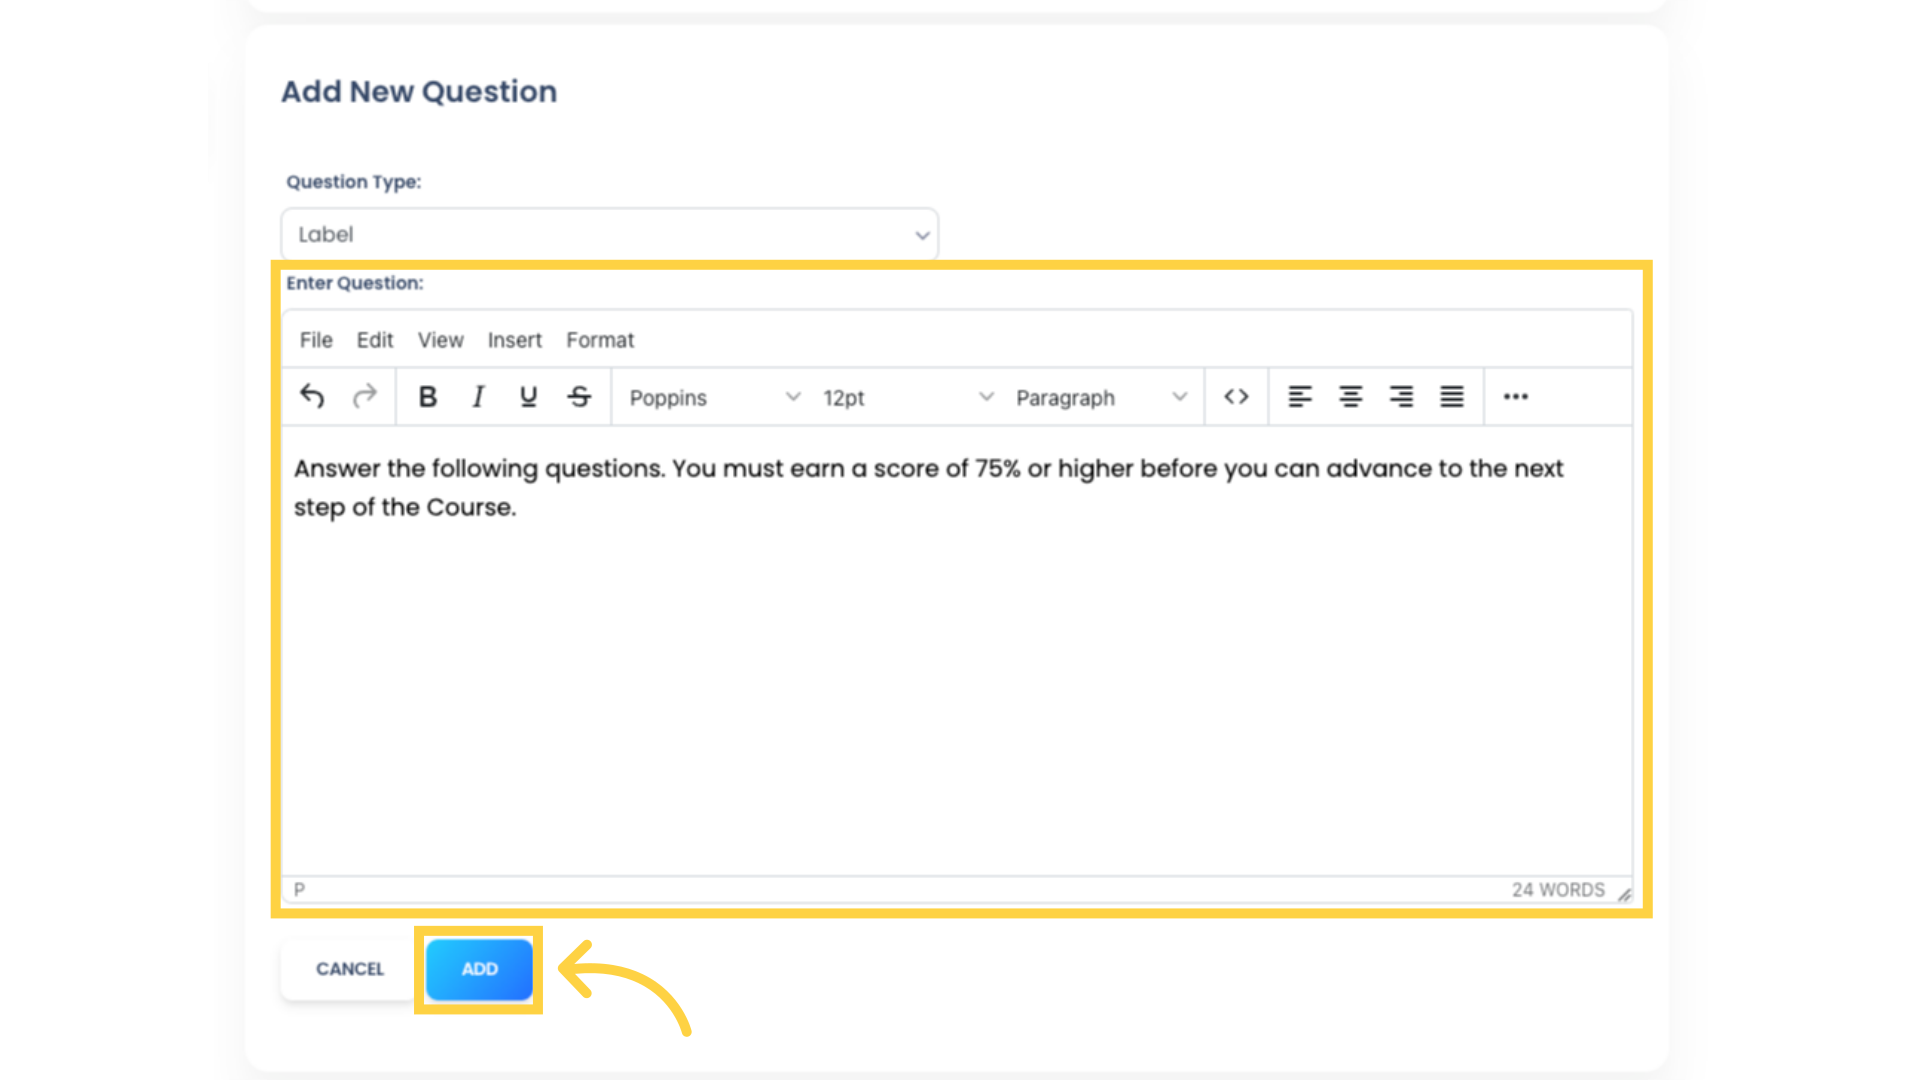
21. Enter the text for your Label. Then click “ADD” to save it to your Activity.
22. Now scroll back down to see your Questions list. You can easily view the Question settings from here. Click “Expand” beneath the Question.

23. The Question will expand to show you the Question type, Points assigned, Required status, and the Answer Choices with the correct answer indicated. Click “Hide” to collapse the Question.

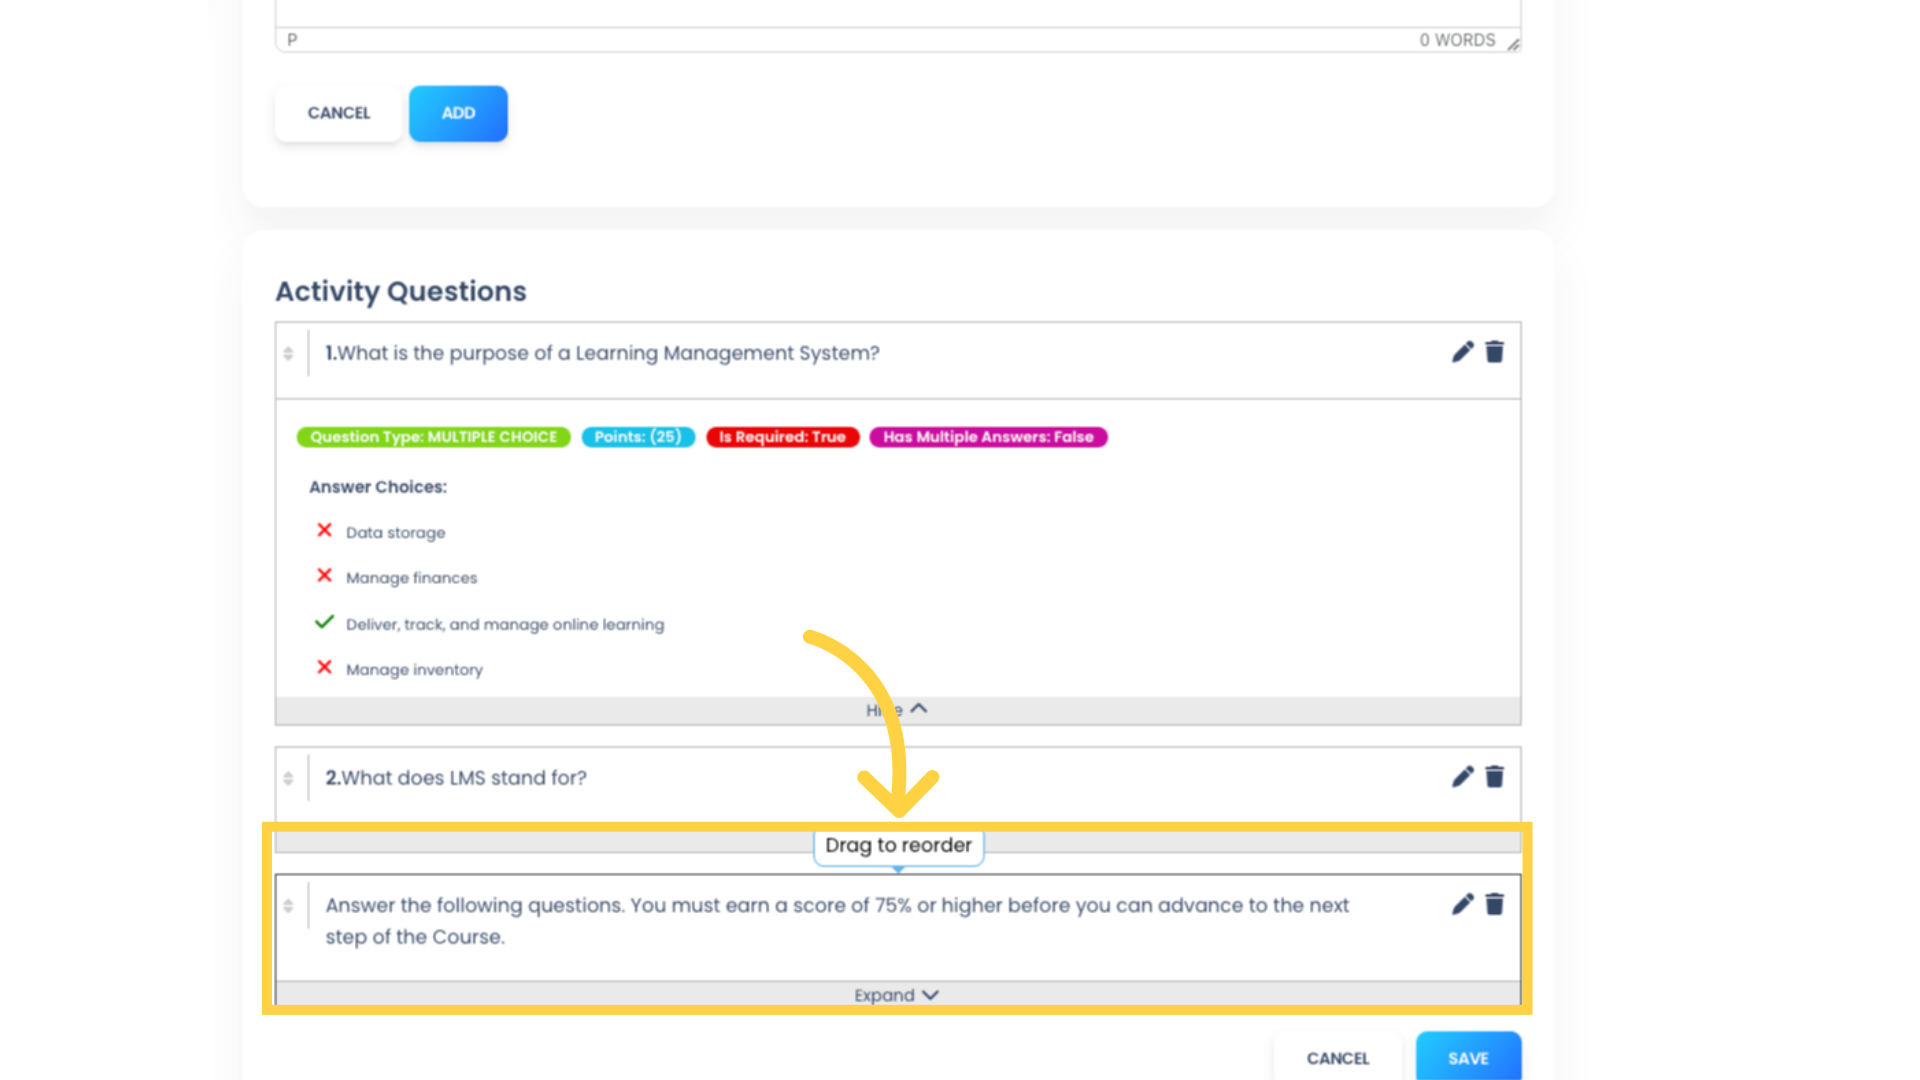
24. You can easily reorder Quiz questions if needed. Just click anywhere inside a Question box and drag to the desired location. Question numbering will be reordered automatically upon saving.
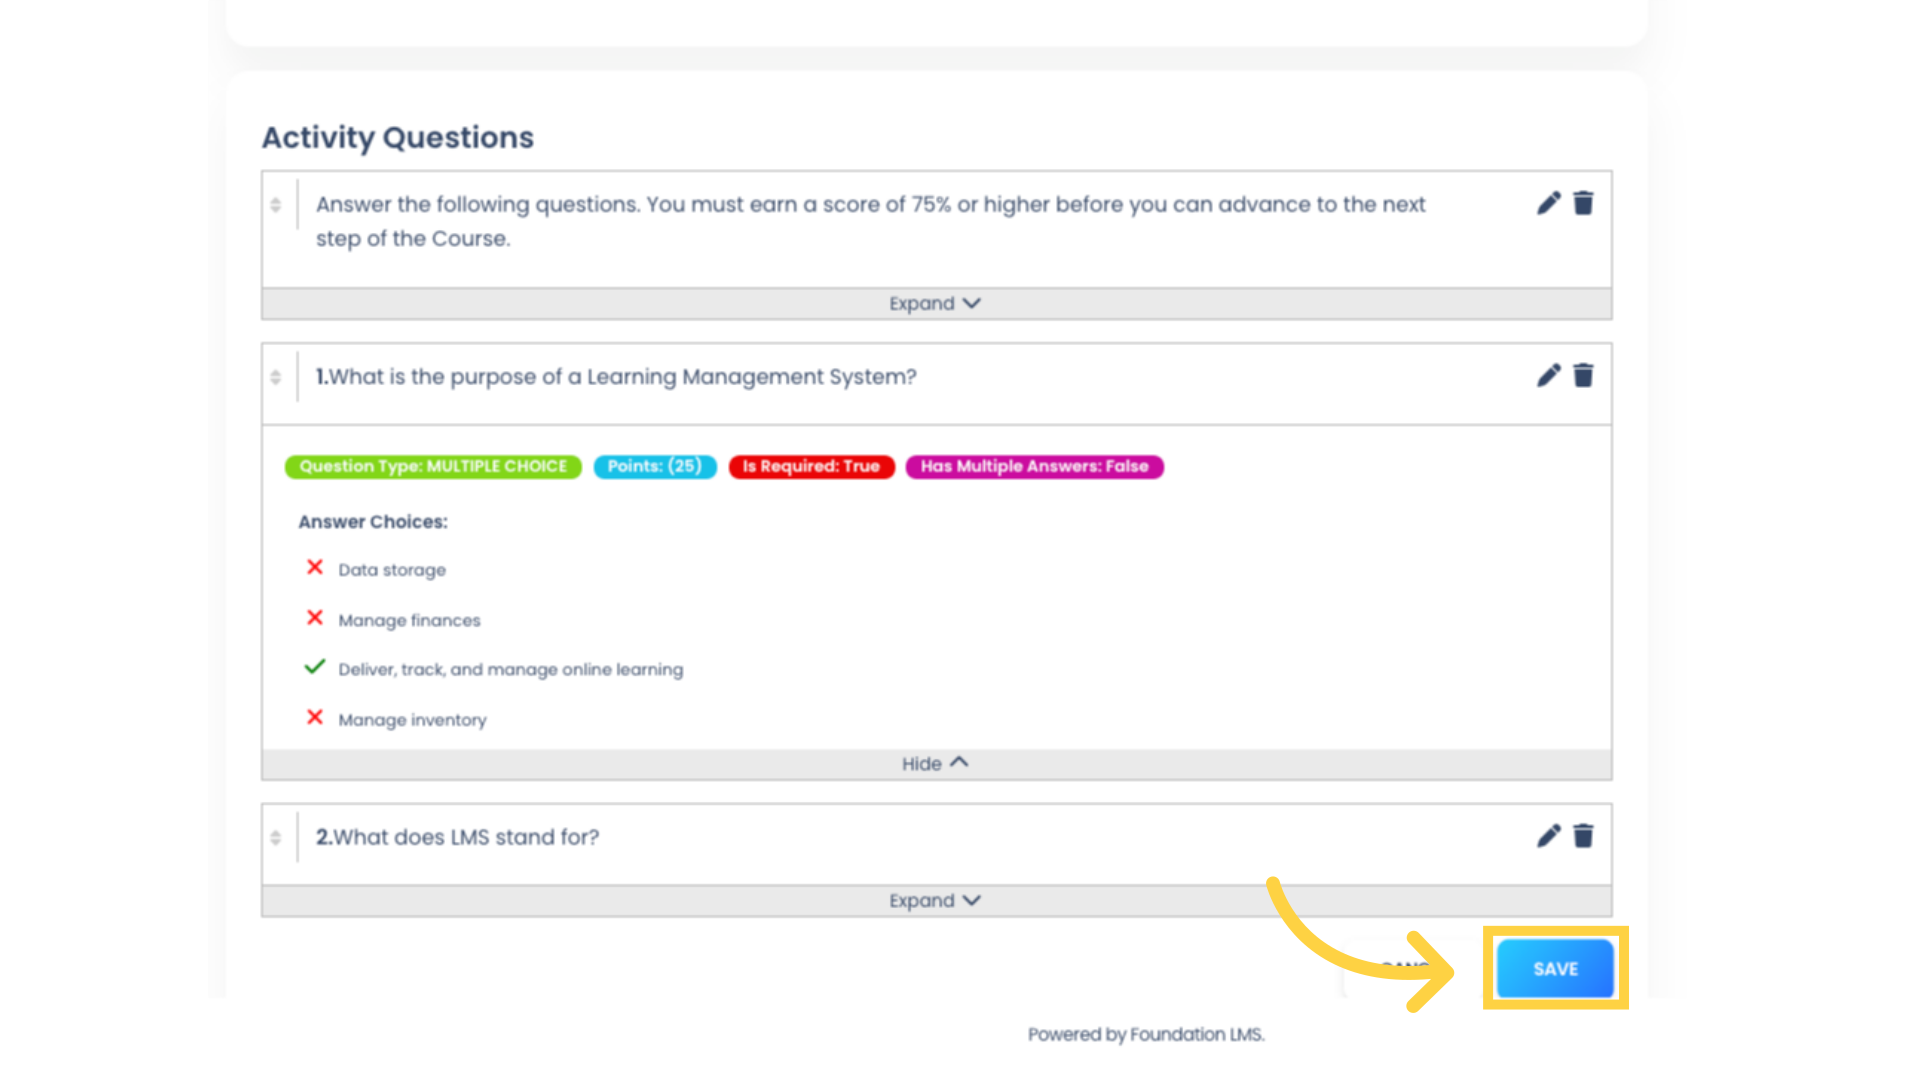
25. Click “SAVE” to save any changes to your Question sequence.
26. Scroll up and click “BACK TO COURSE” to return to the Course Builder.

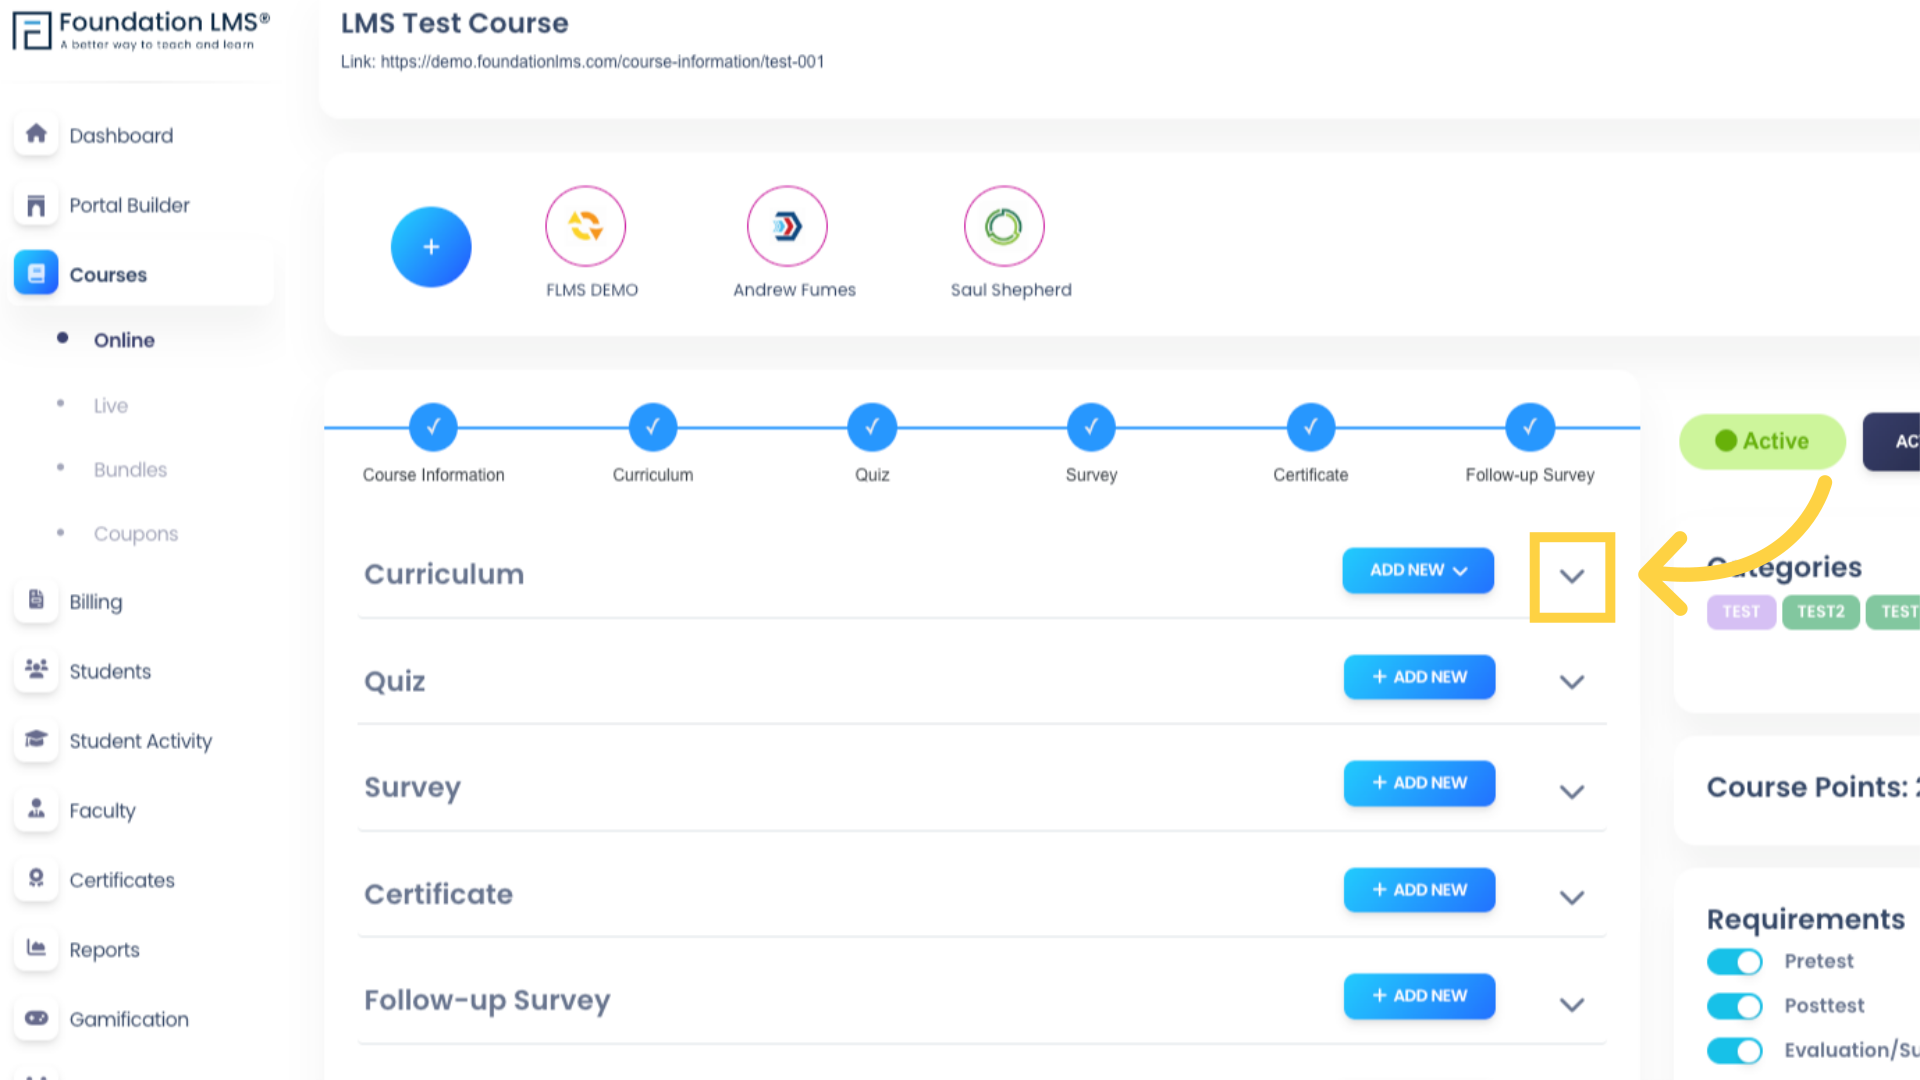
27. Click the Curriculum down arrow to see a list of Course components, including your newly added Activity.
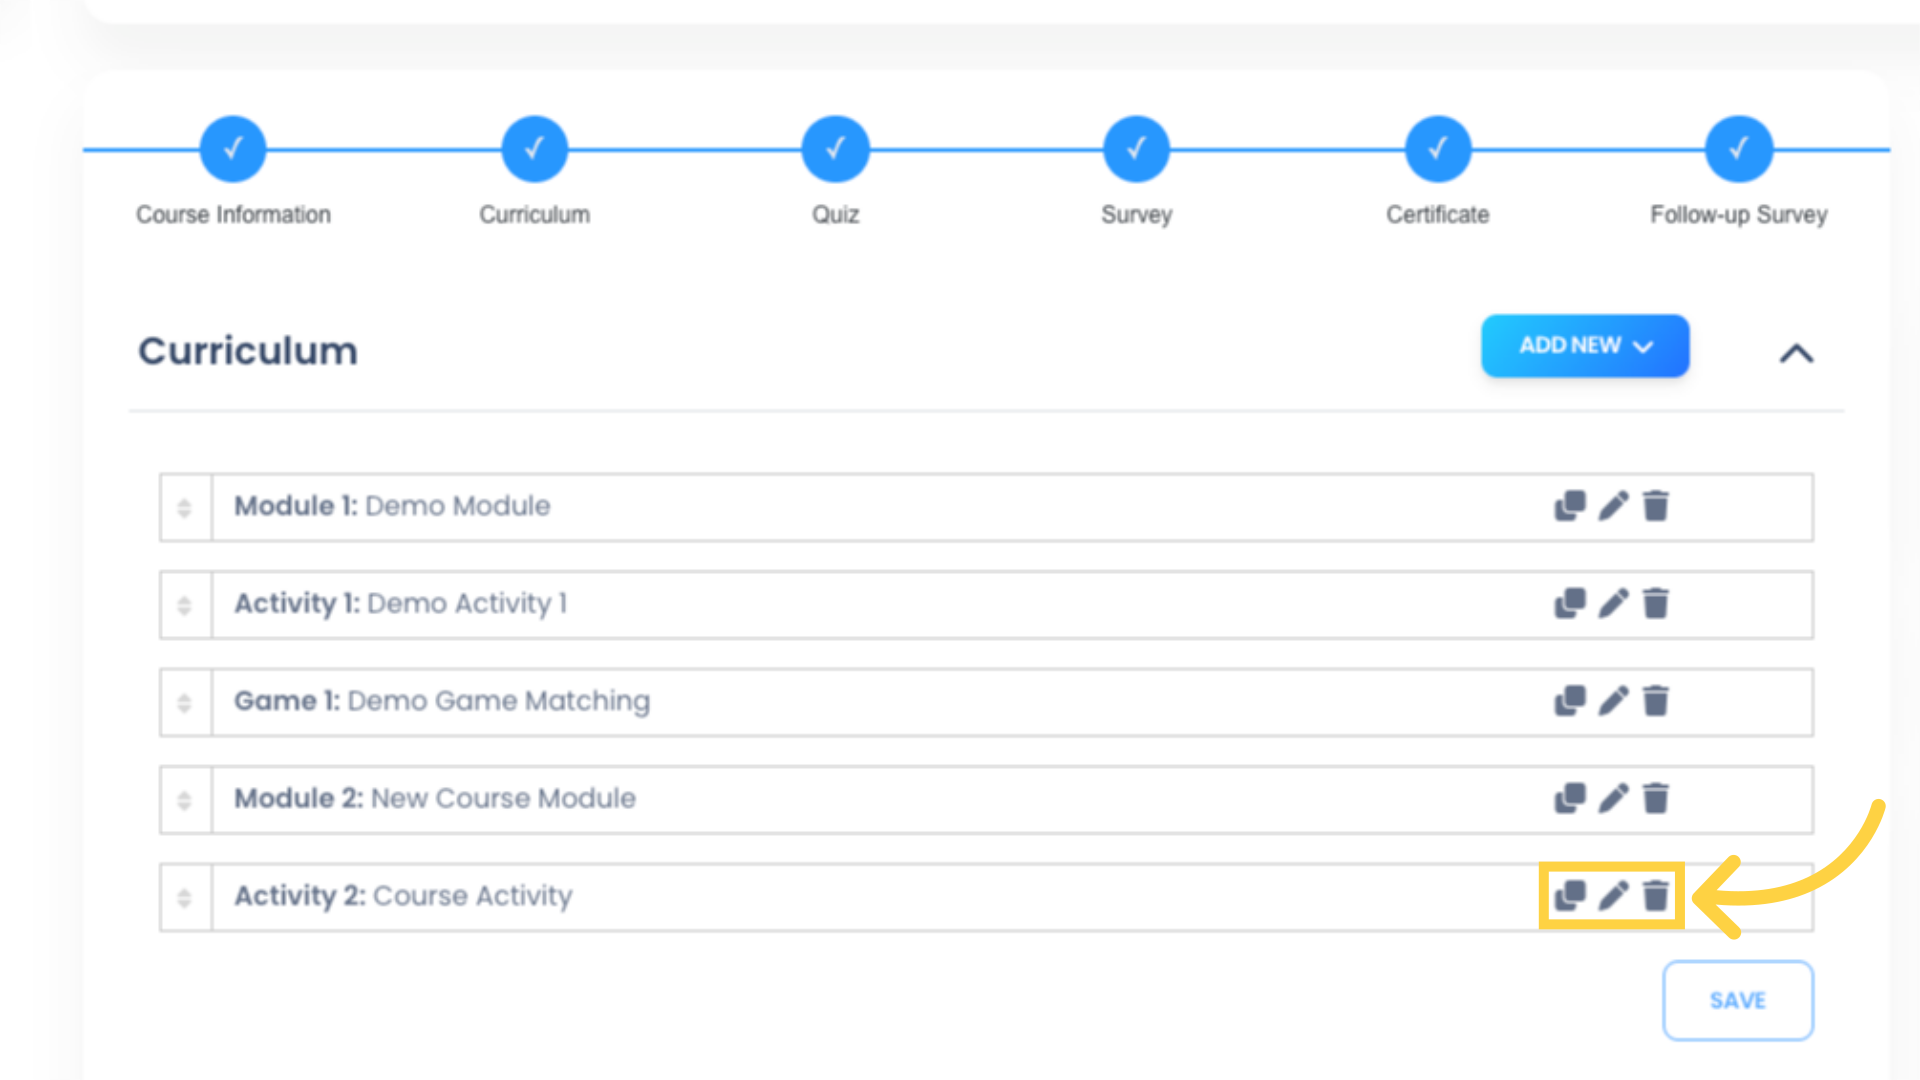
28. You can duplicate, edit, or delete your Course Activity from here.
Thank you for watching our tutorial on how to add a Course Activity in Foundation LMS.
