Have a Question?
How to Manage Faculty
This tutorial covers the process of adding, editing, and deleting faculty members in Foundation LMS.
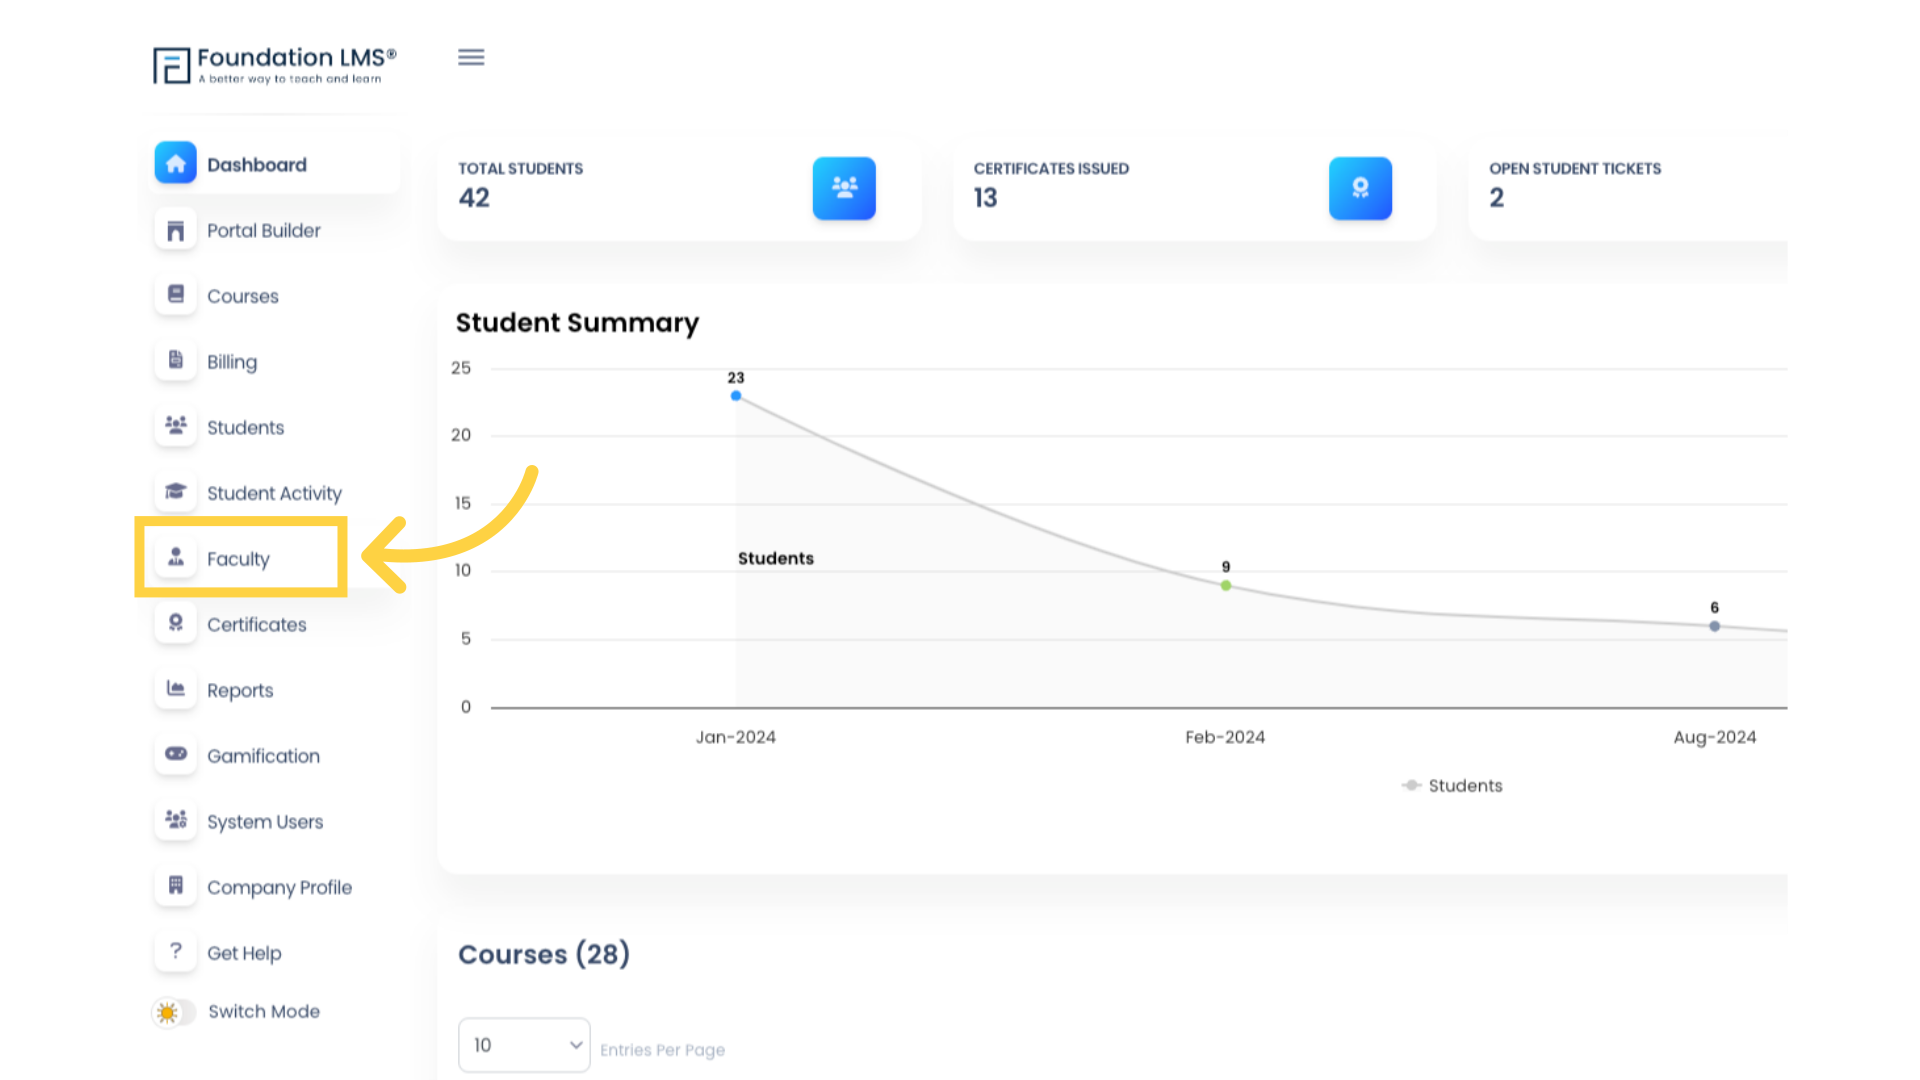
1. Click “Faculty” to access the Faculty page.

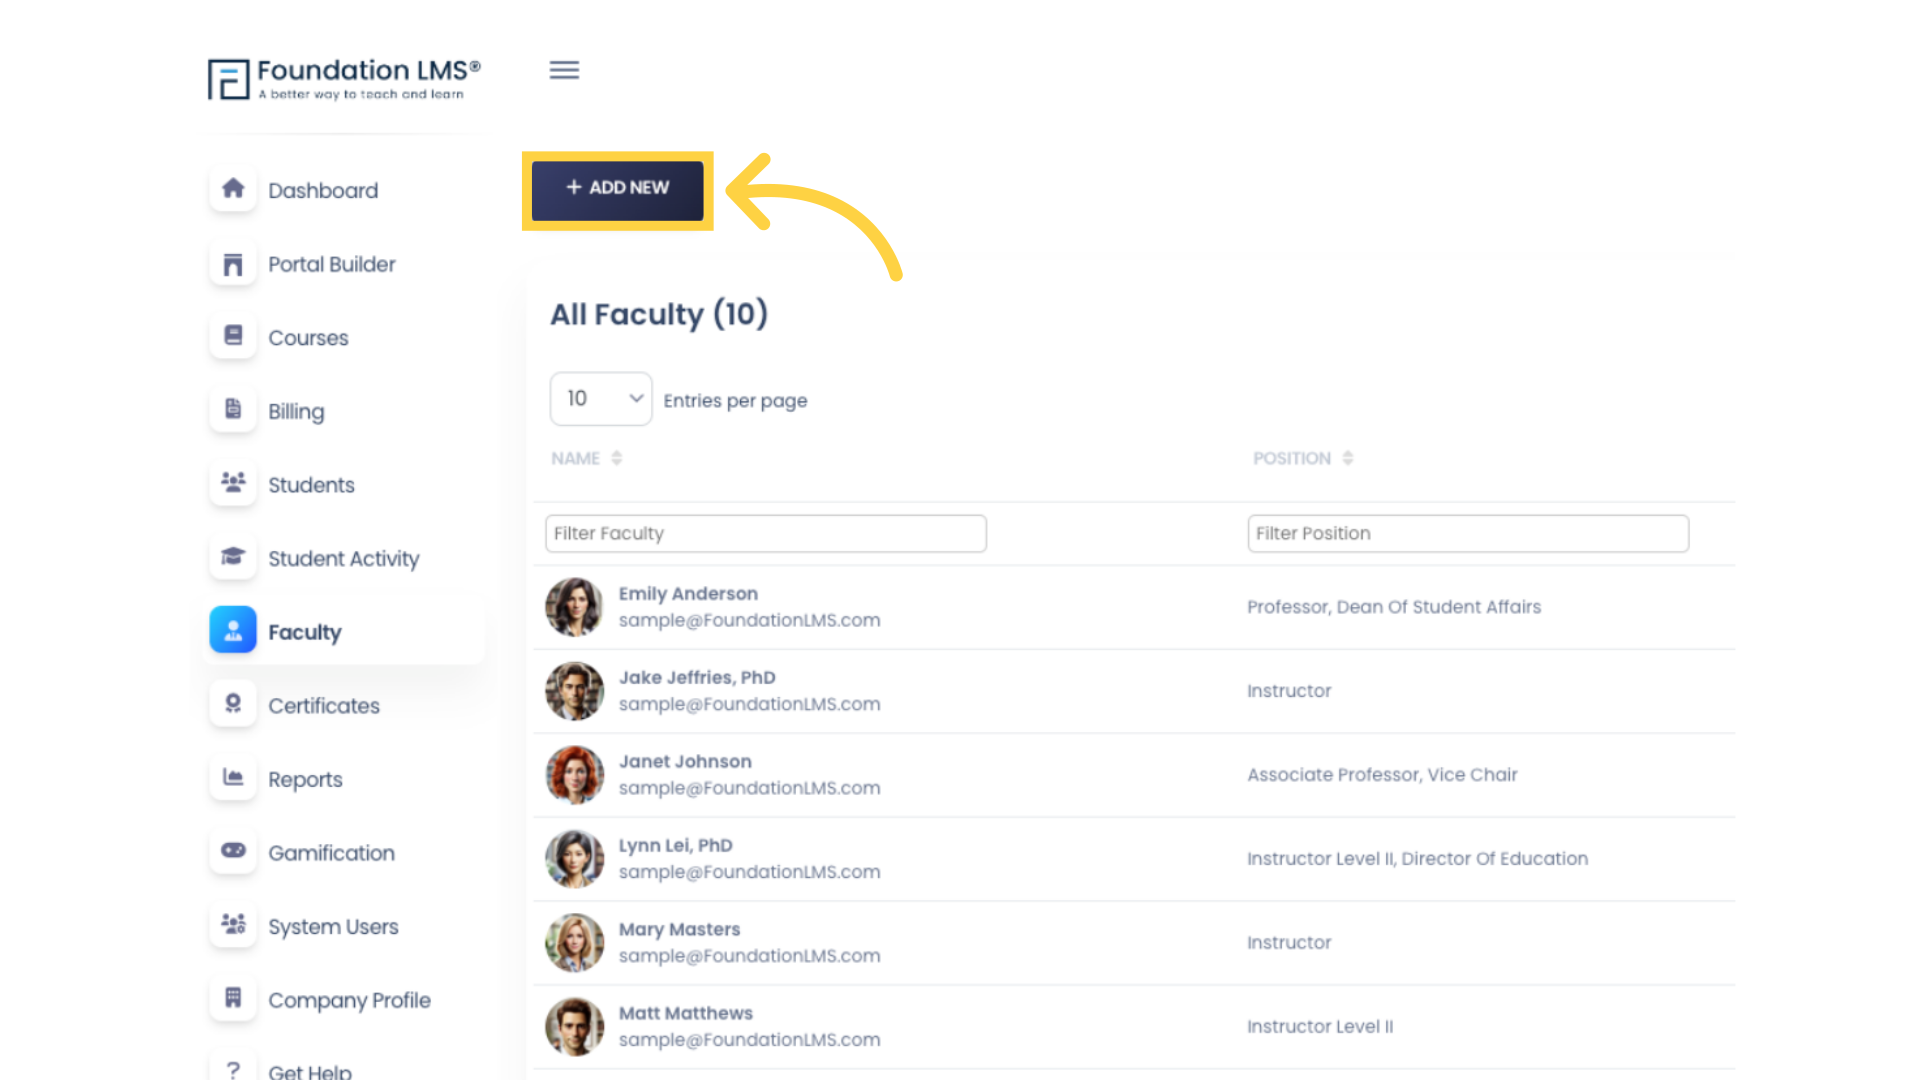
2. Click “ADD NEW” to add a new faculty member.
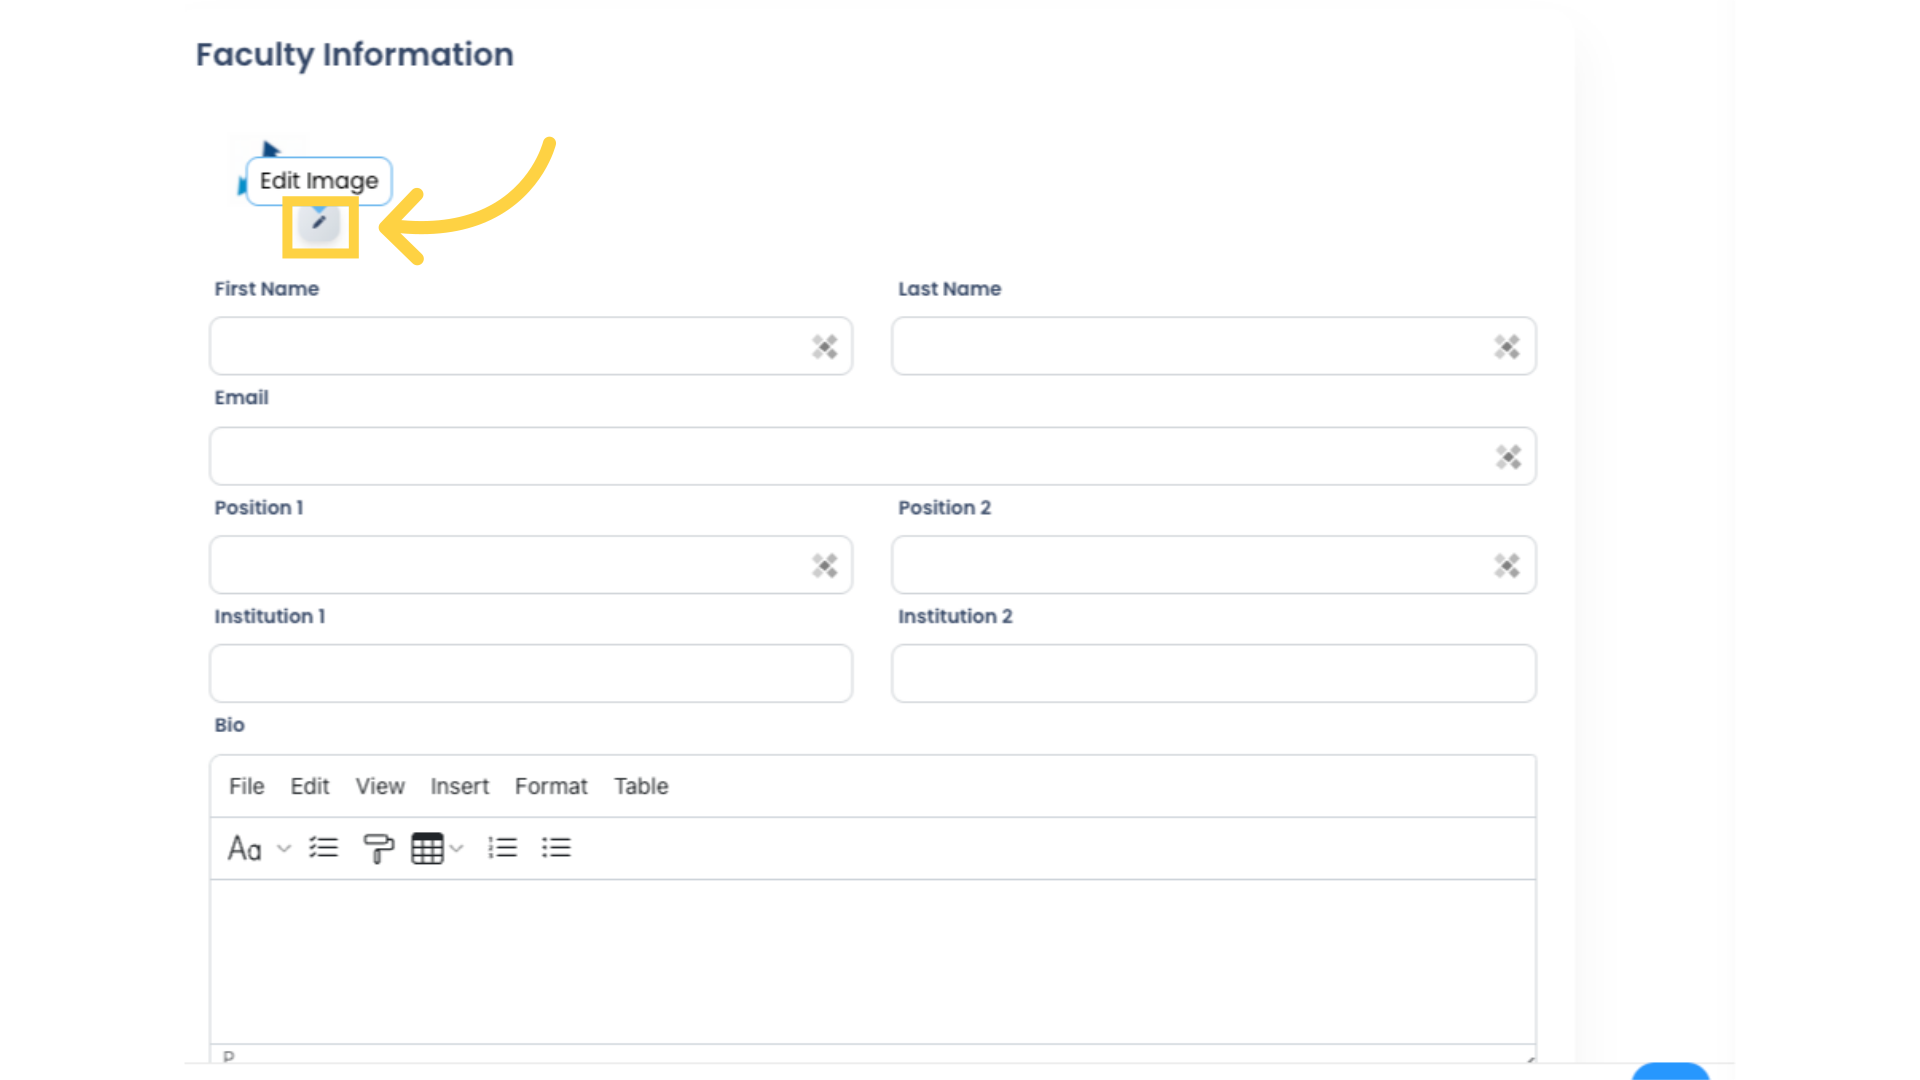
3. Click the pencil icon to select your Faculty image file. This image will appear on the Course Landing Page.
4. Adjust and crop the uploaded image if needed. Then click “CROP” to apply your Faculty image.

5. Fill in the Fields. (First Name, Last Name, and Email are required.) If your Faculty has more than one affiliation, add their second title and organization in the “Position 2” and “Institution 2” fields, respectively.
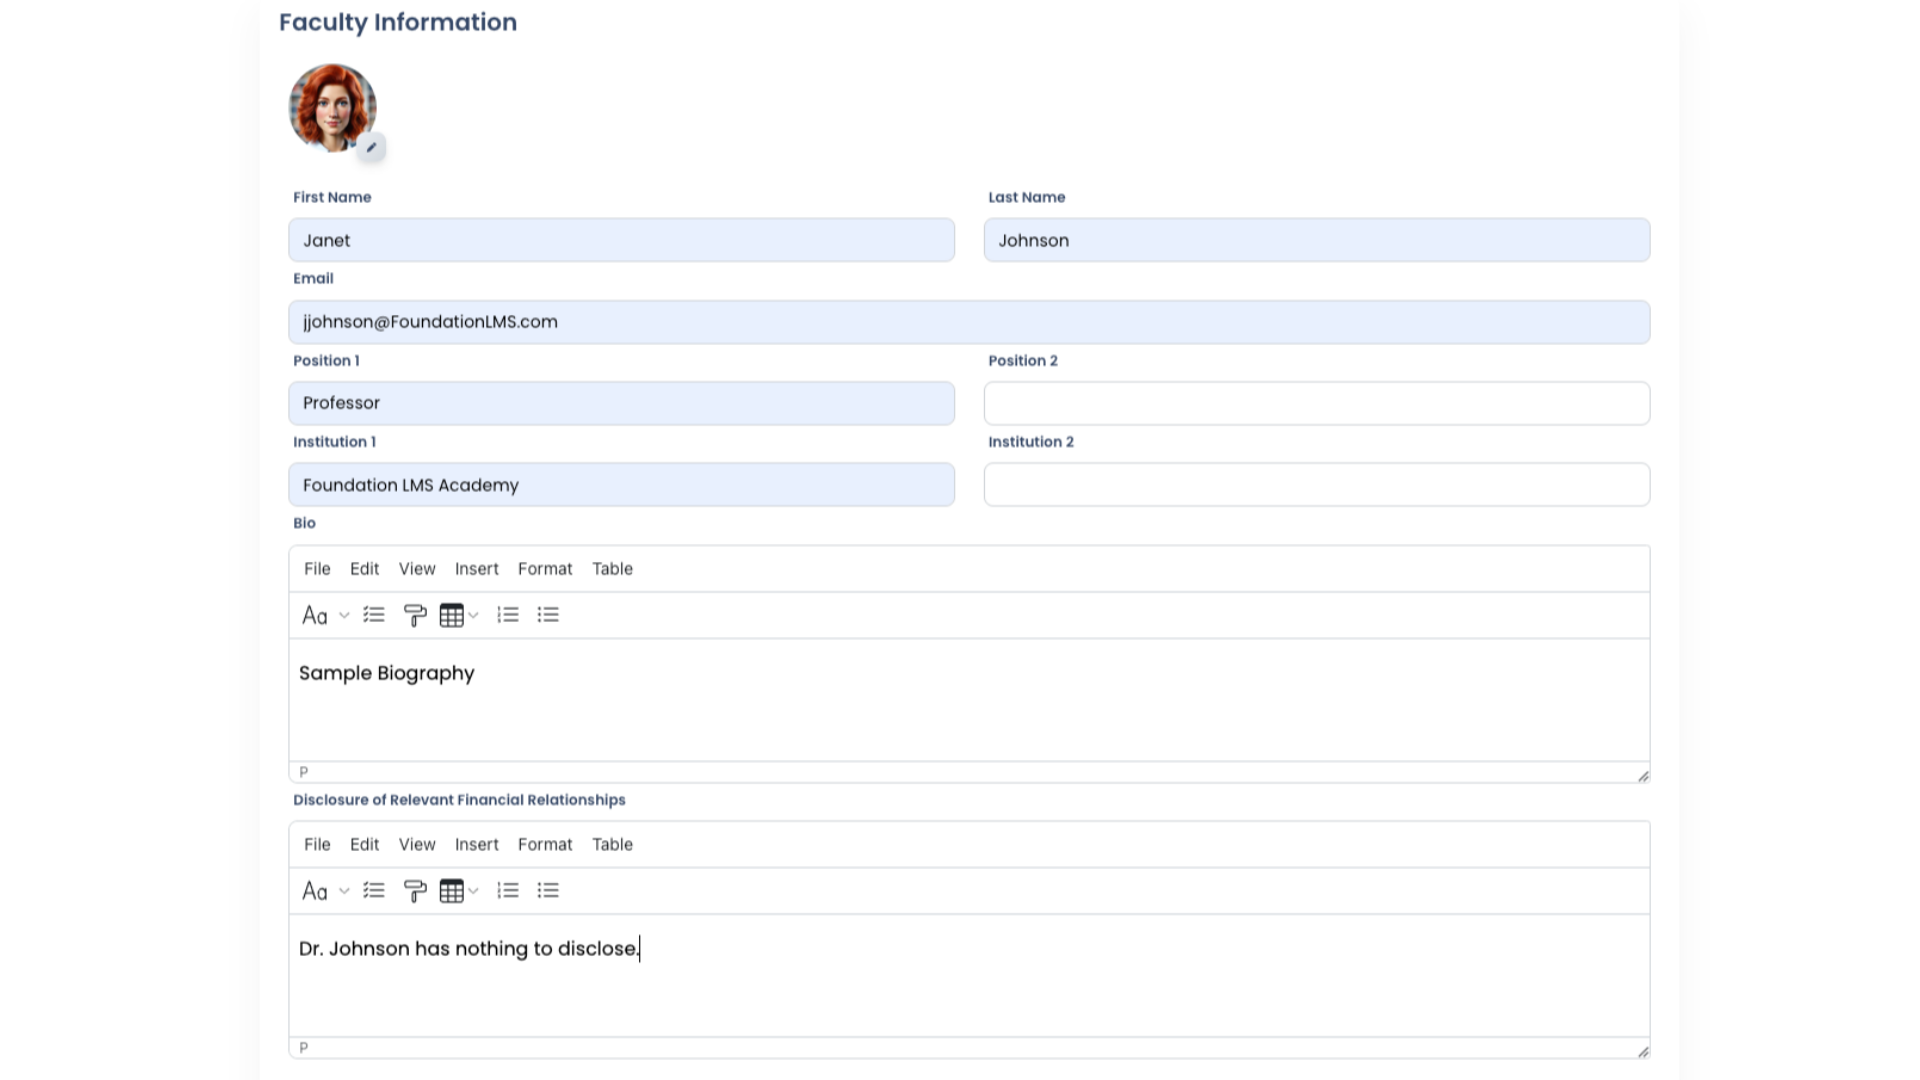
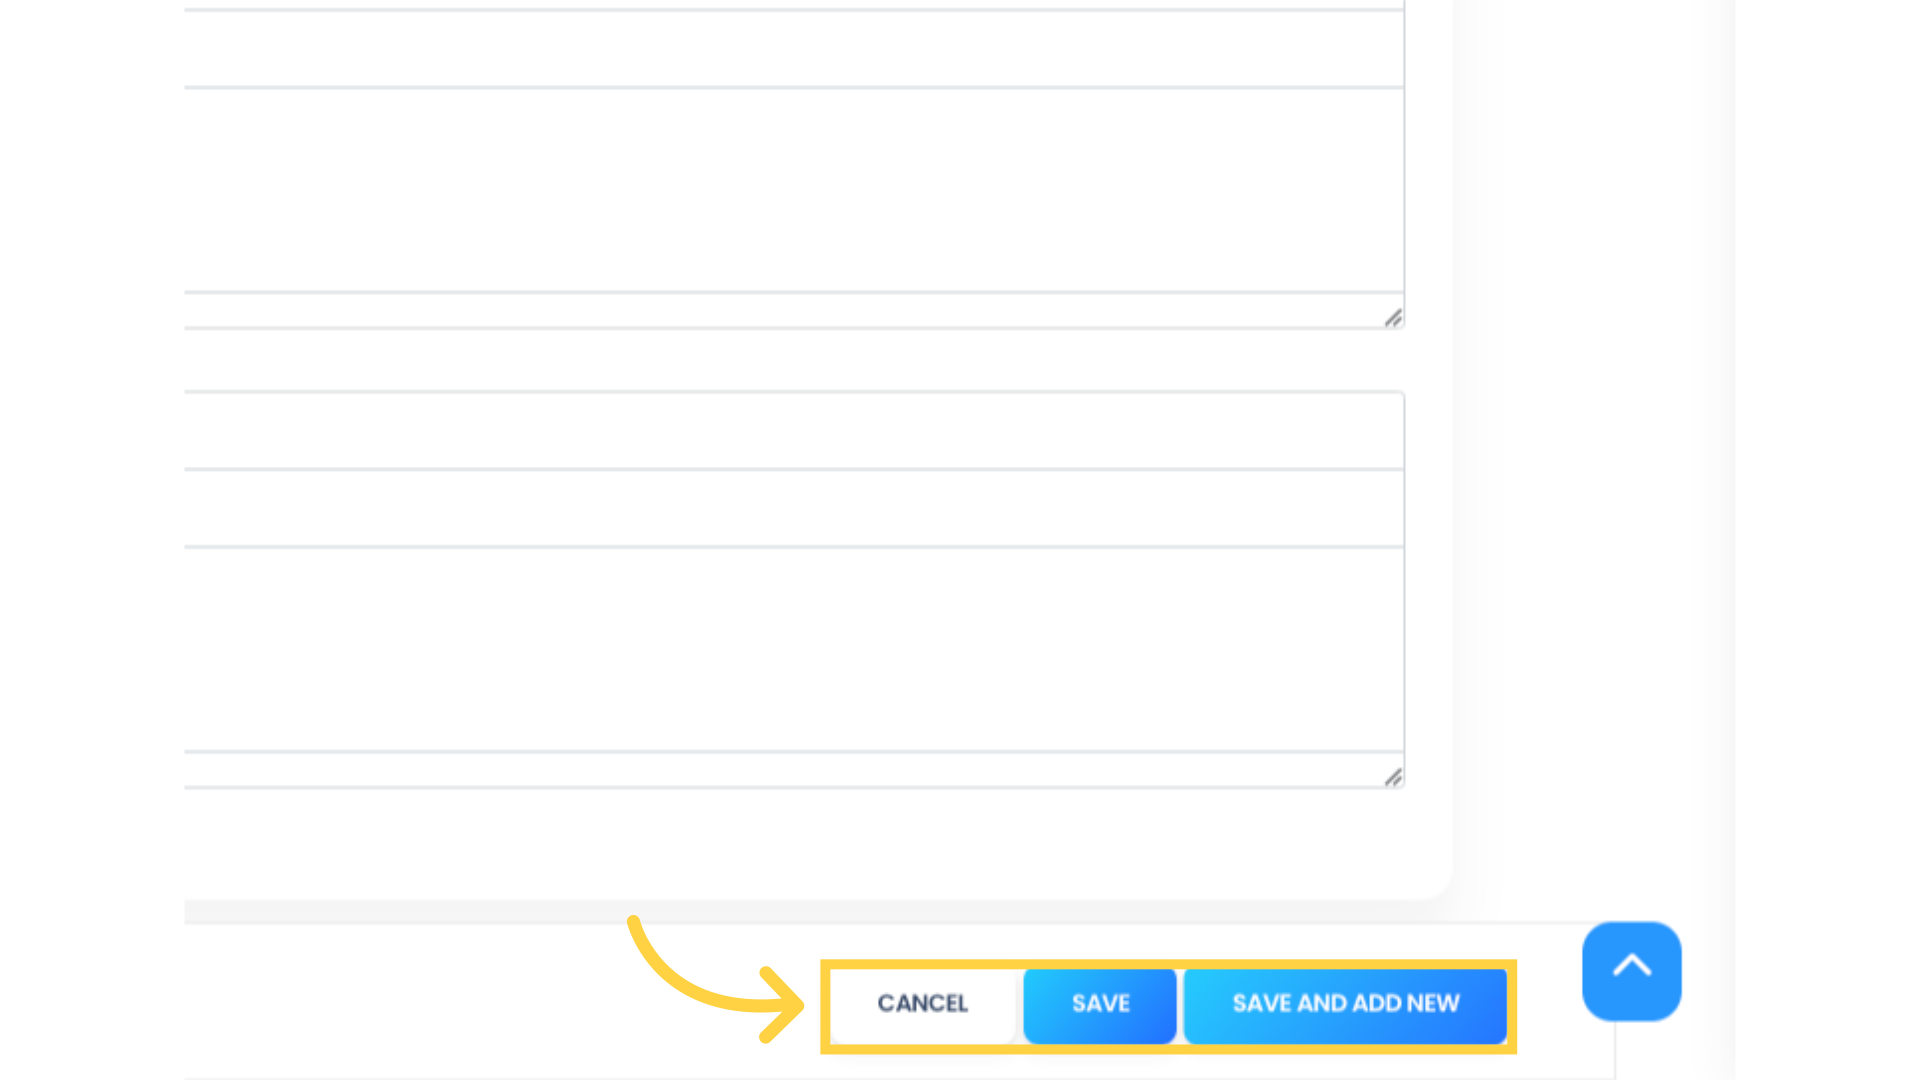
6. Click “SAVE” if you are adding one Faculty, or click “SAVE AND ADD NEW” and proceed to add another Faculty. Click “CANCEL” to return to the Faculty list without saving.
7. To edit a Faculty member, click “Faculty” to access the Faculty list.
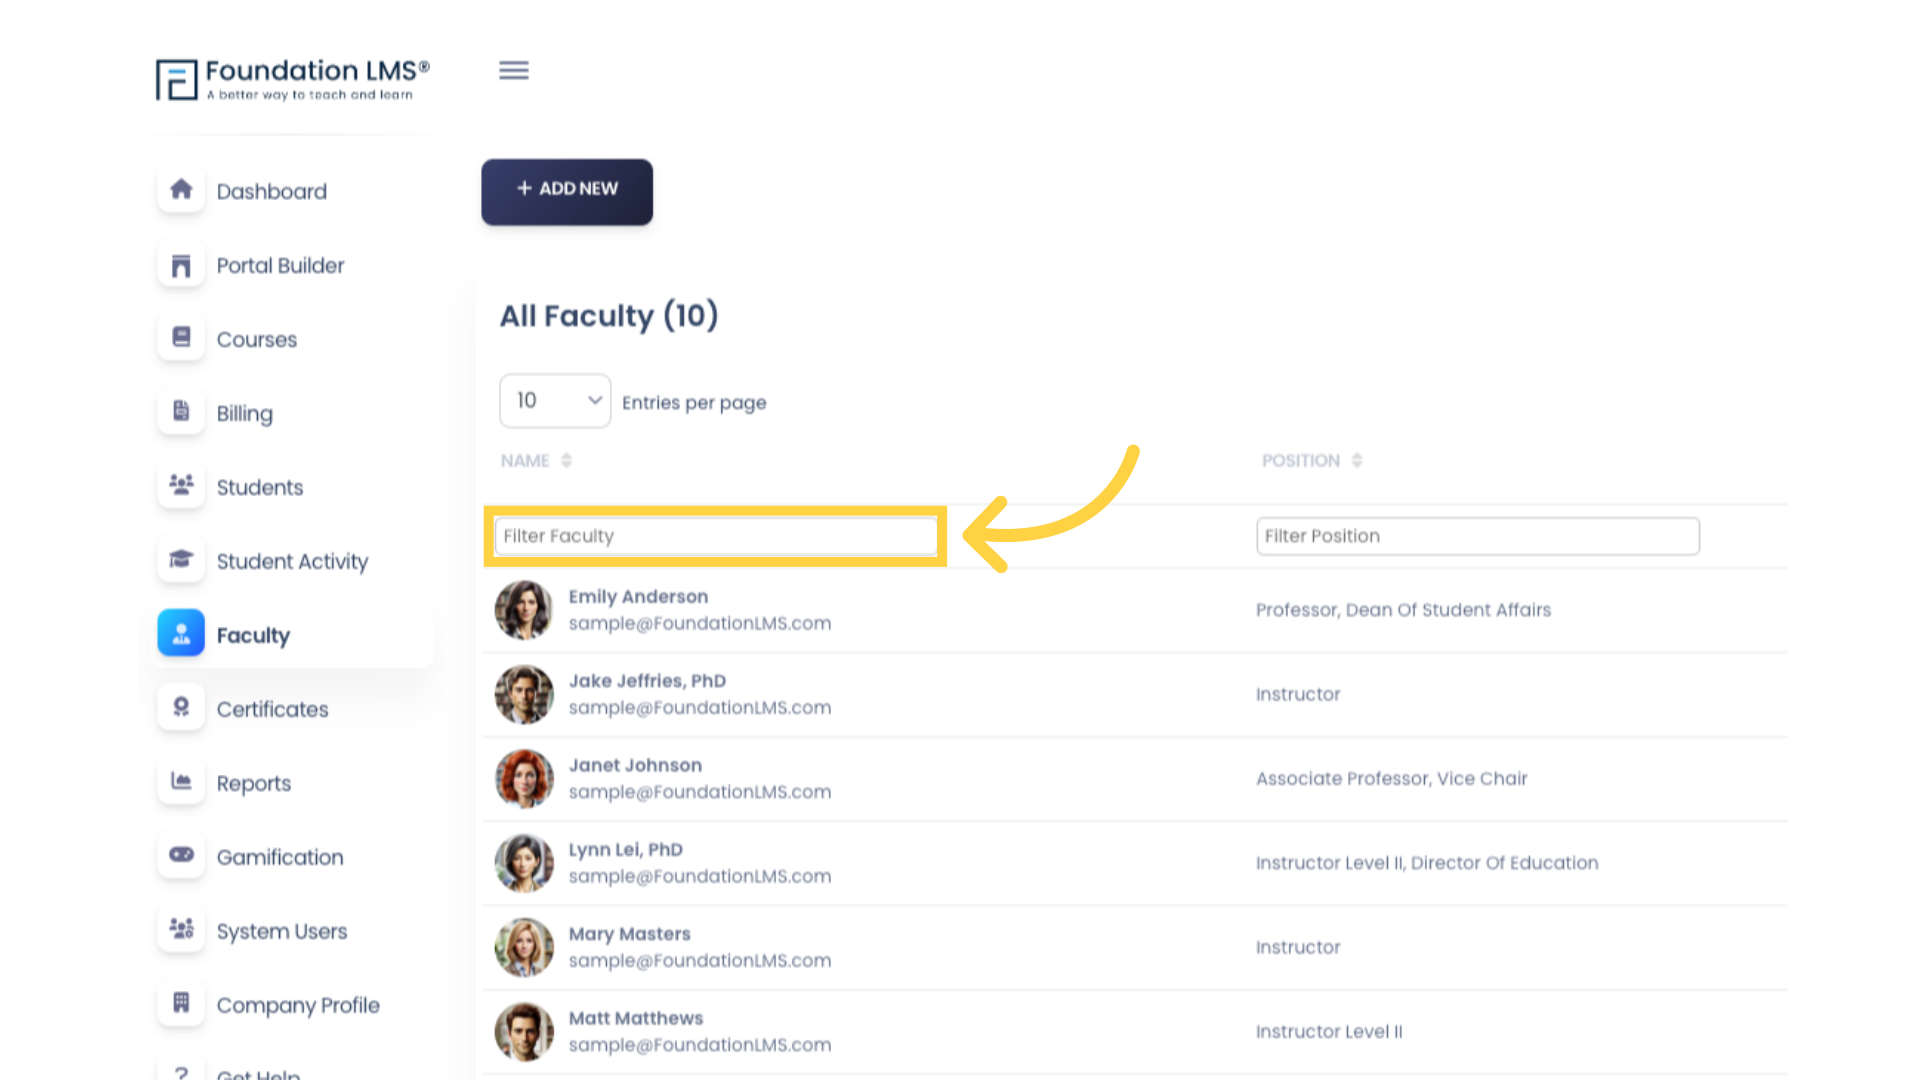
8. Search for the Faculty you want to edit by clicking the “Filter Faculty” field. Enter the Faculty name and press “Tab” or “Enter” to filter the list.
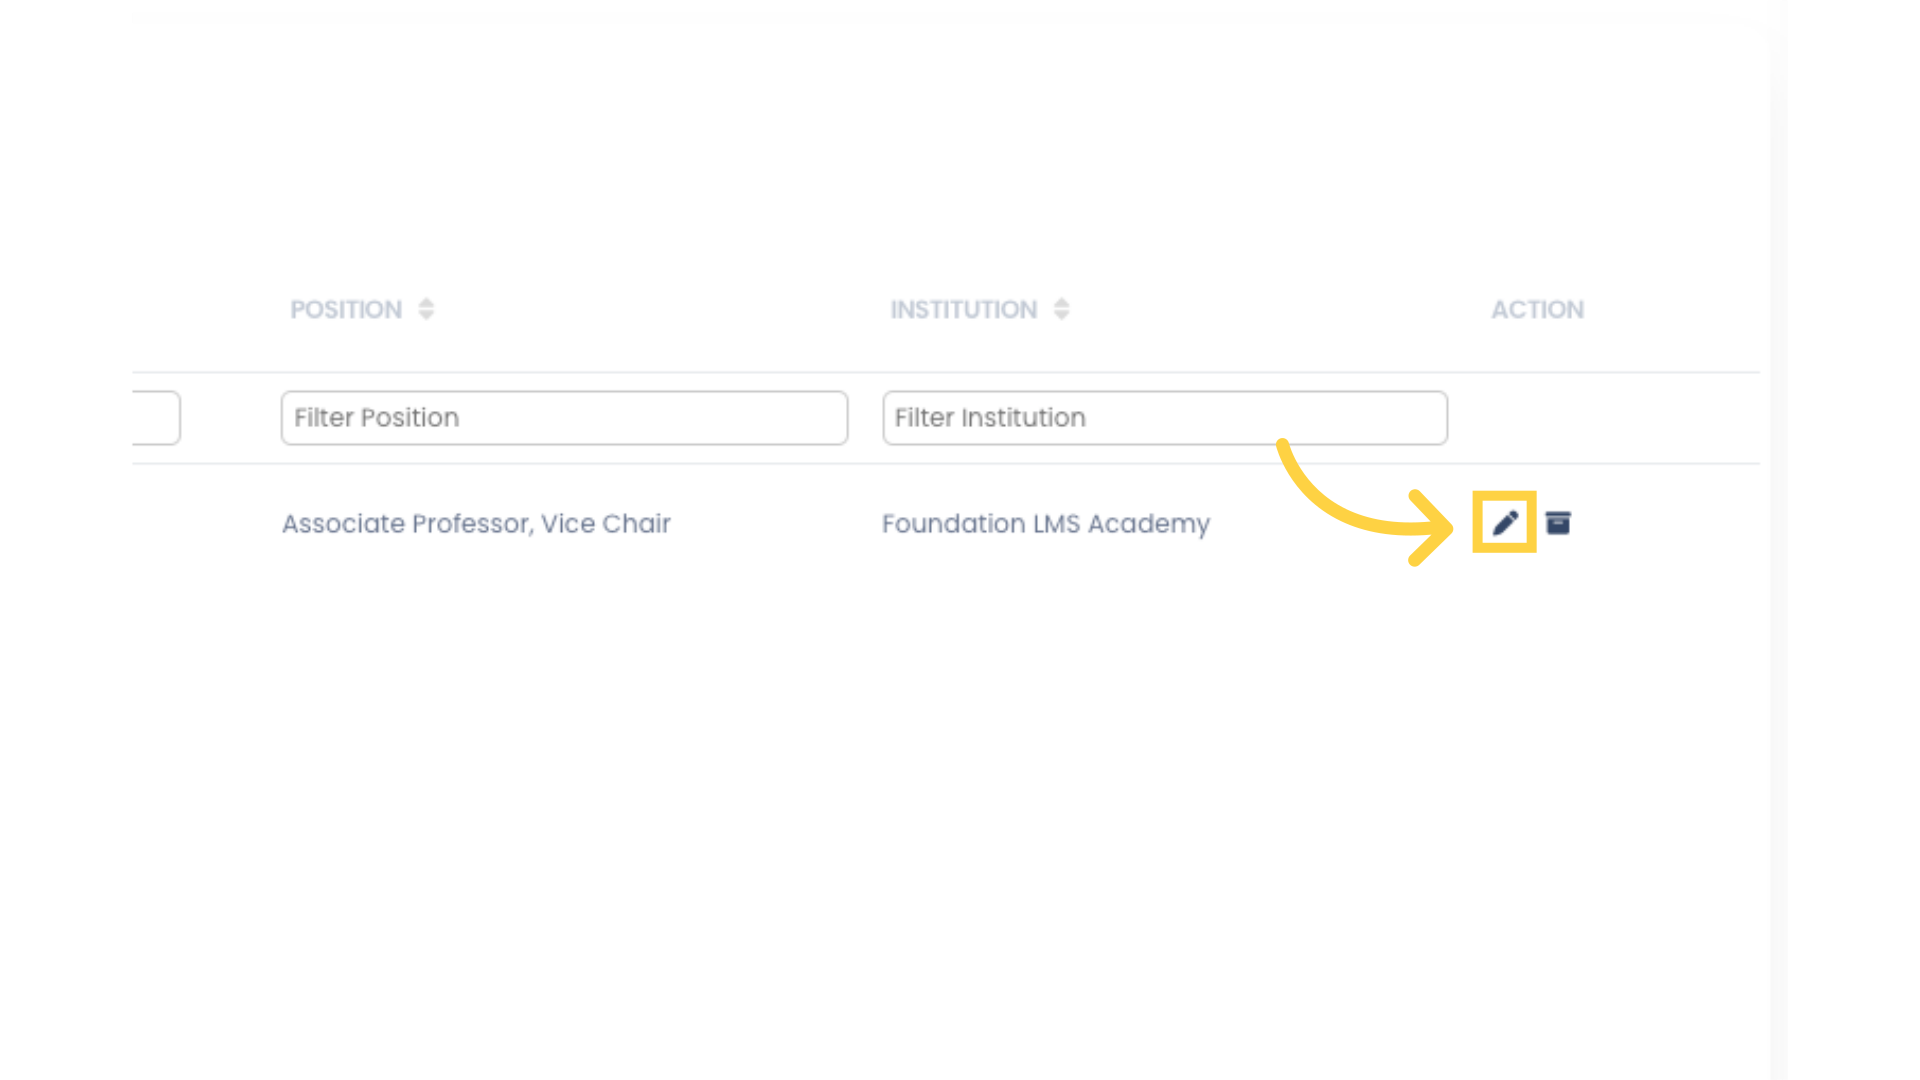
9. Click the pencil icon to update your Faculty.
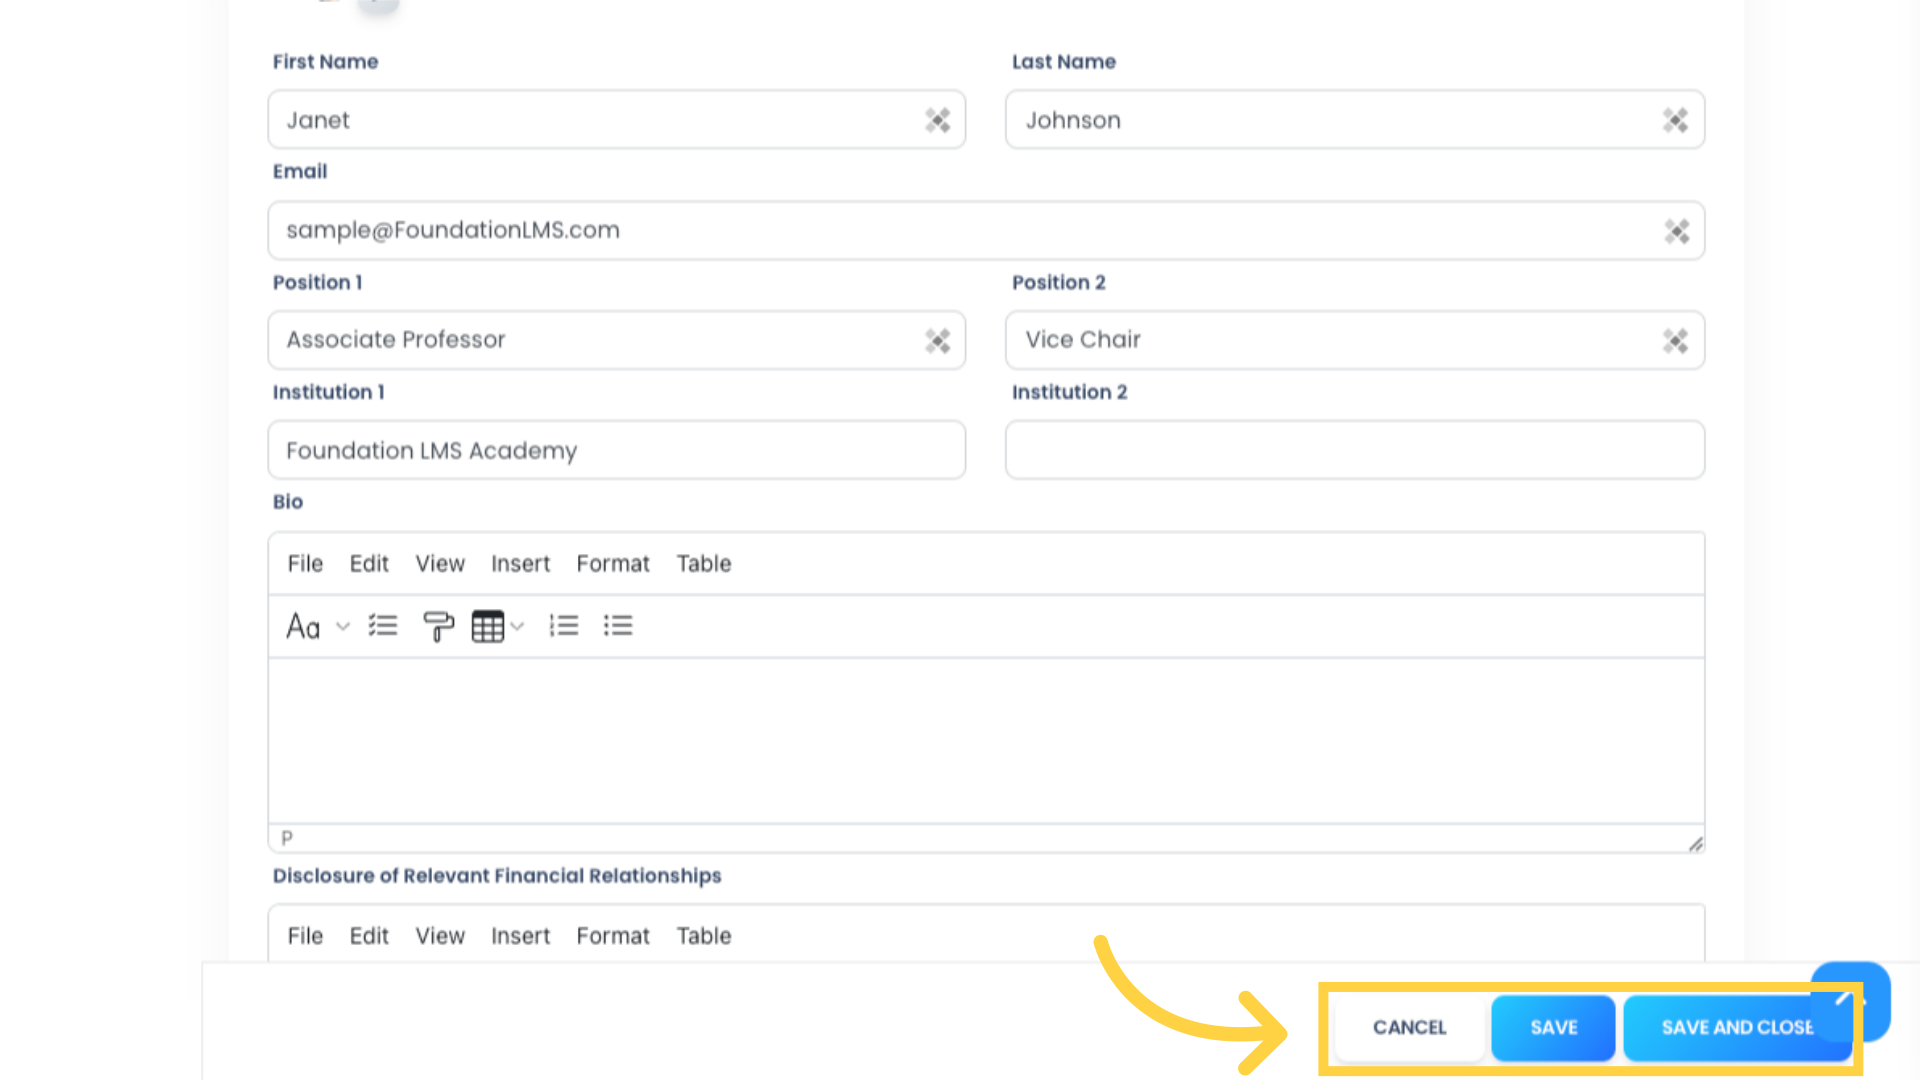
10. Make updates to the Faculty fields as needed, then Click “SAVE” to save your changes and stay on the “update faculty” page, or click “SAVE AND CLOSE” to save and return to the faculty list. Click “CANCEL” to return to the Faculty list without saving.
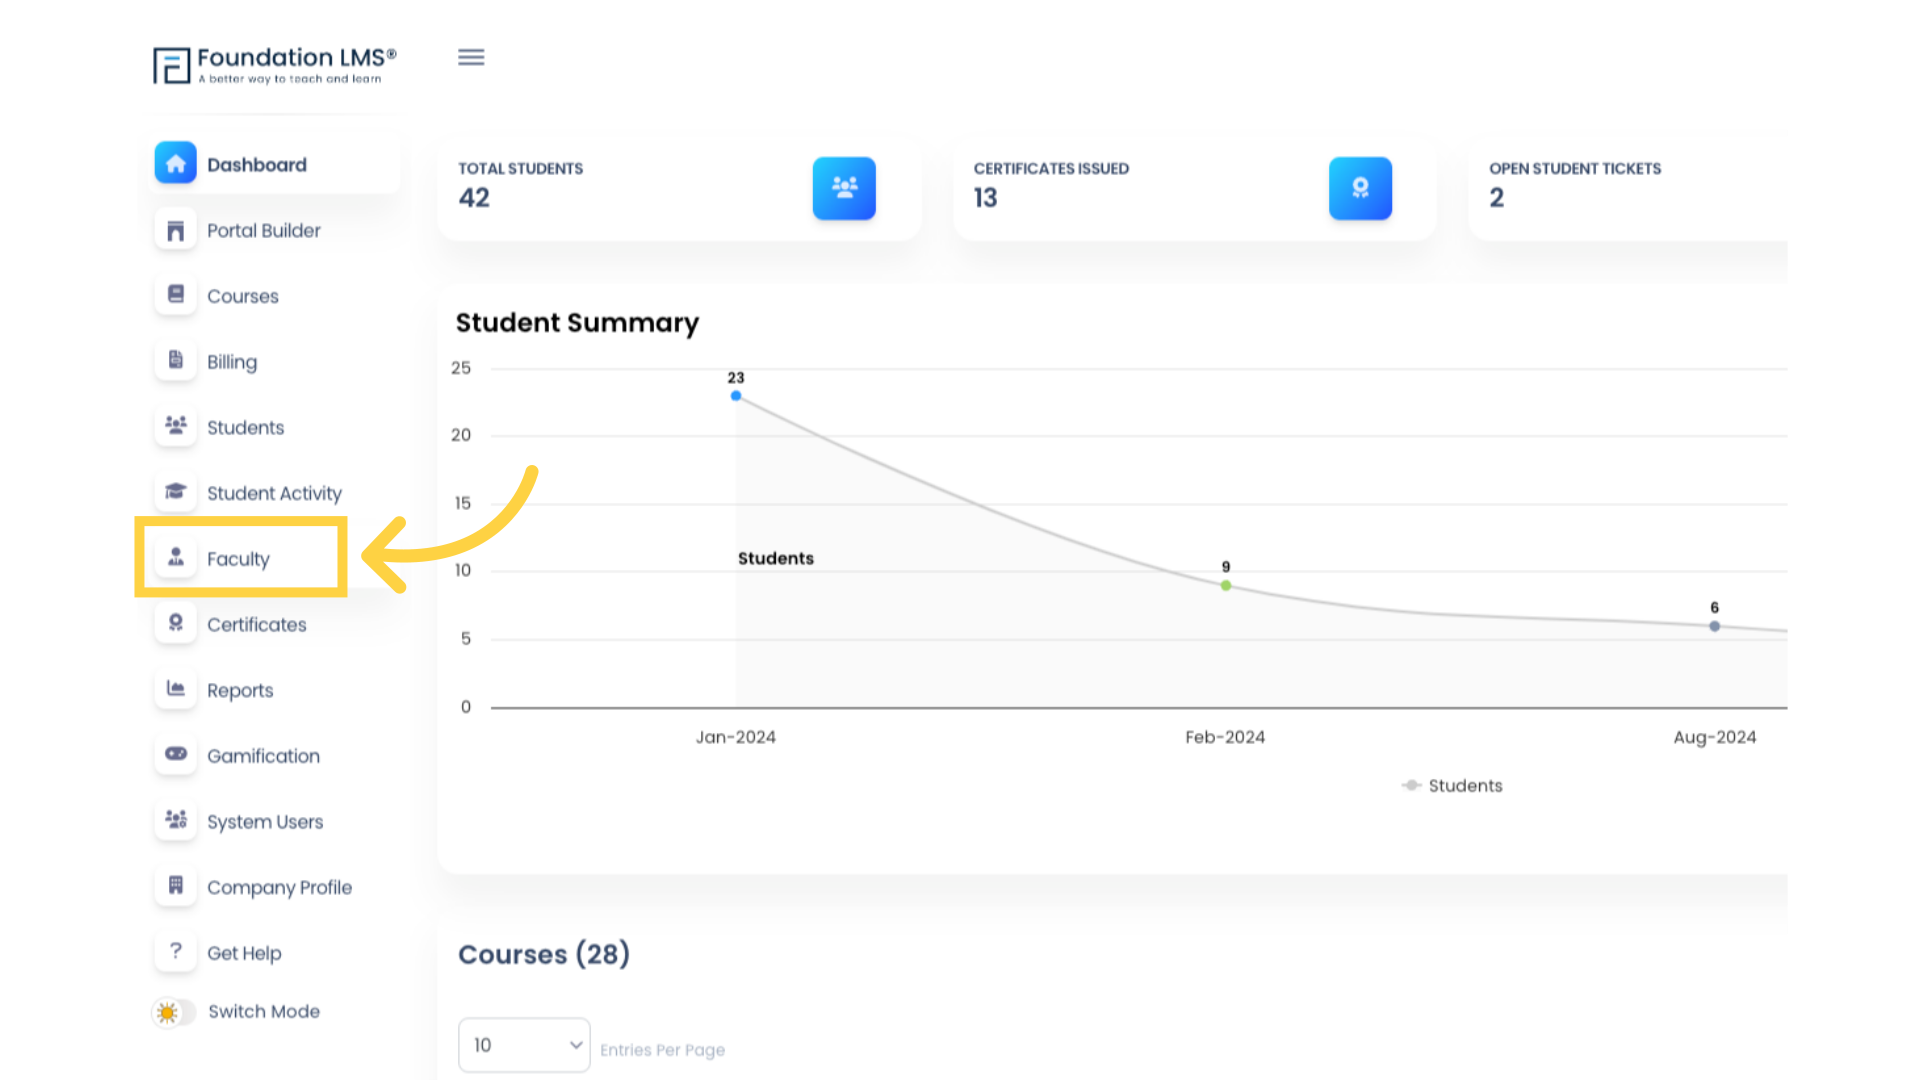
11. To delete a Faculty member, click “Faculty” to access the Faculty list.
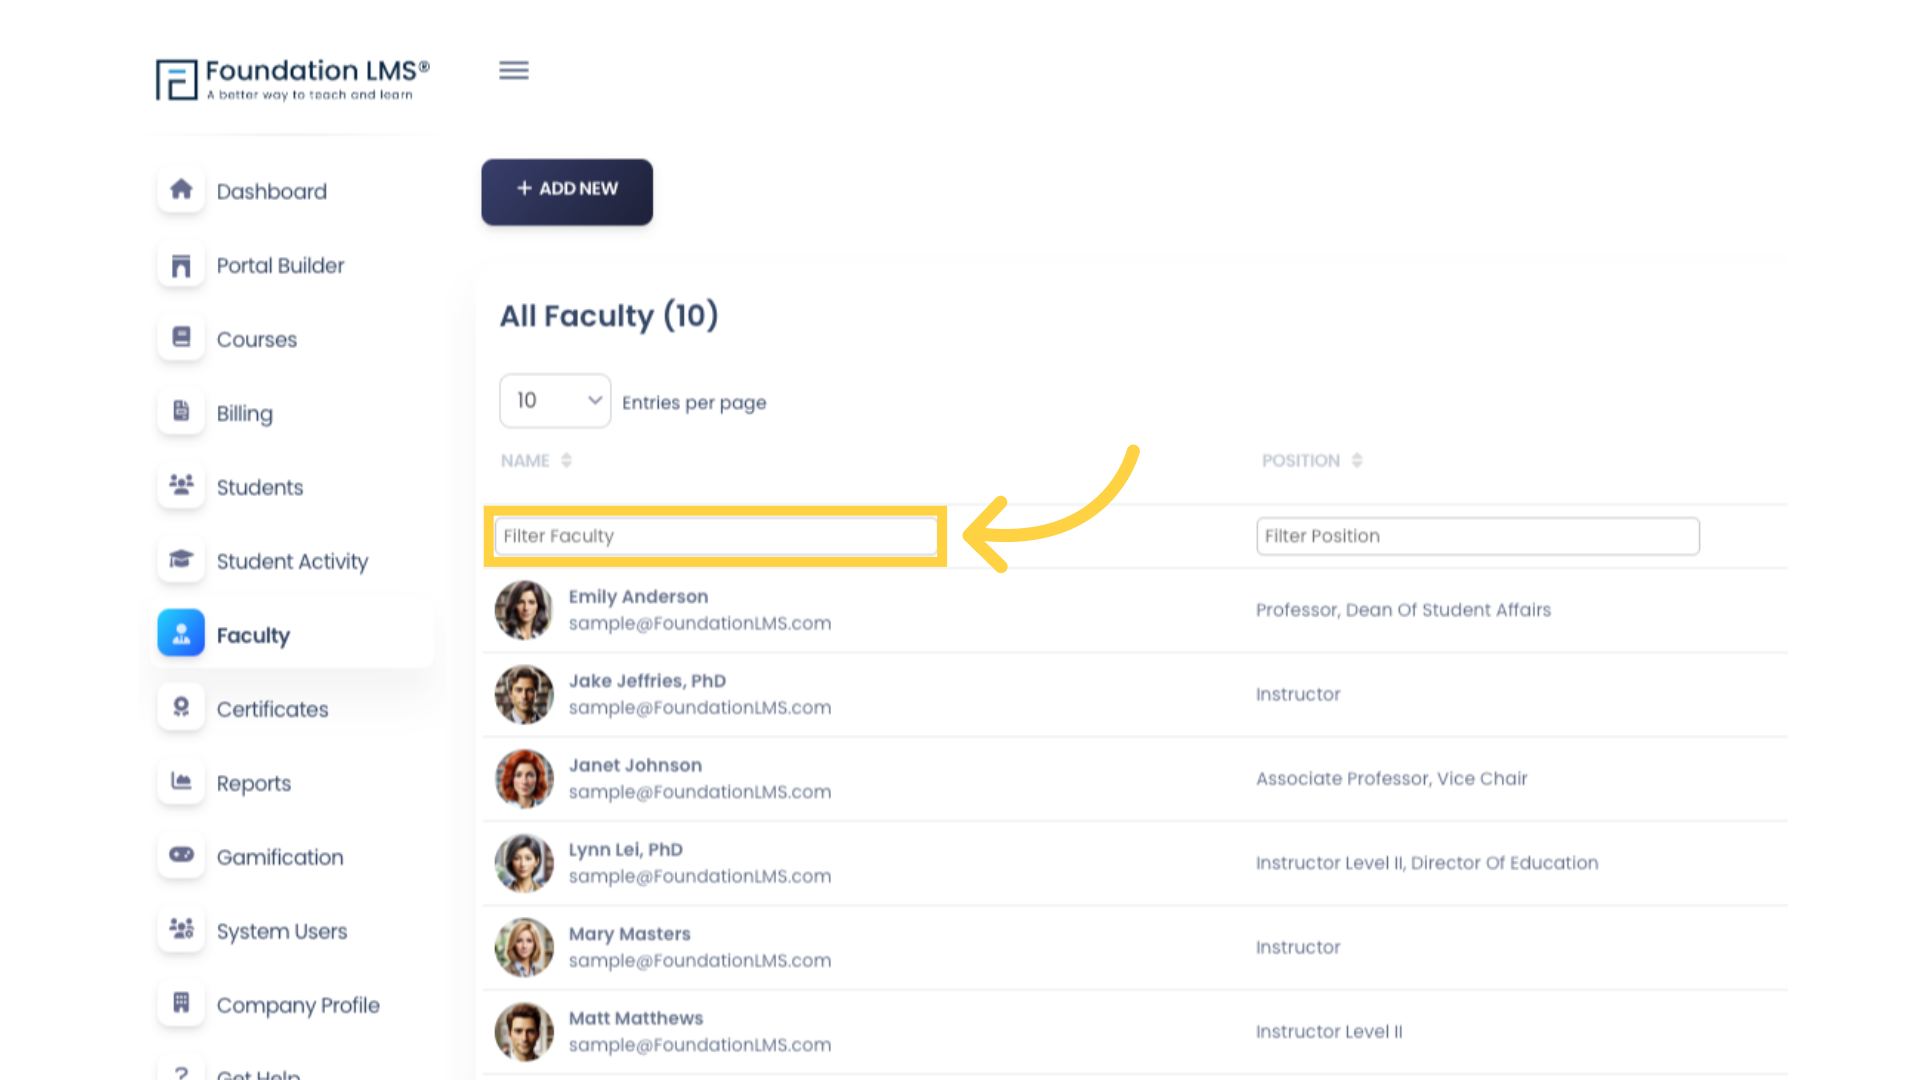
12. Search for the Faculty you want to delete by clicking the “Filter Faculty” field. Enter the Faculty name and press “Tab” or “Enter” to filter the list.
13. Click the “Archive” icon.
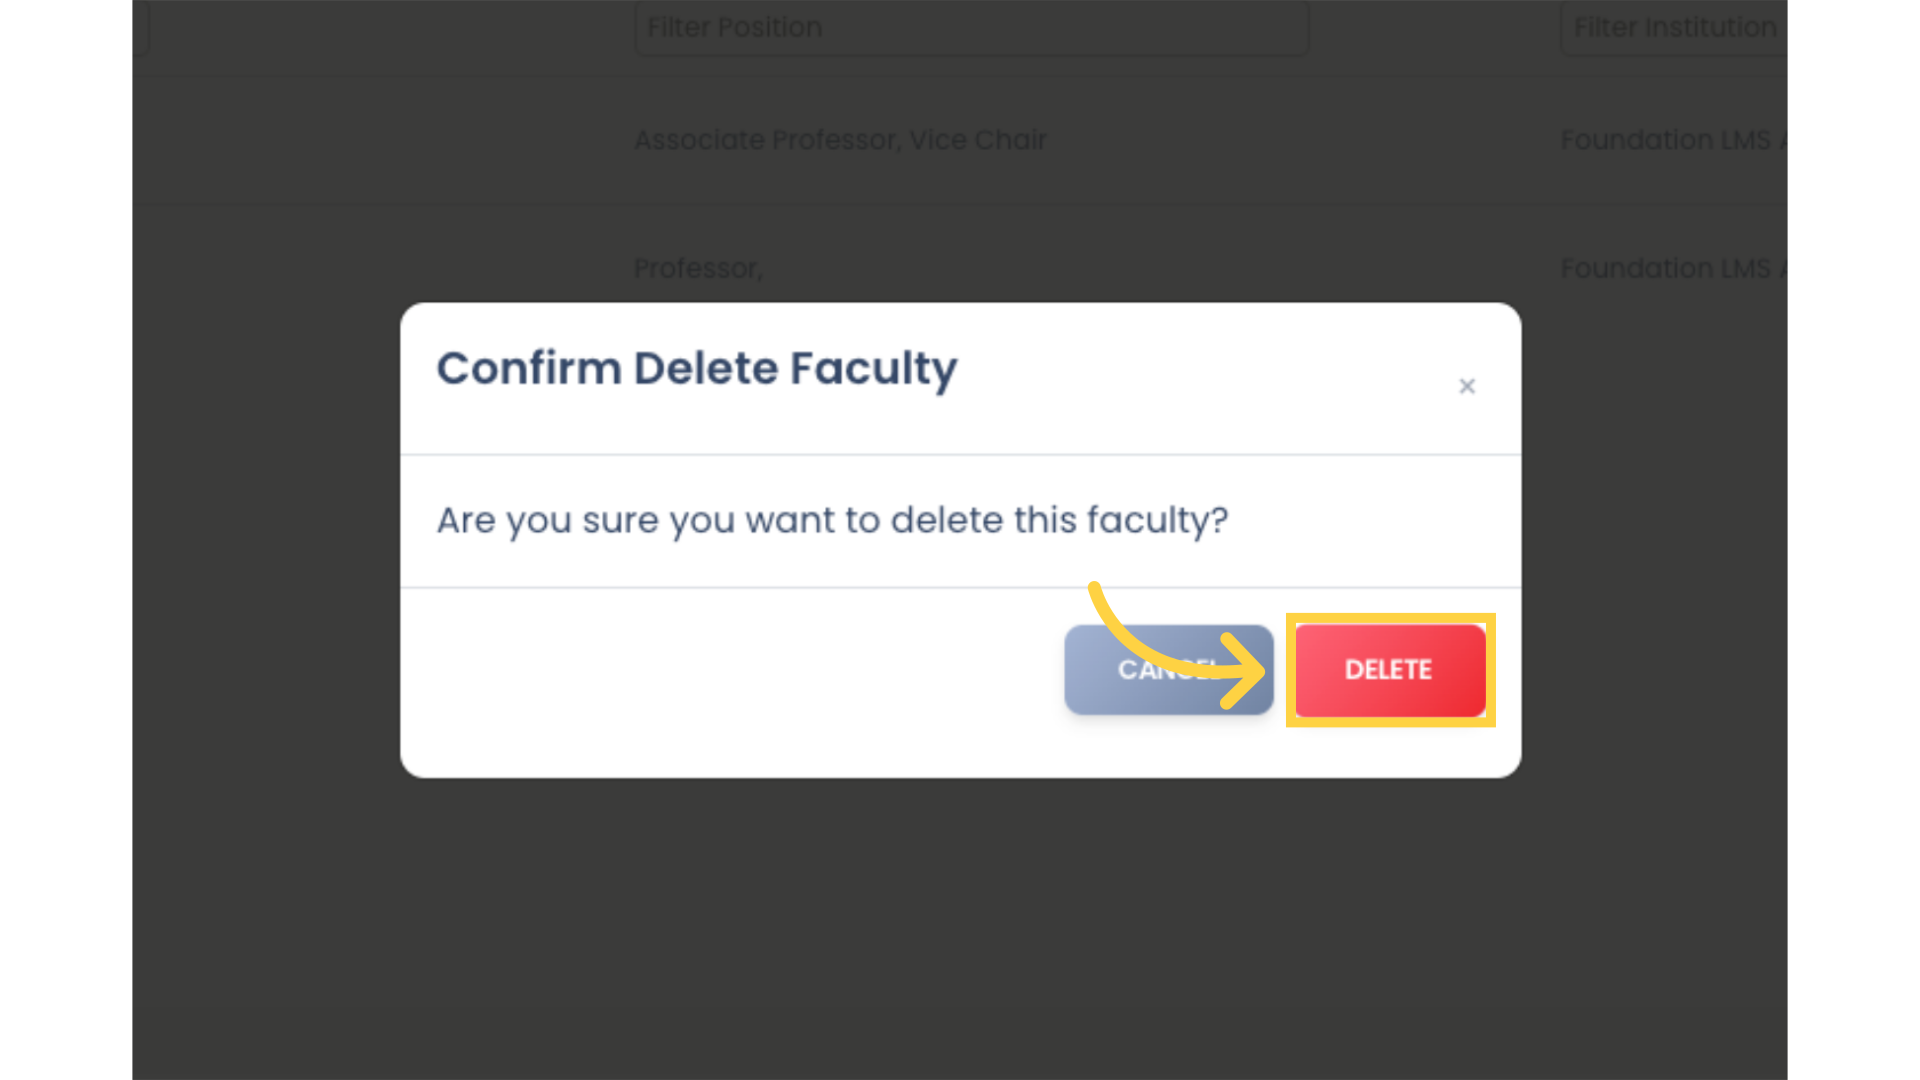
14. Click “Delete”. This action will be permanent. A Faculty cannot be restored once it has been deleted.
