Have a Question?
How To Create An Online Course: Part 1 – Course Details
This tutorial, part 1 of a 2-part series, will walk you through creating an Online Course in Foundation LMS. In this video we will cover the Course Details page.
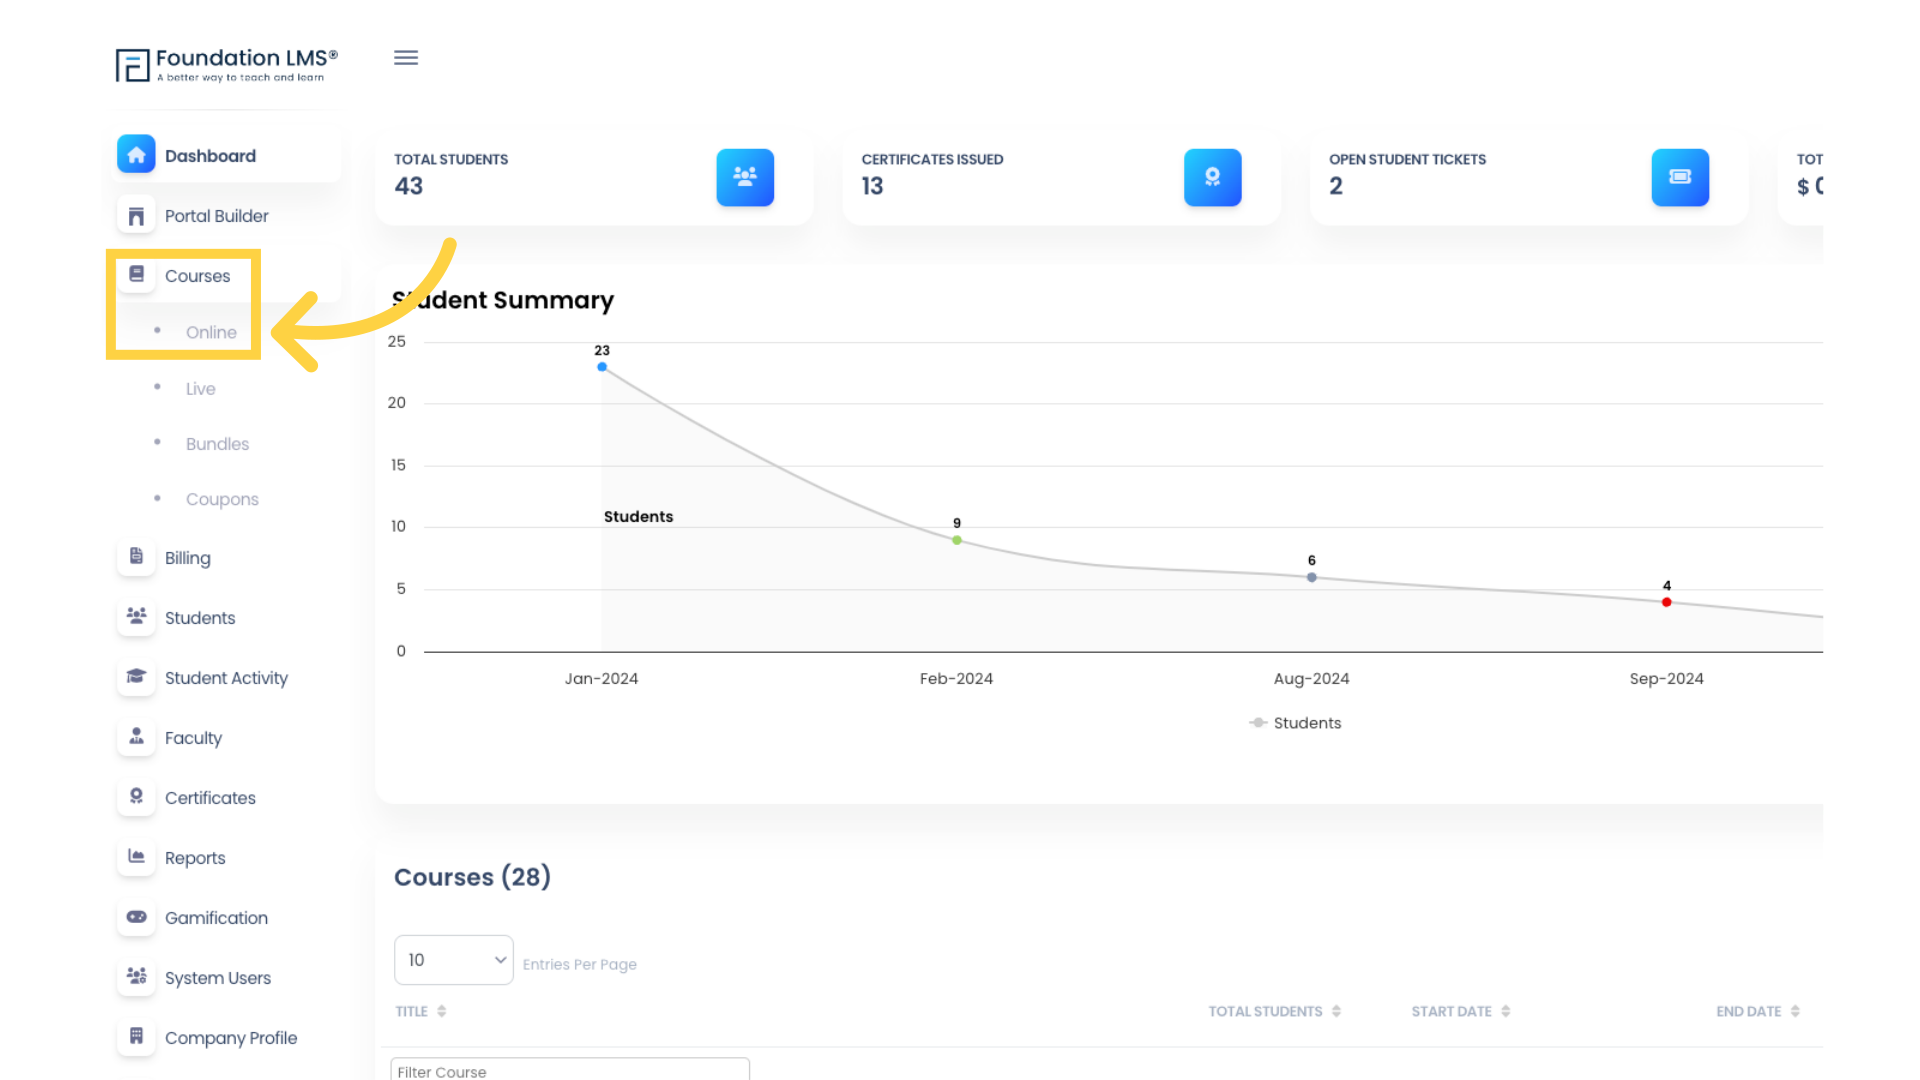
1. Navigate to Online Courses by clicking “Courses”, then “Online”.
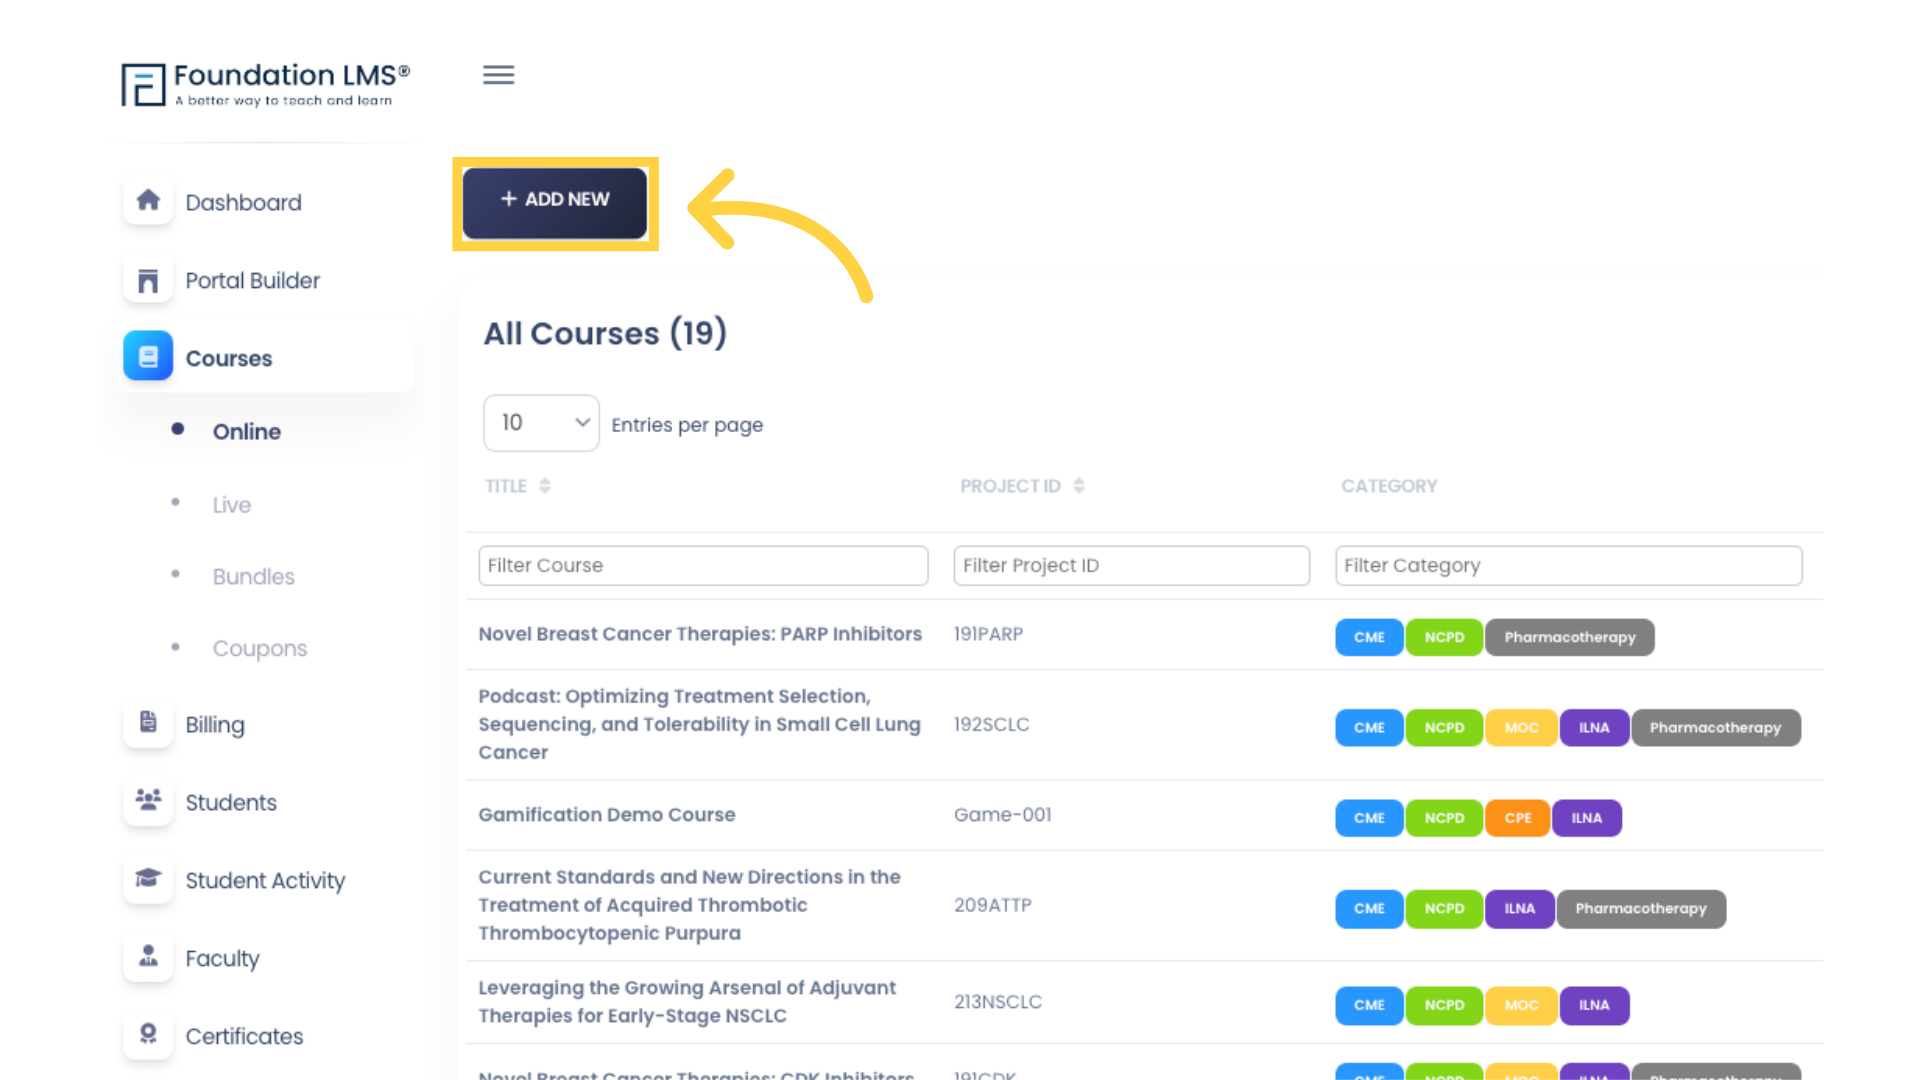
2. Click “ADD NEW” to begin adding your Course.
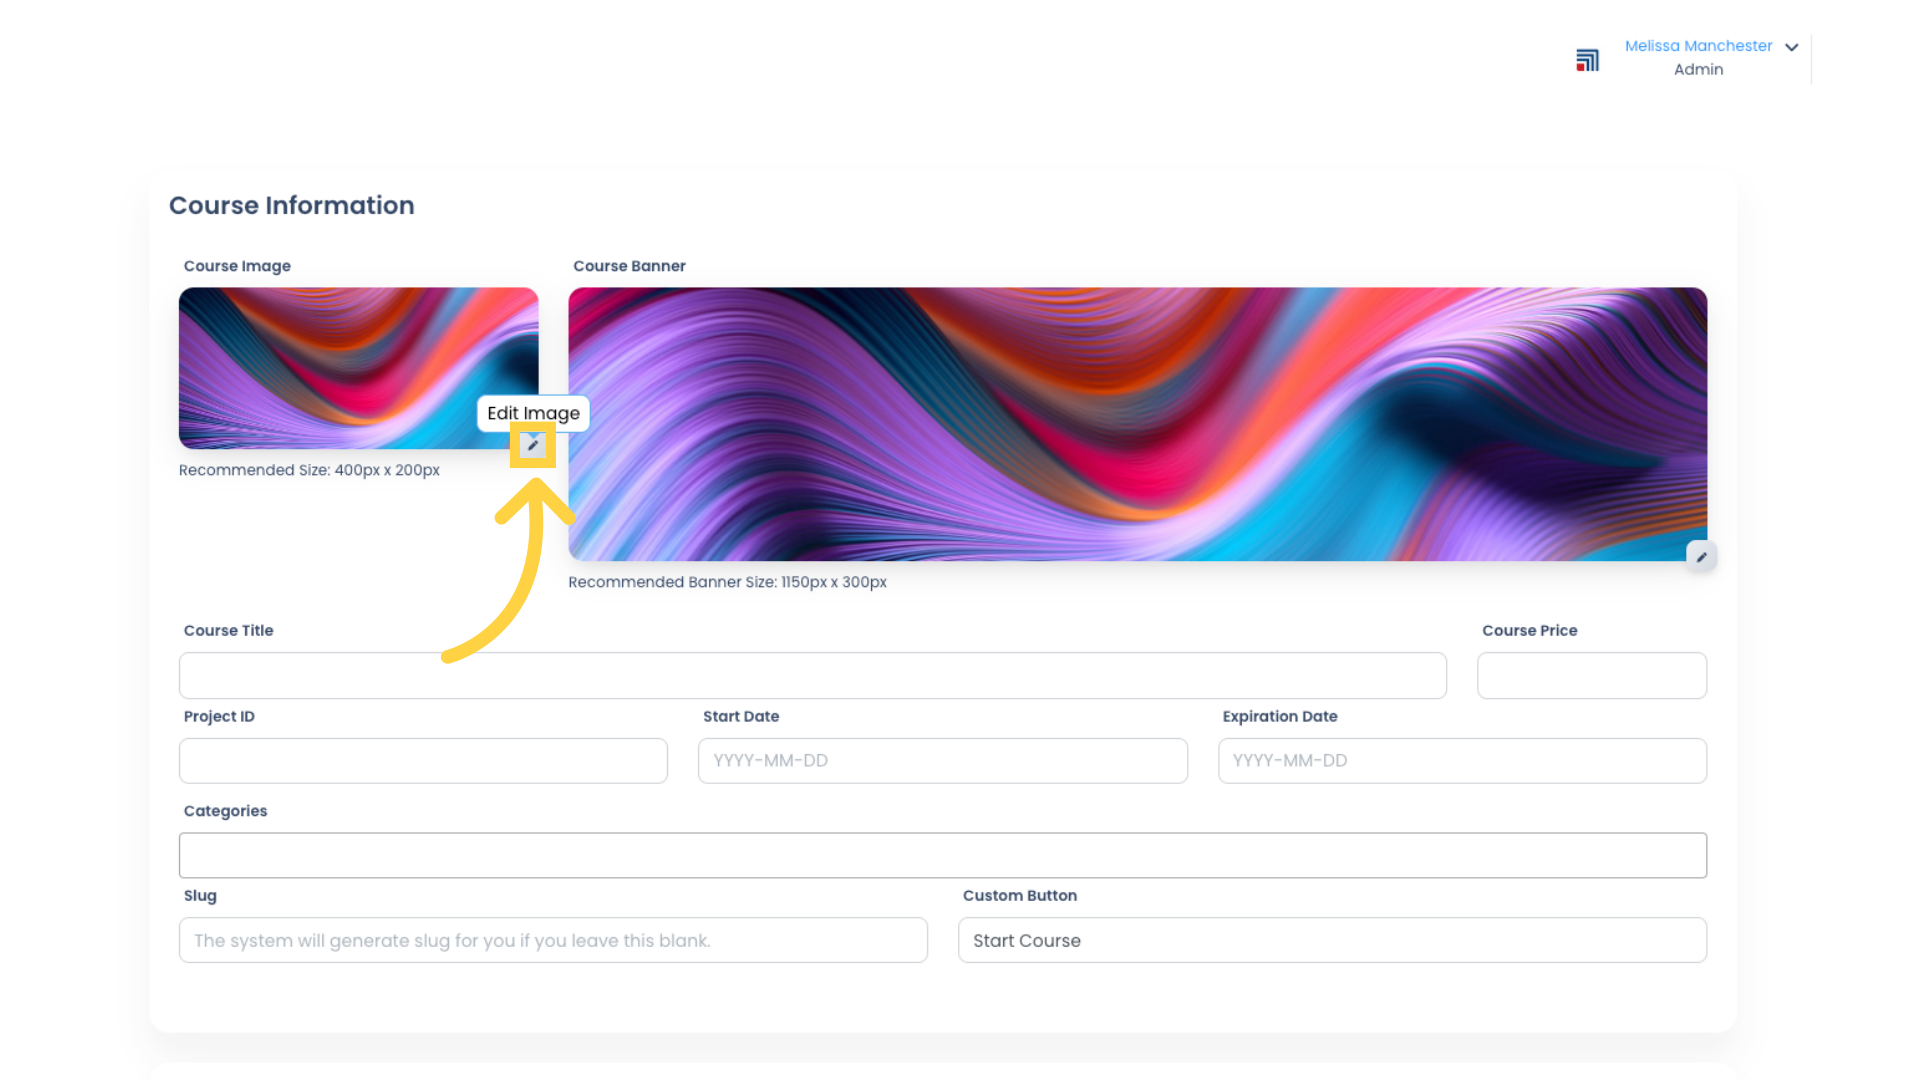
3. Click the “Edit Image” icon to select a Course Image. The Course Image will appear on your Portal home page and on the Student home page.
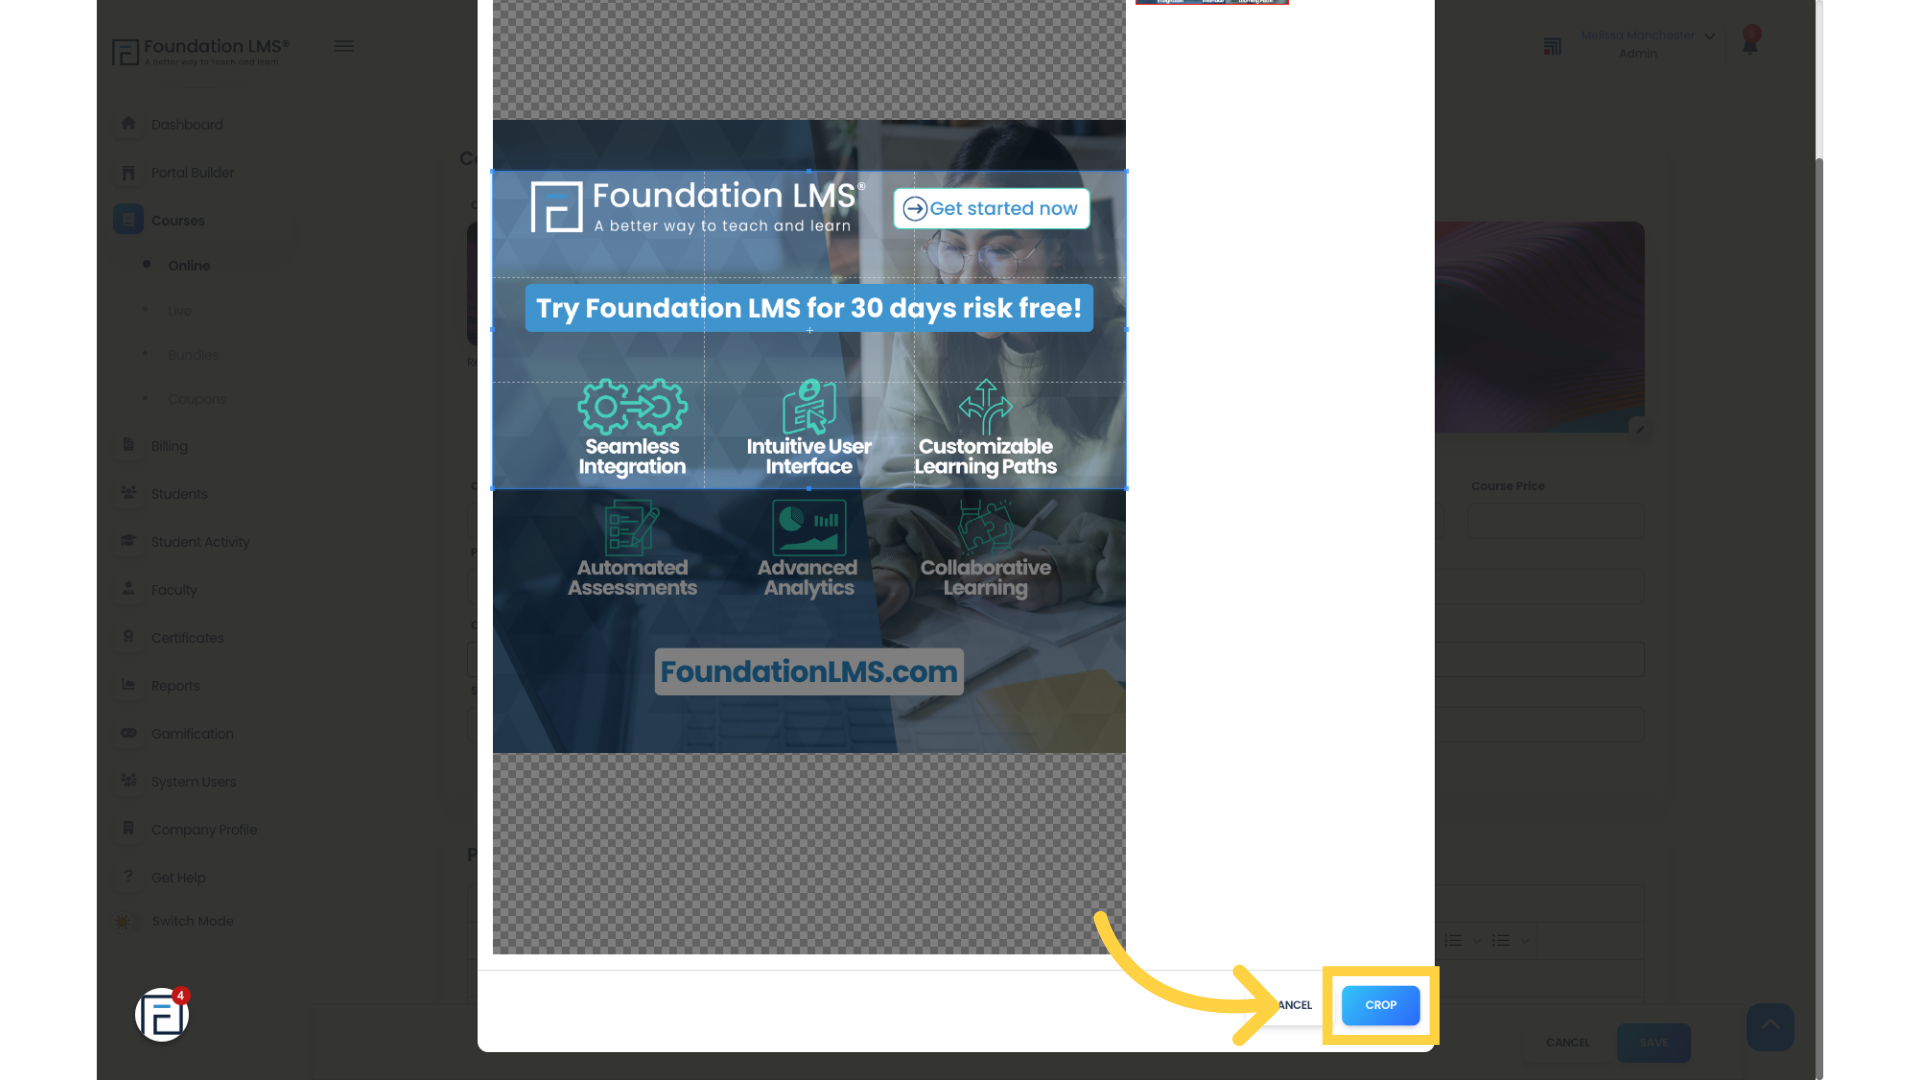
4. Adjust and crop the uploaded image if needed. Then click “CROP” to apply your Course image.
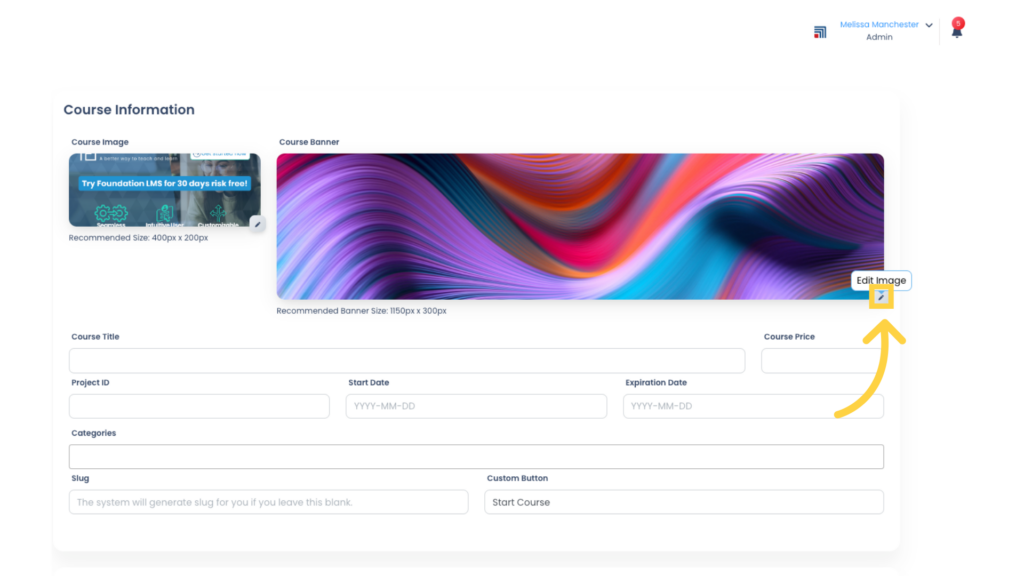
5. The Course Banner image is the course’s cover photo, which will appear on the header of the Course Landing Page. Click the “Edit Image” icon to select a Course Banner image. As in the previous step, adjust and crop the uploaded image as needed. Then click “CROP” to apply your Course Banner image.
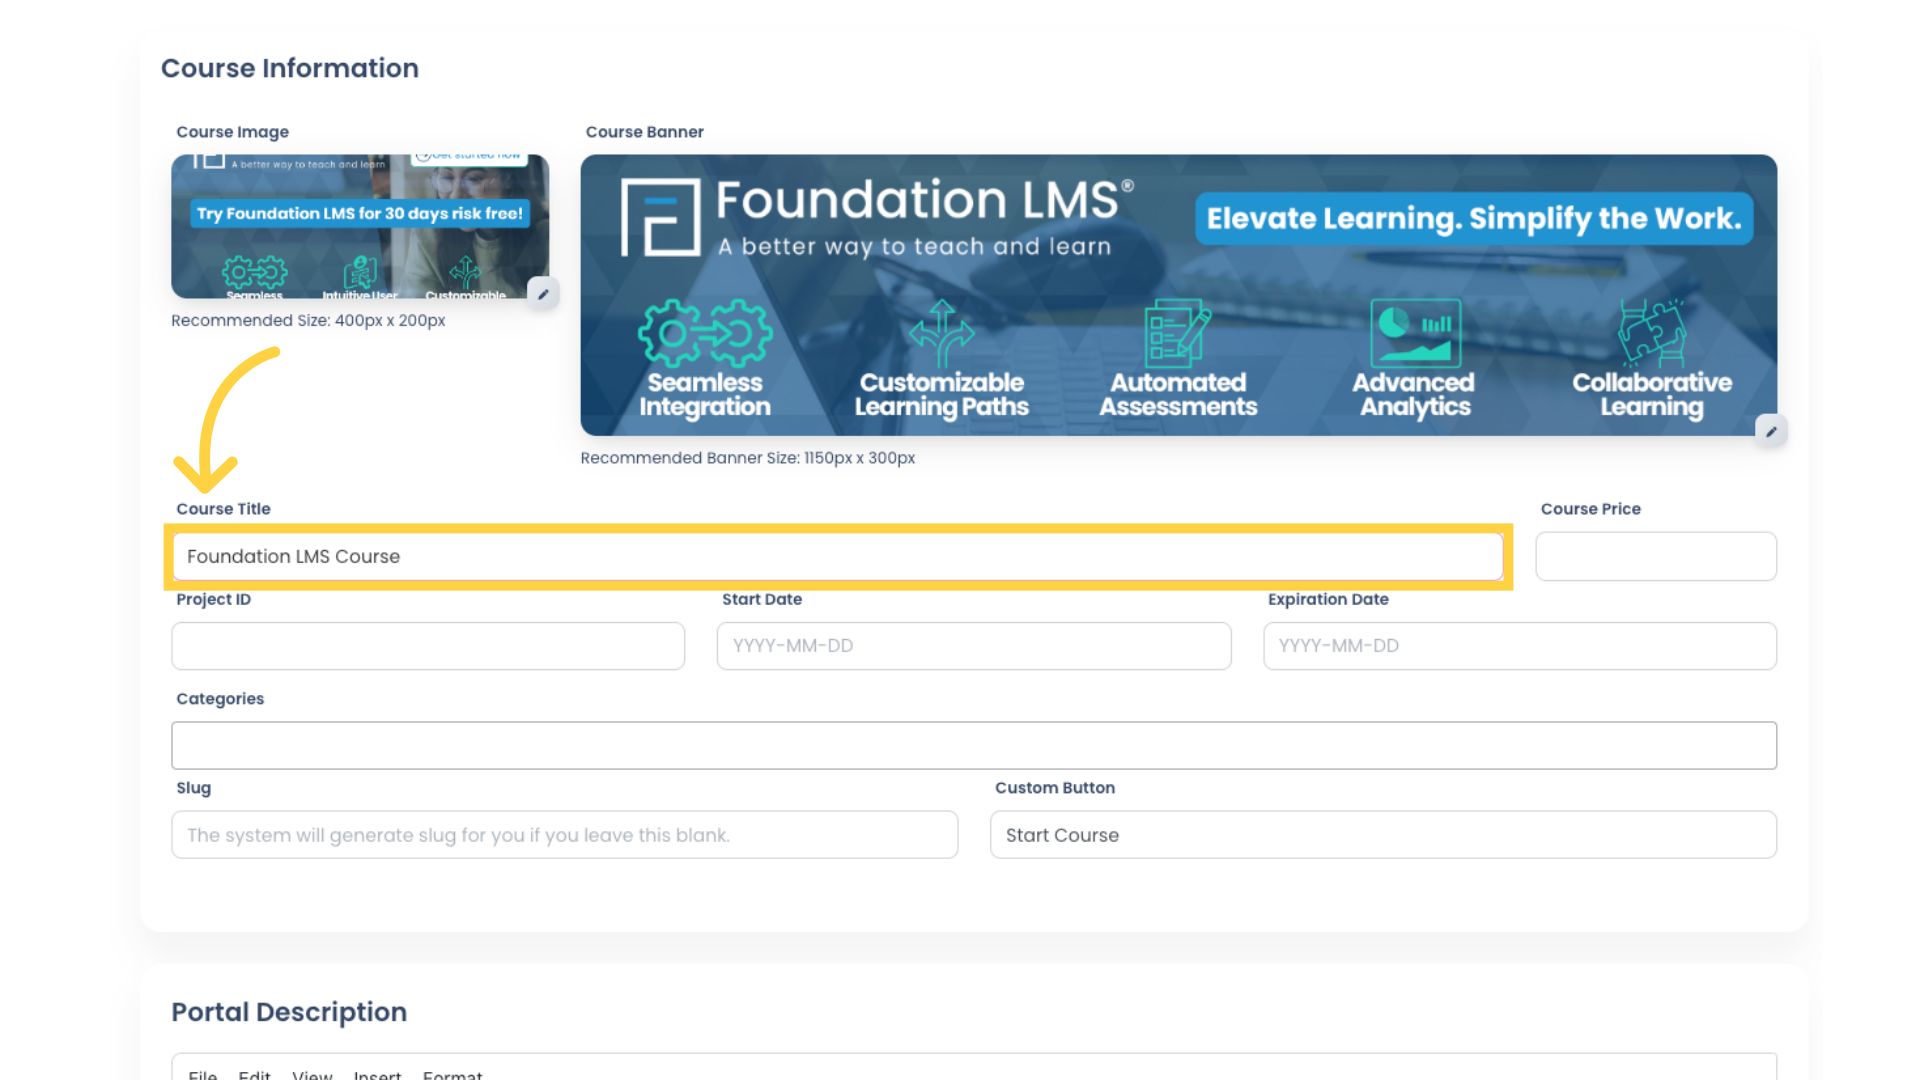
6. Enter the Course Title.
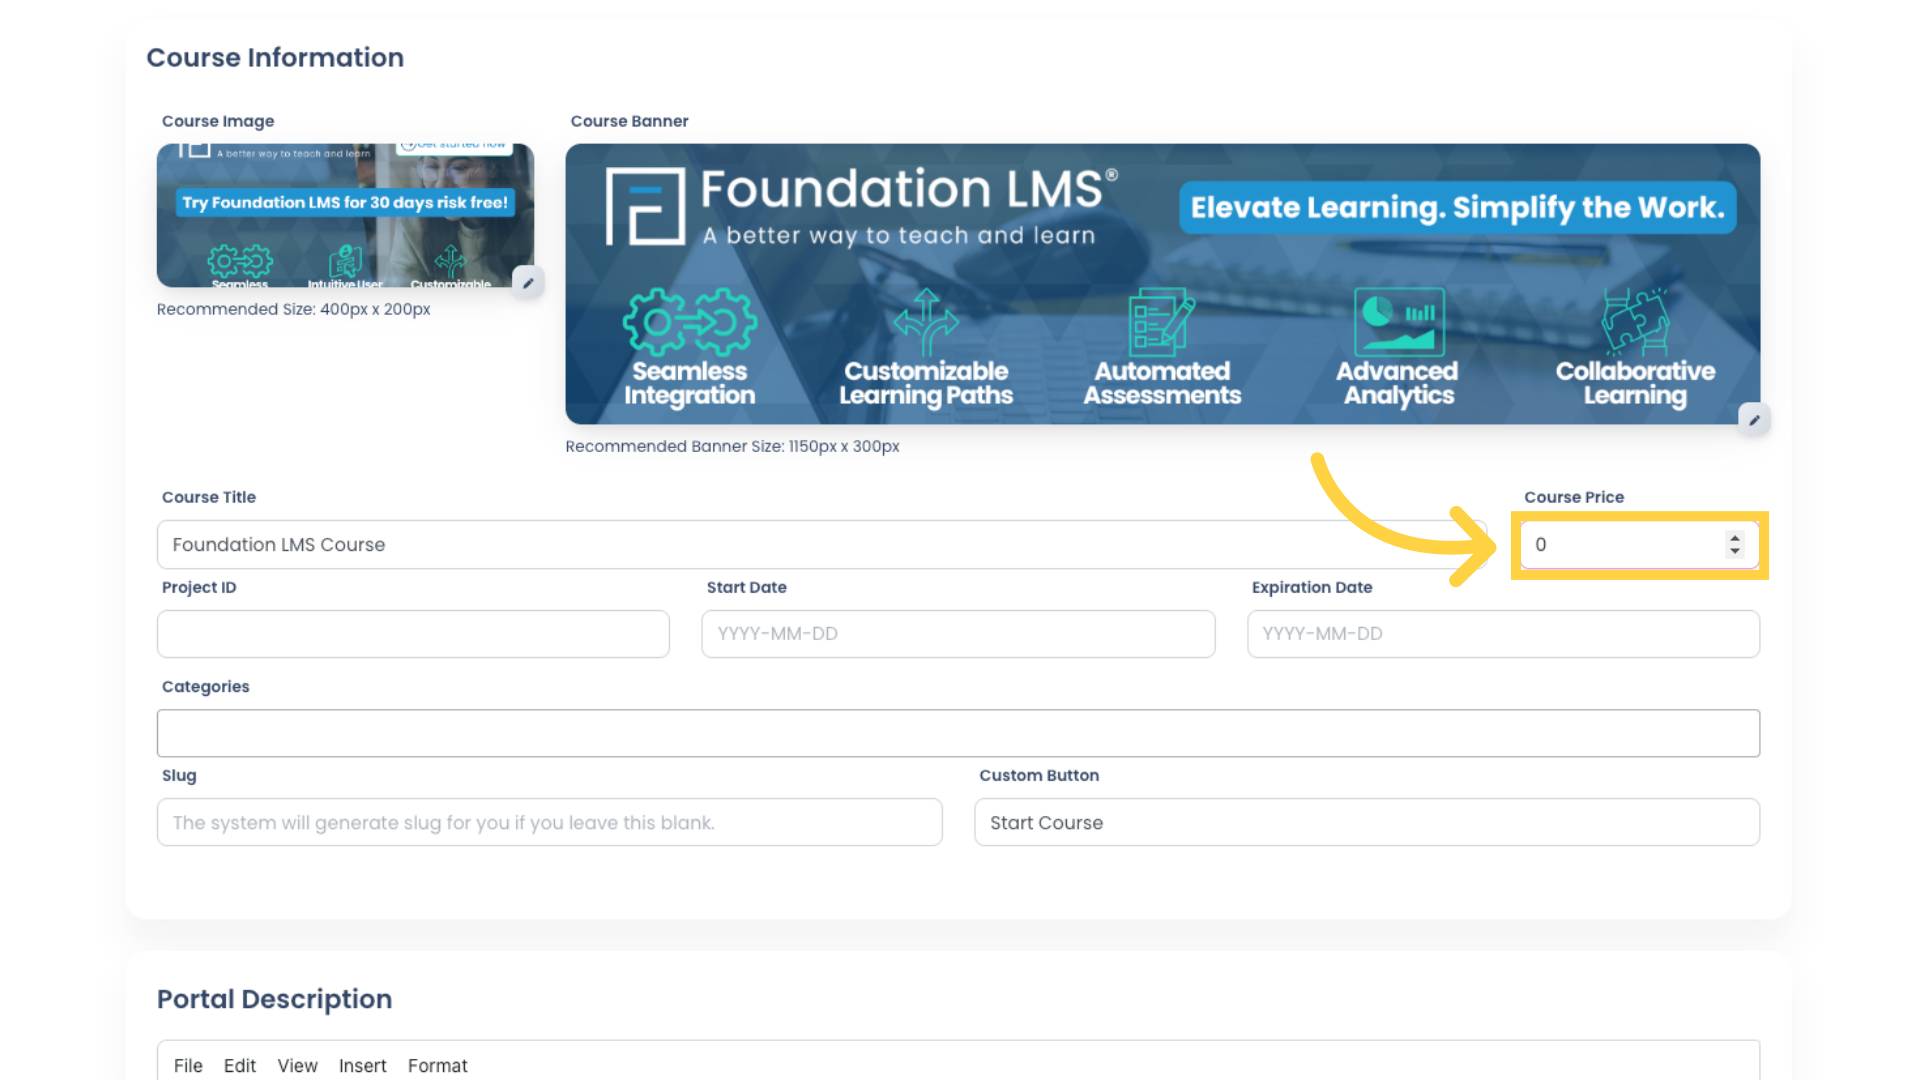
7. Enter the price Students will pay to enroll in the Course. If the Course is free, enter 0 (zero) in this field.
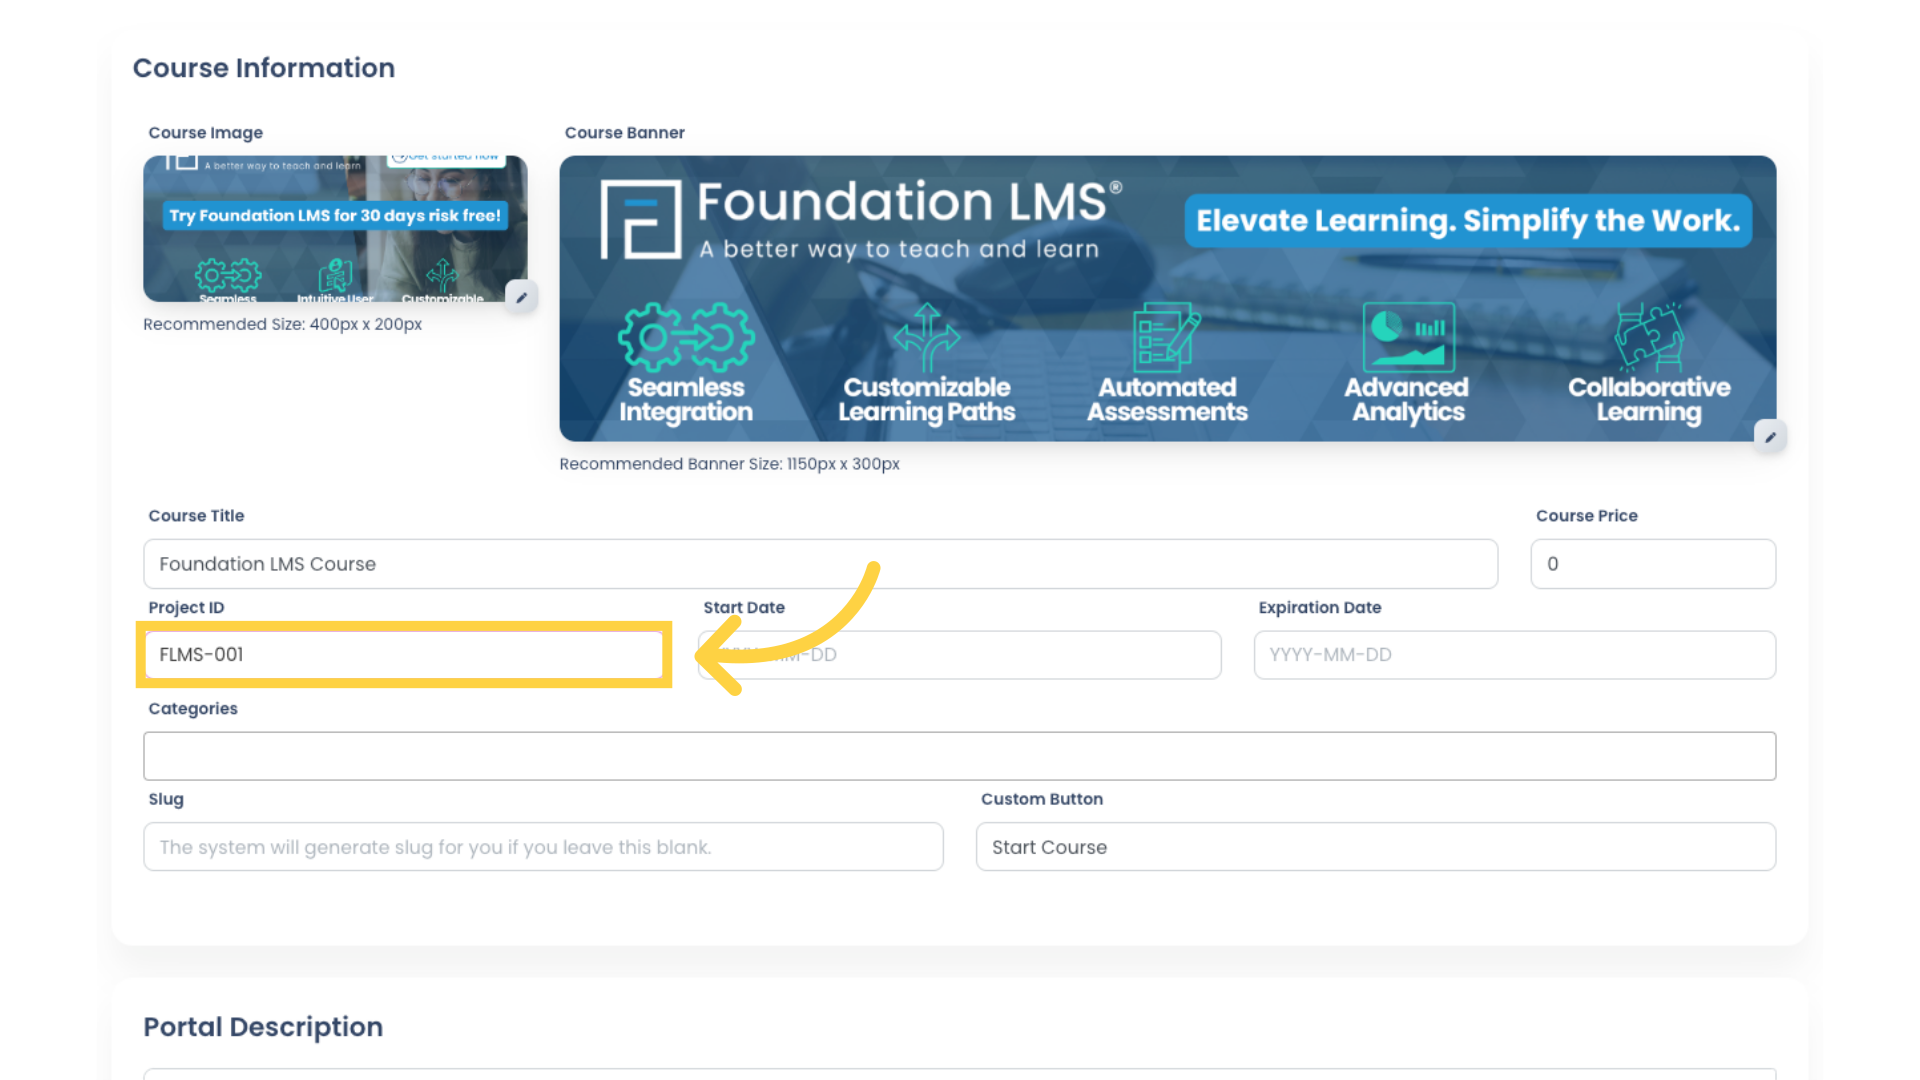
8. The Project ID field is an optional field. Type your Project ID if applicable, or leave the field blank.
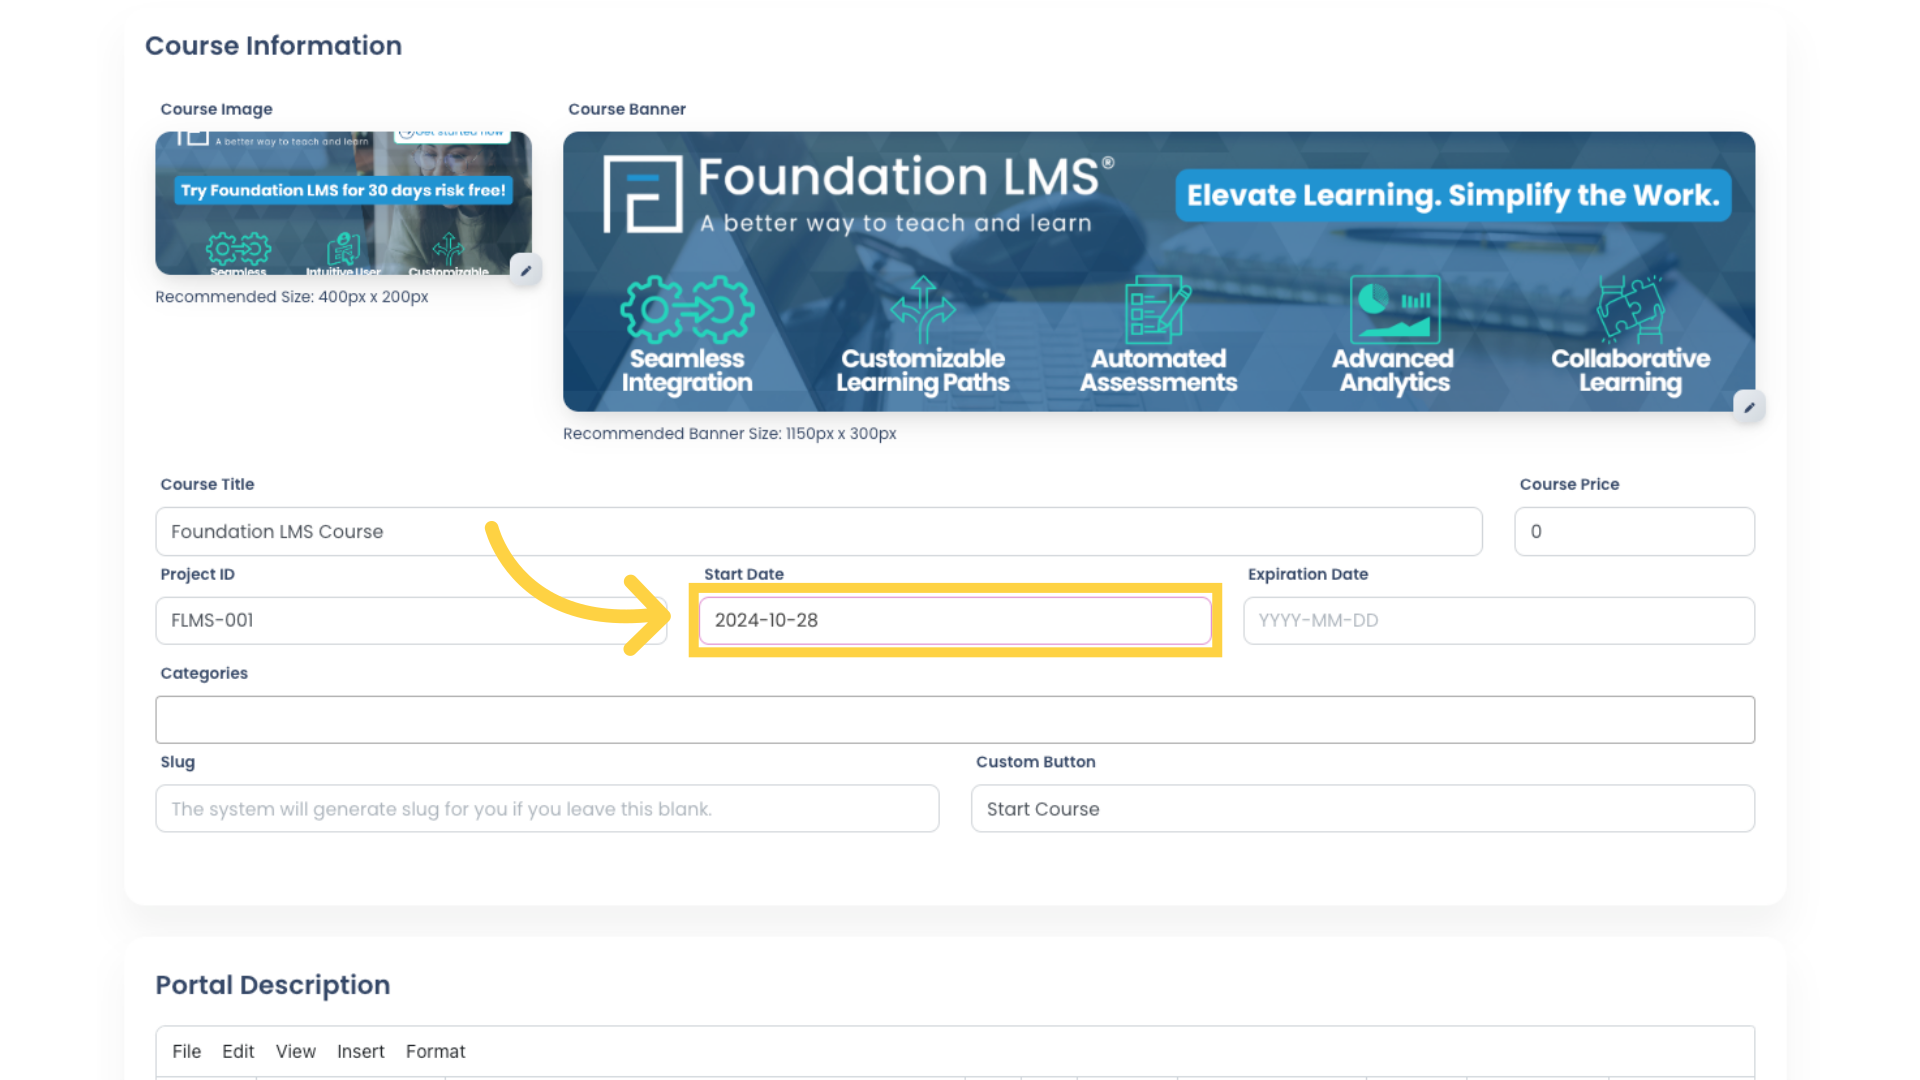
9. Click on the Start Date field to select the Course start date. This is the date on which your Course becomes active and available to Students on your Portal home page.
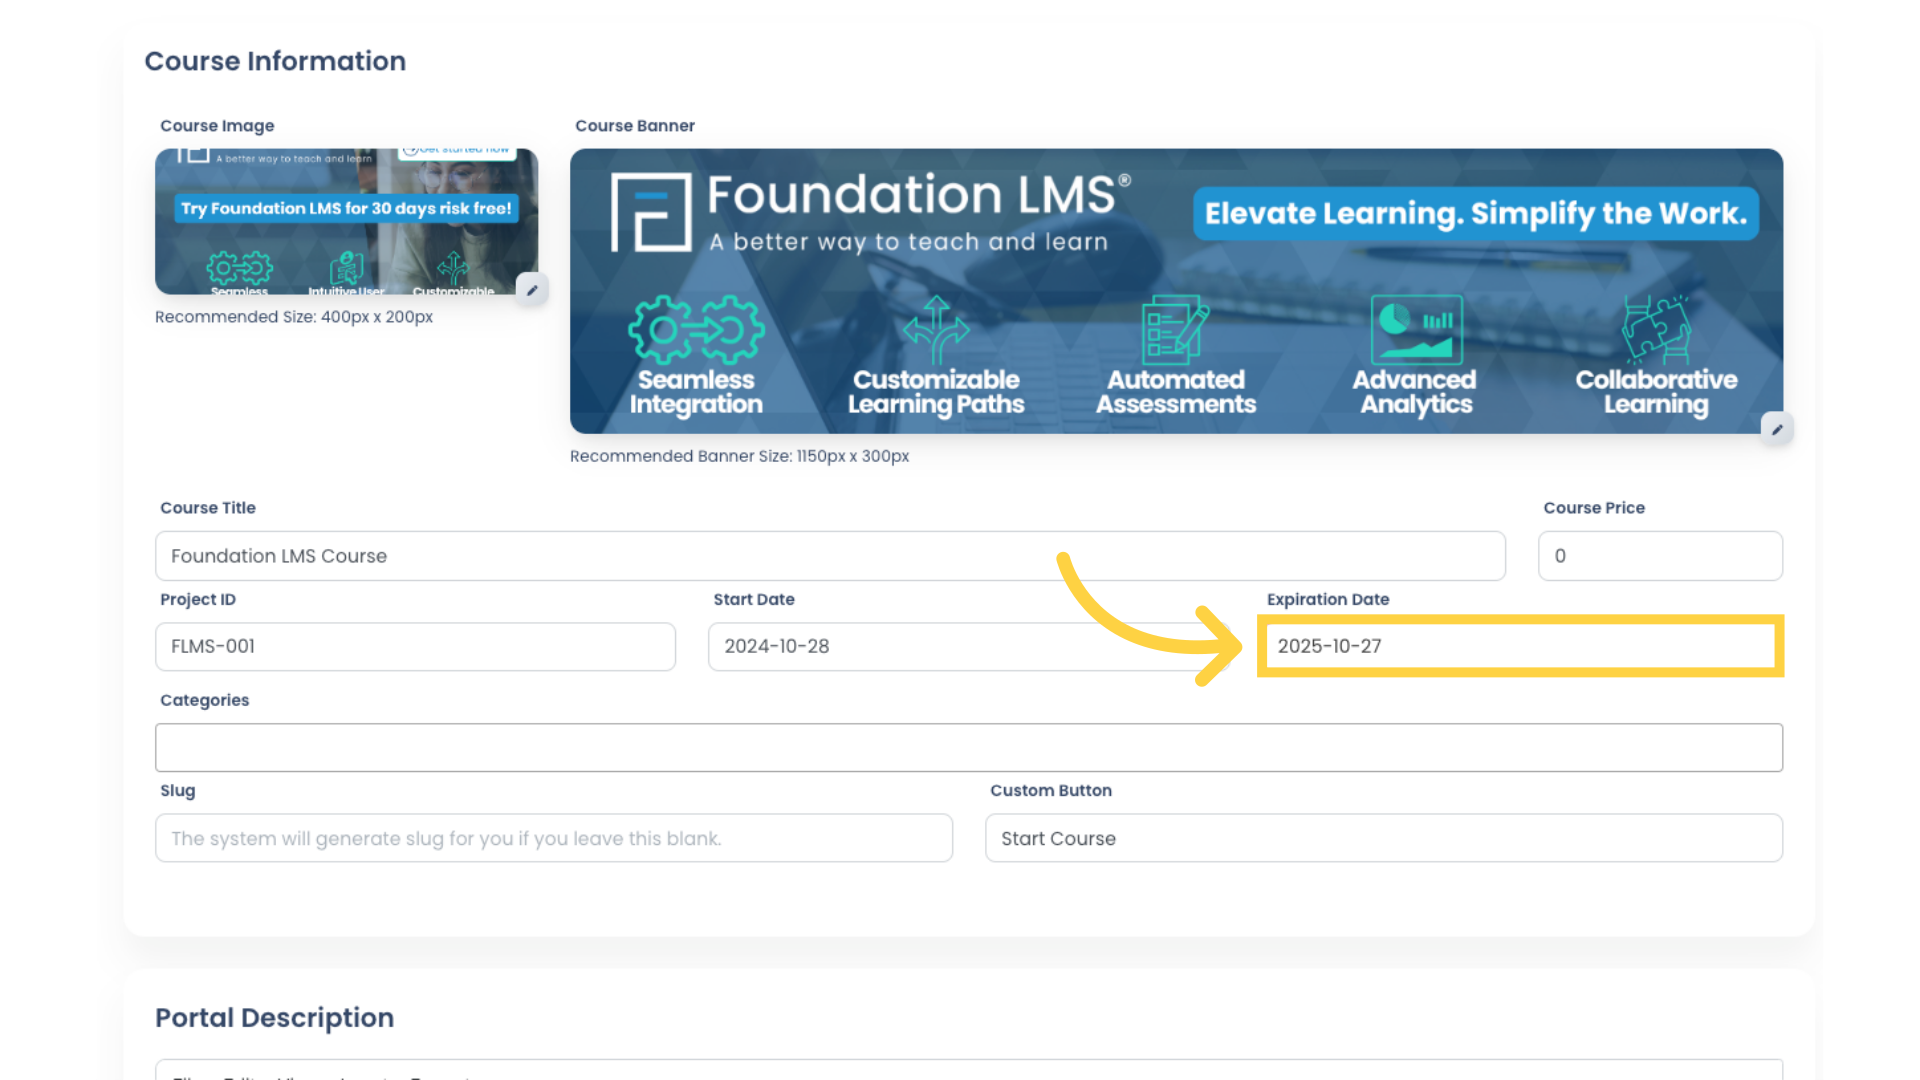
10. Click on the “Expiration Date” field to select the Course expiration date. Note: Courses are only accessible to Students between the Start Date and Expiration Date. Upon expiration, the Course status will automatically be changed to “Inactive” and the Course will not be visible from the Portal home page.
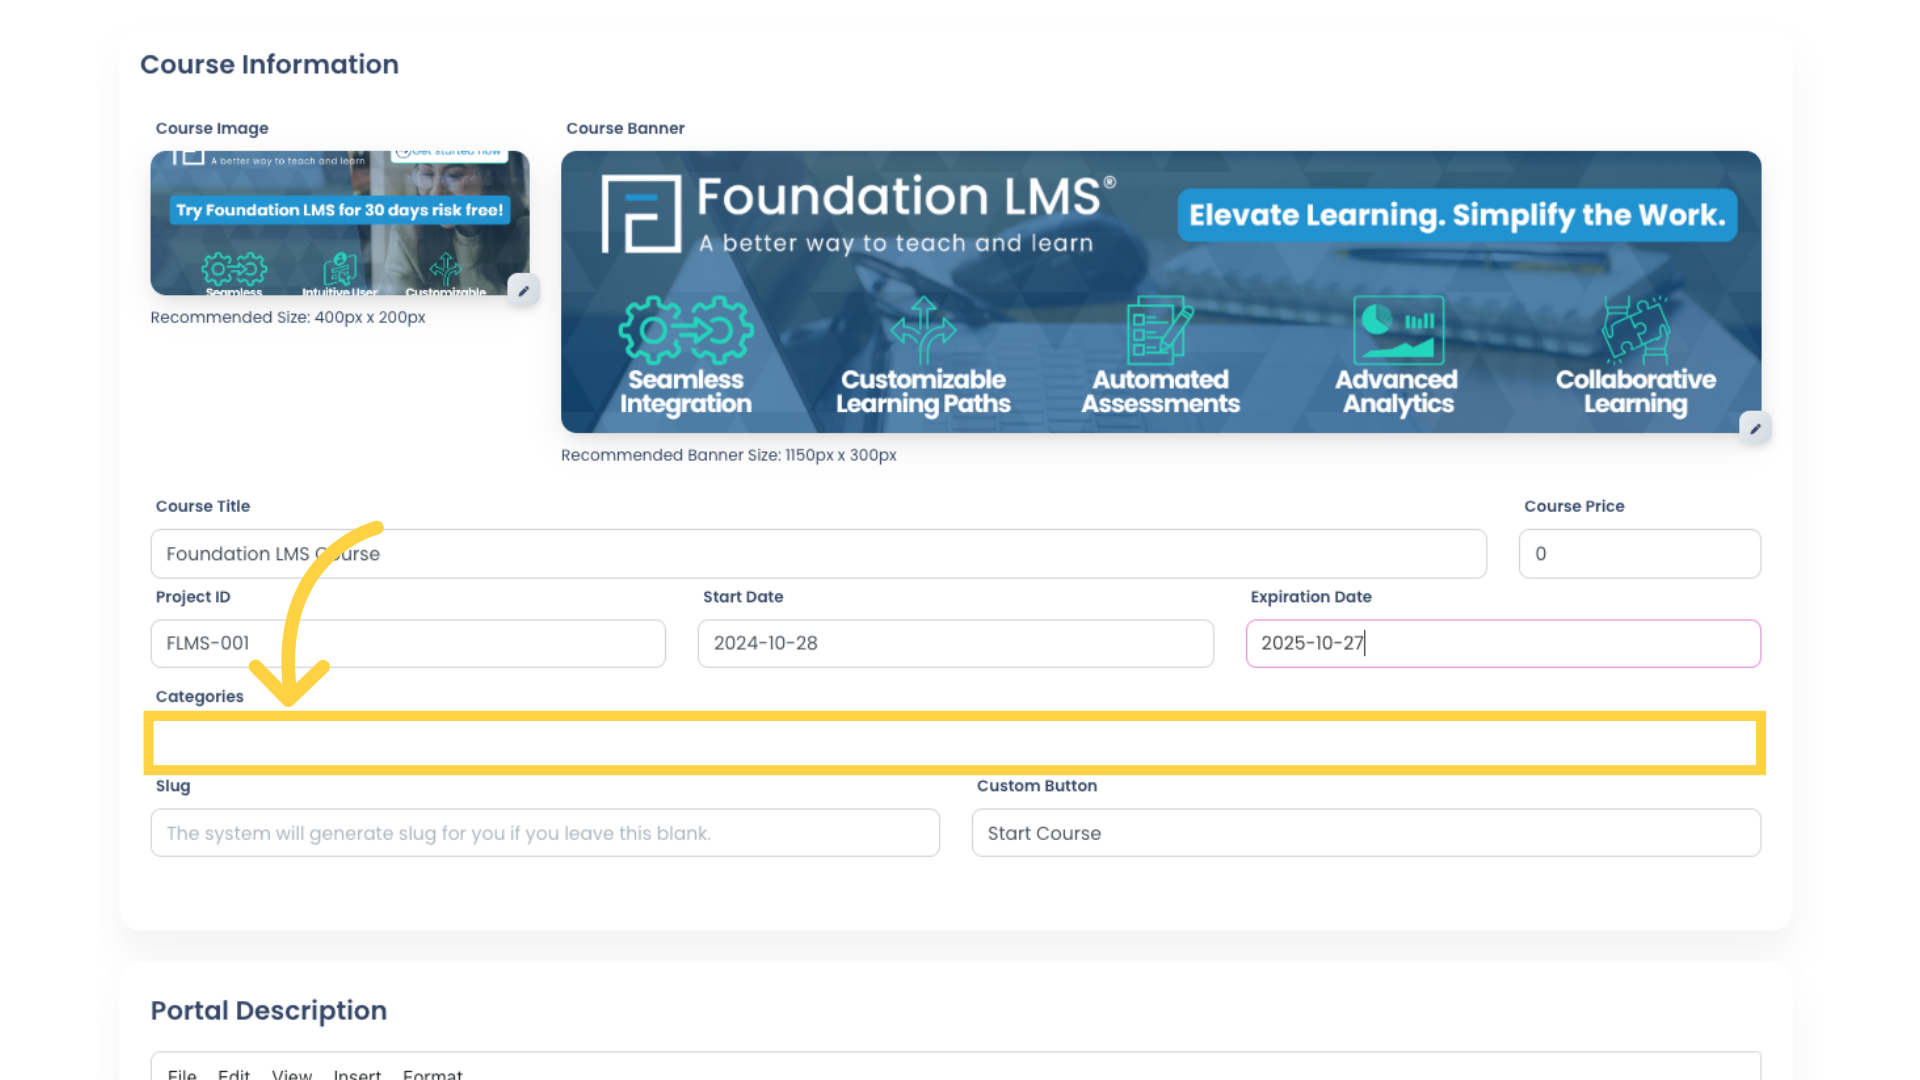
11. Type in your Course Category and hit Tab or Enter. Repeat this step until all Categories have been added.
Note: You must hit Tab or Enter after you add each new Category. If you skip this step, they will all be added a single Category.
Also Note: Students will be able to filter available Courses by Categories on the Portal home page.
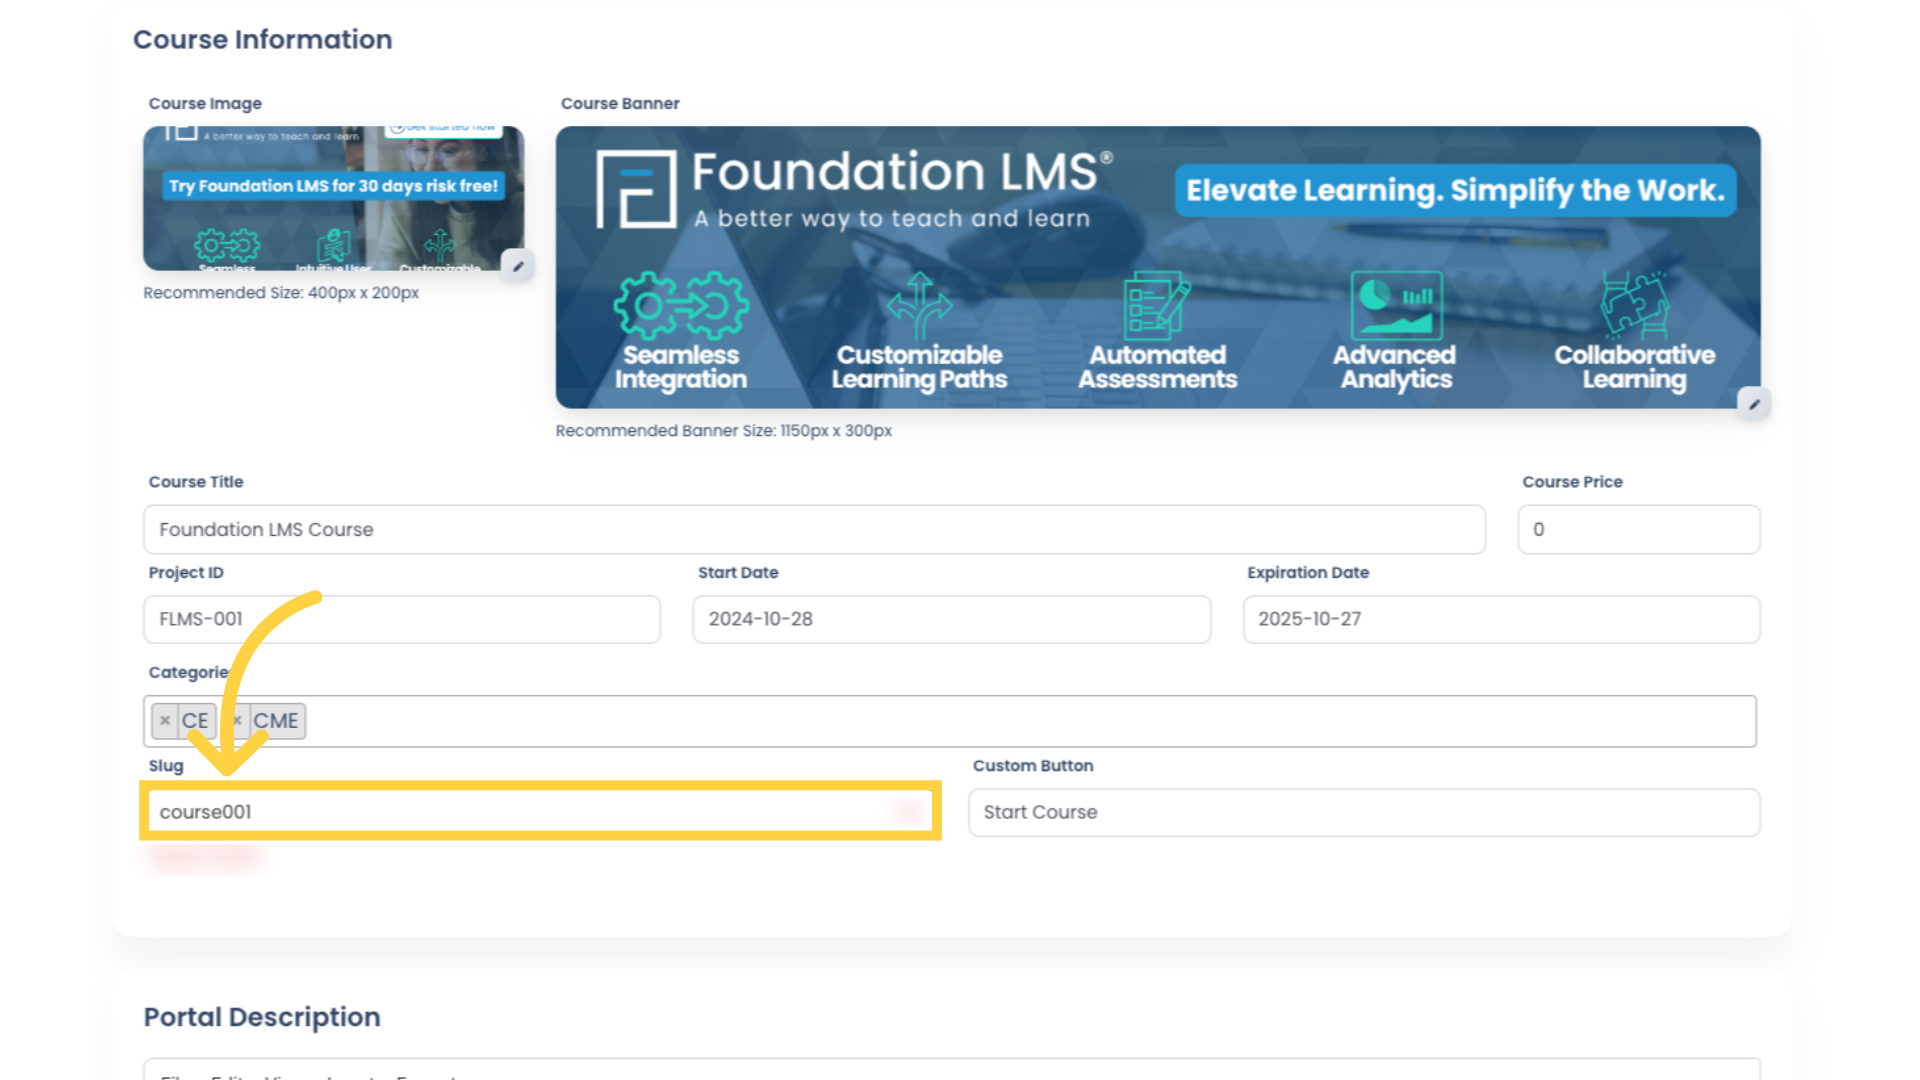
12. The Slug field allows you to specify the URL of your Course Landing Page. If this field is left blank, the system will auto-generate the URL using the Course Title. Type in a Slug if applicable.
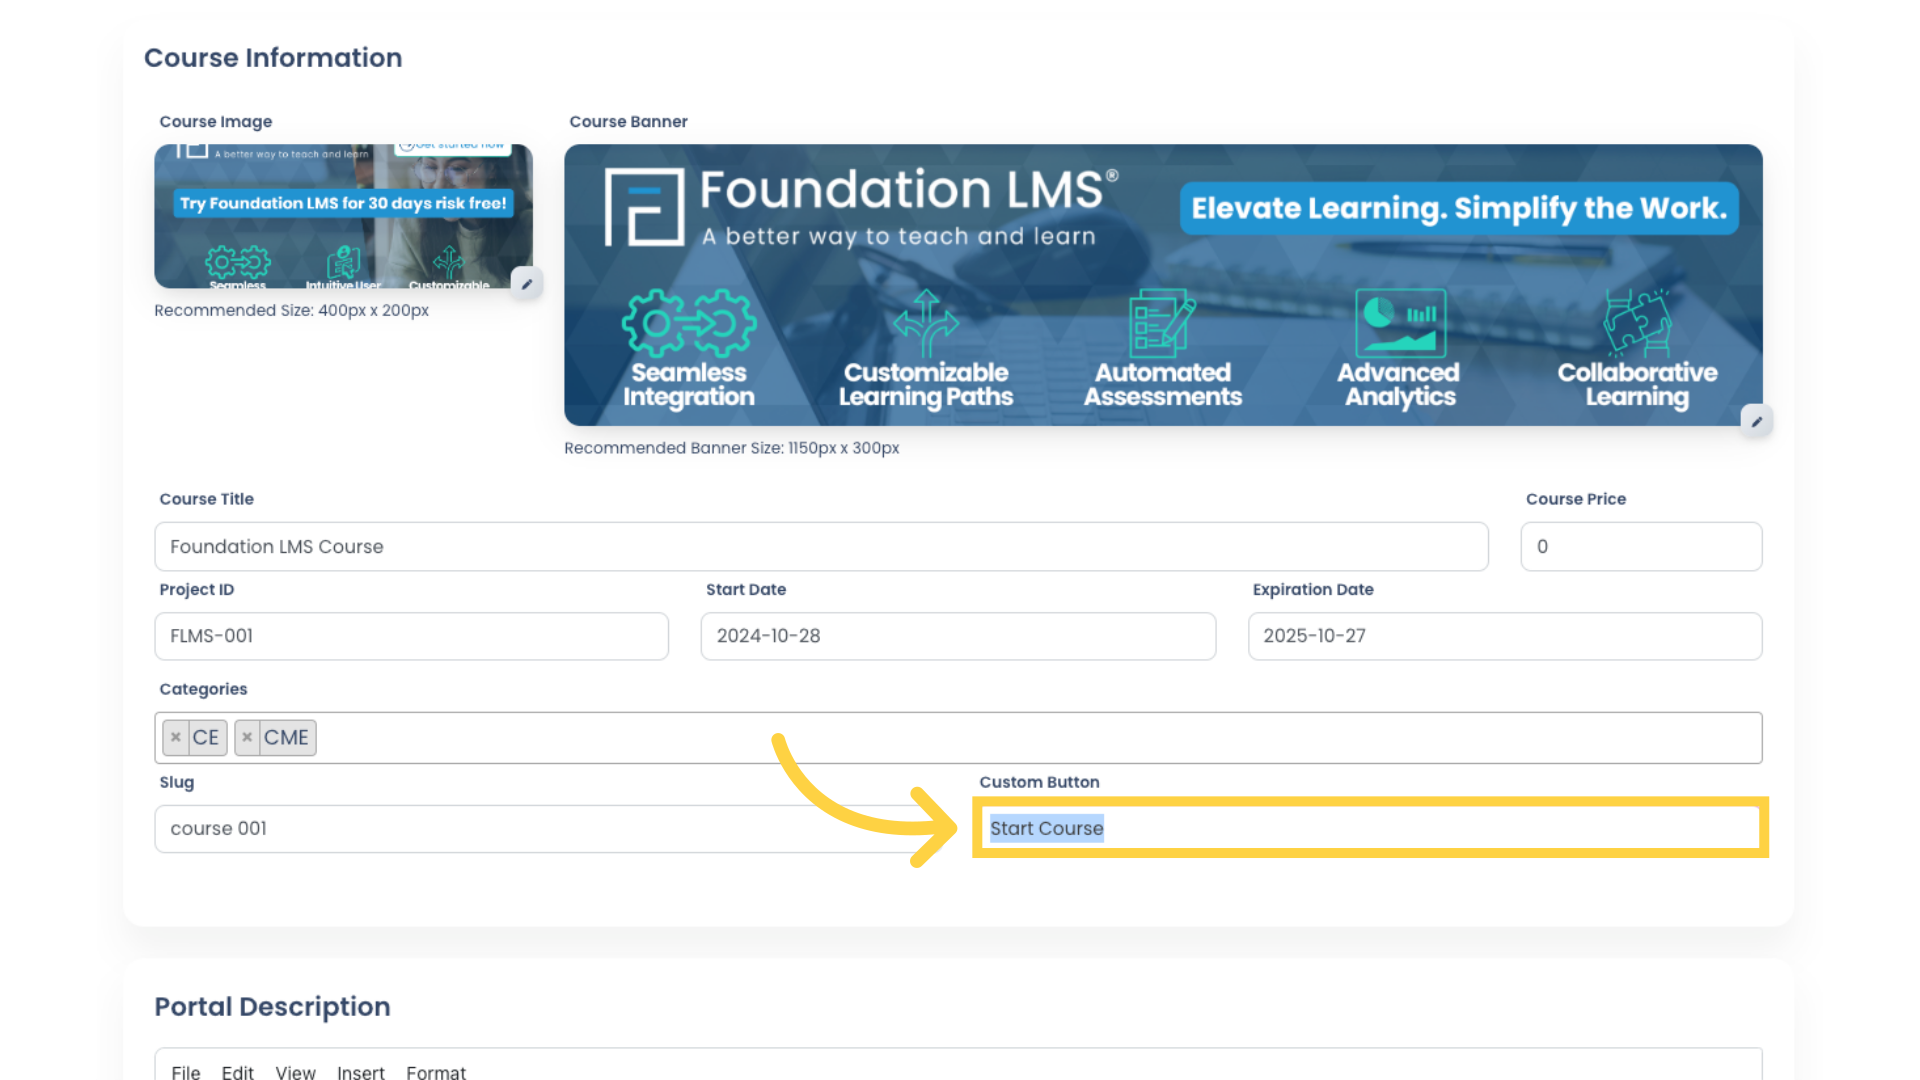
13. Use the “Custom Button” field to customize the text of the “Start Course” button, which appears on the Course Landing Page.
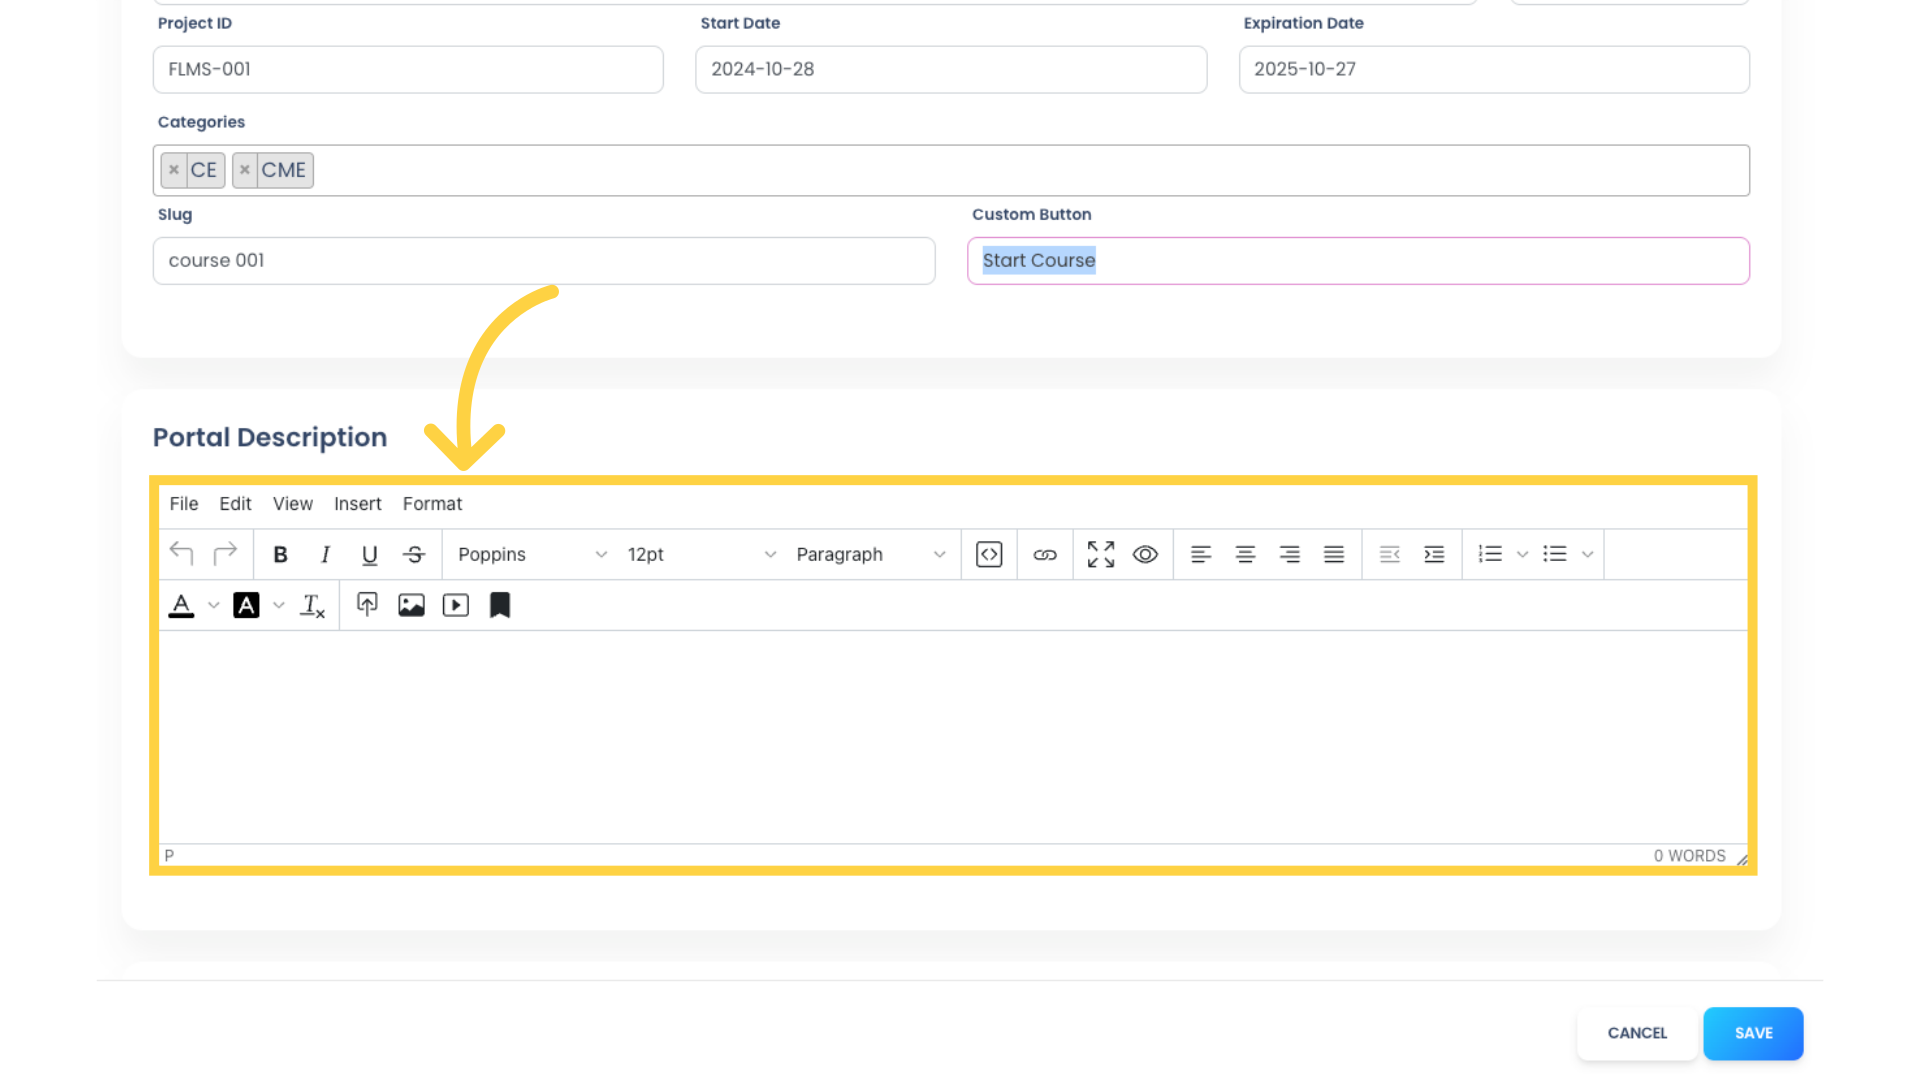
14. The Portal Description is a short description of the Course that will appear beneath the Course Image on the Student home page. You can use this field to give Students a brief overview of what they will learn if they enroll in this Course.
Note: A maximum of 500 characters will be displayed.
15. Use the Landing Page Information fields to provide Course details to your students, such as Statement of Need, Learning Objectives, Target Audience, etc. Course information can be displayed all on one page, or it can be divided among multiple tabs. Type in your Tab Title.
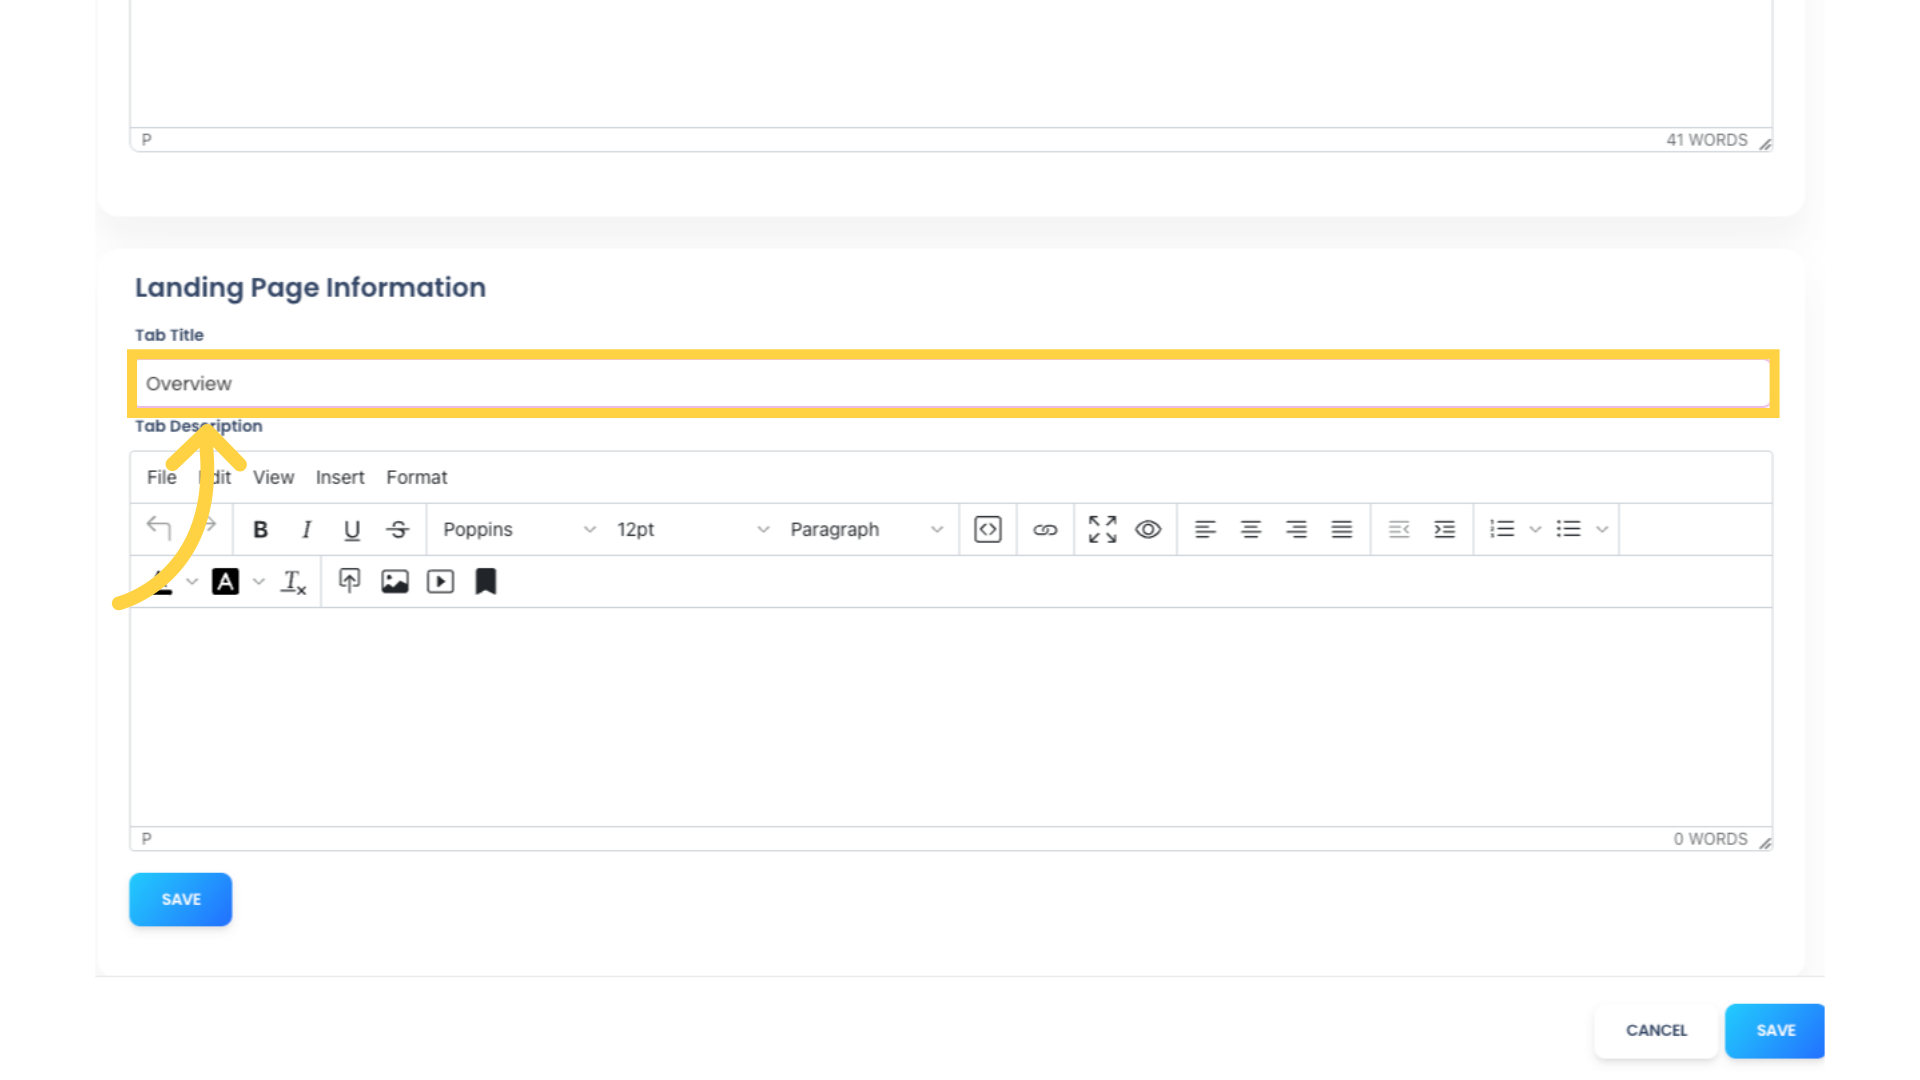
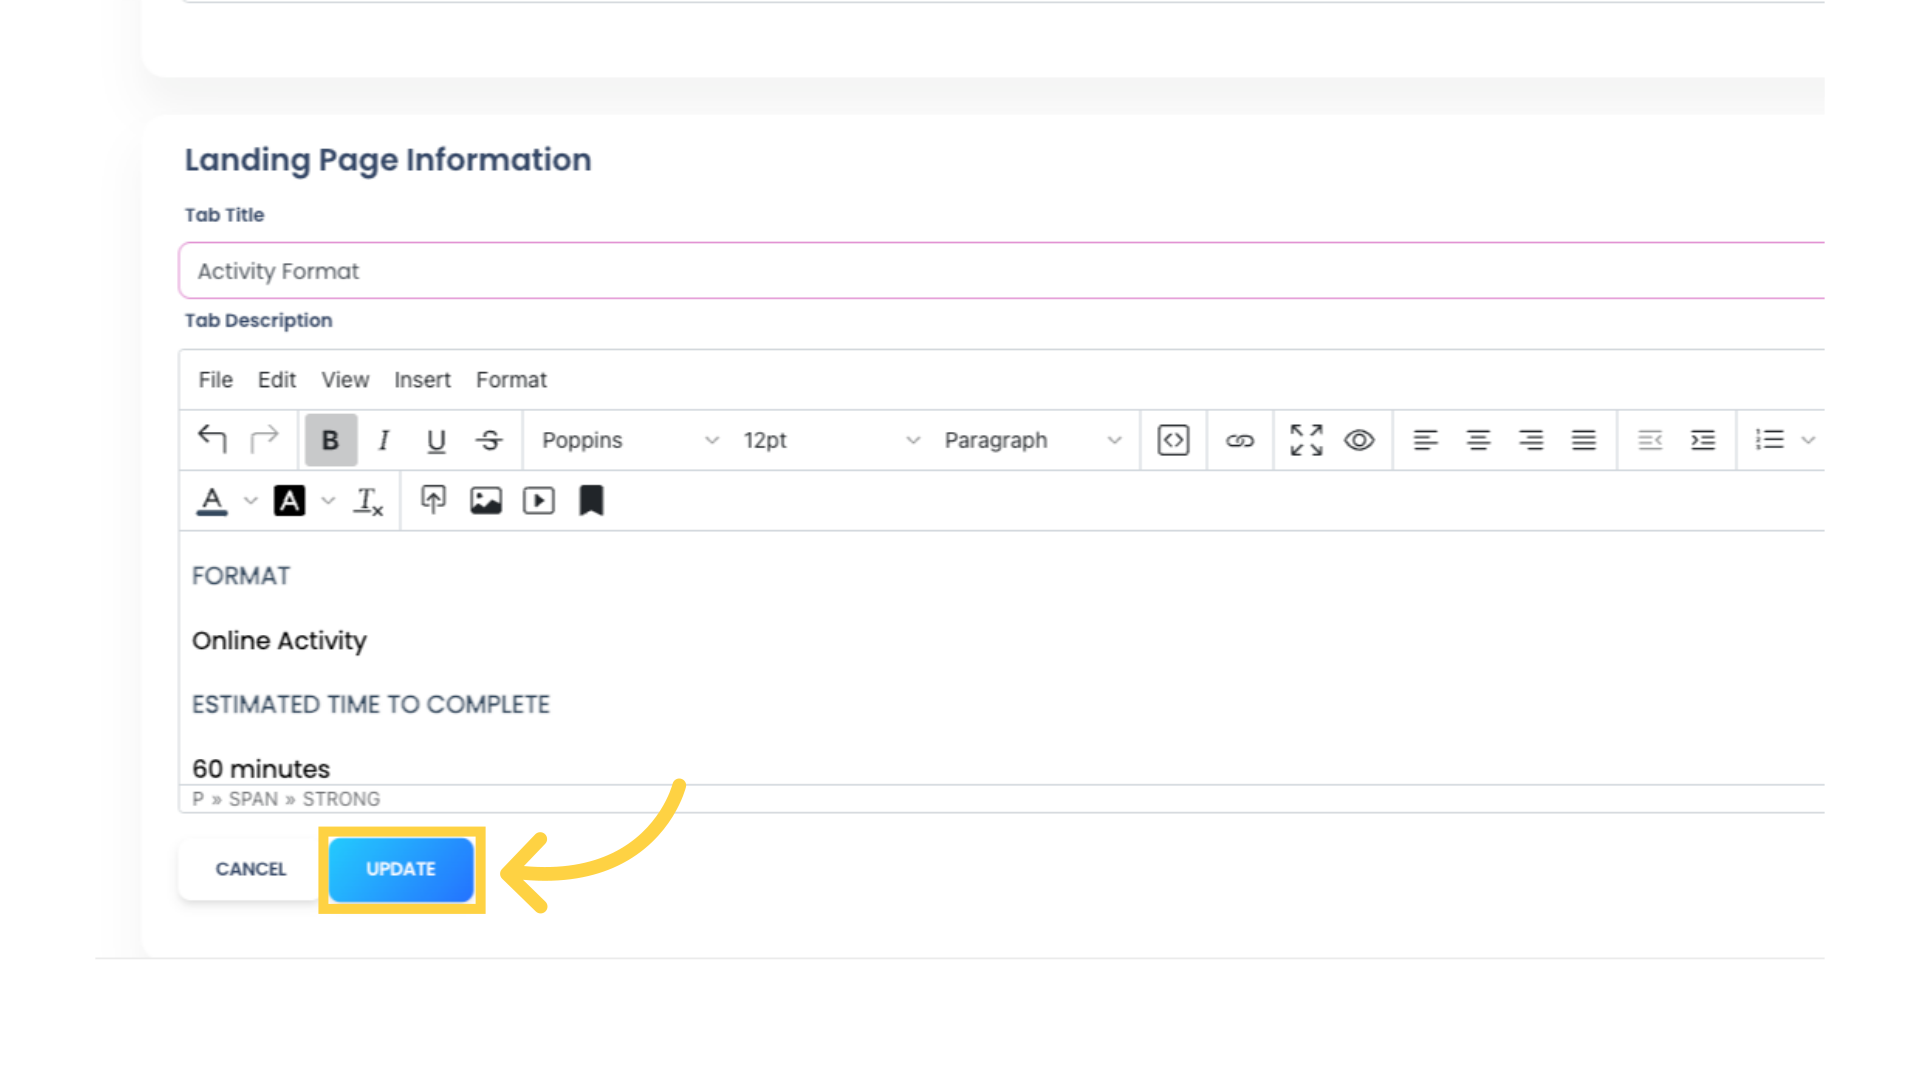
16. Our built-in text editor allows you to customize your Course Landing Page with ease. Use the basic editor to format text and insert media, or use the code editor to make edits with HTML.

17. You must save your Tab by clicking the “SAVE” button directly beneath the Tab Description. If you skip this step your Tab contents will be lost when you save your course.
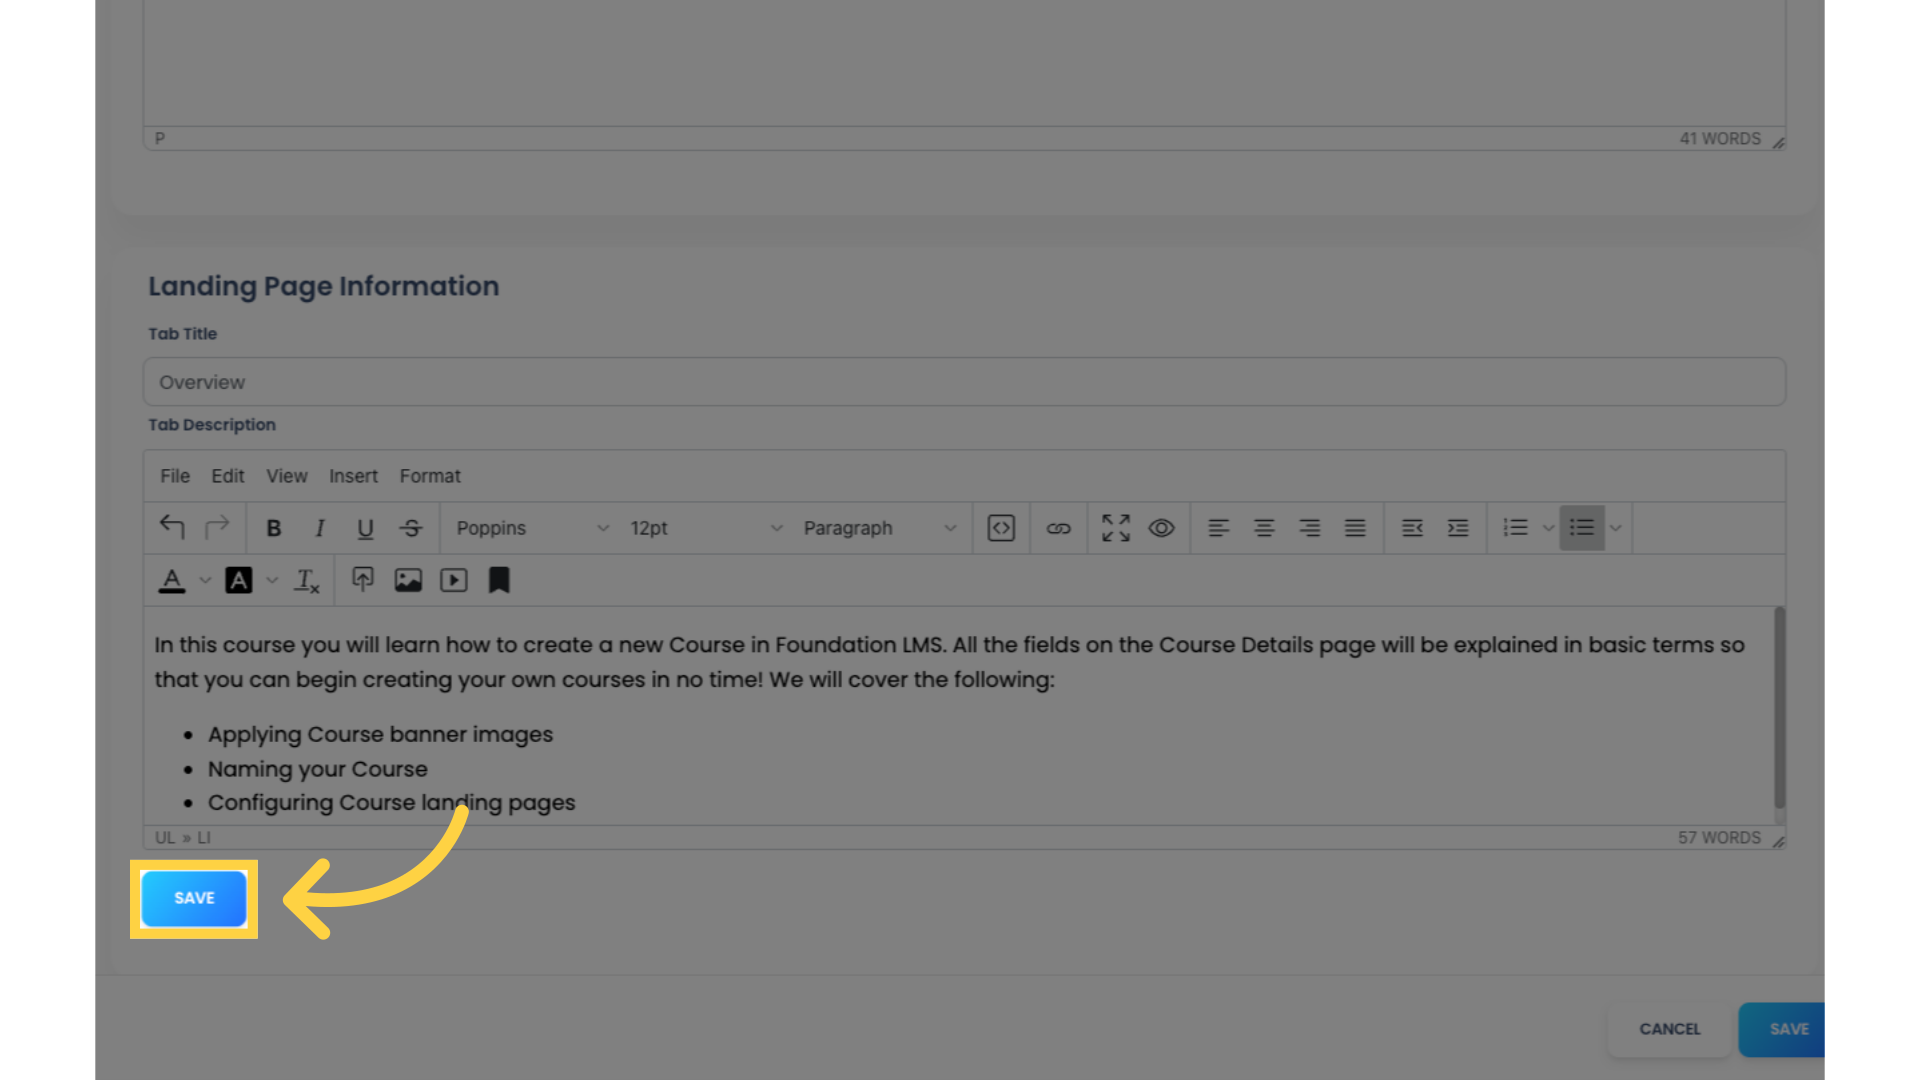
18. You can add multiple tabs to your Course Landing Page. This step is optional. Click “Add” to add more tabs to your Landing Page.
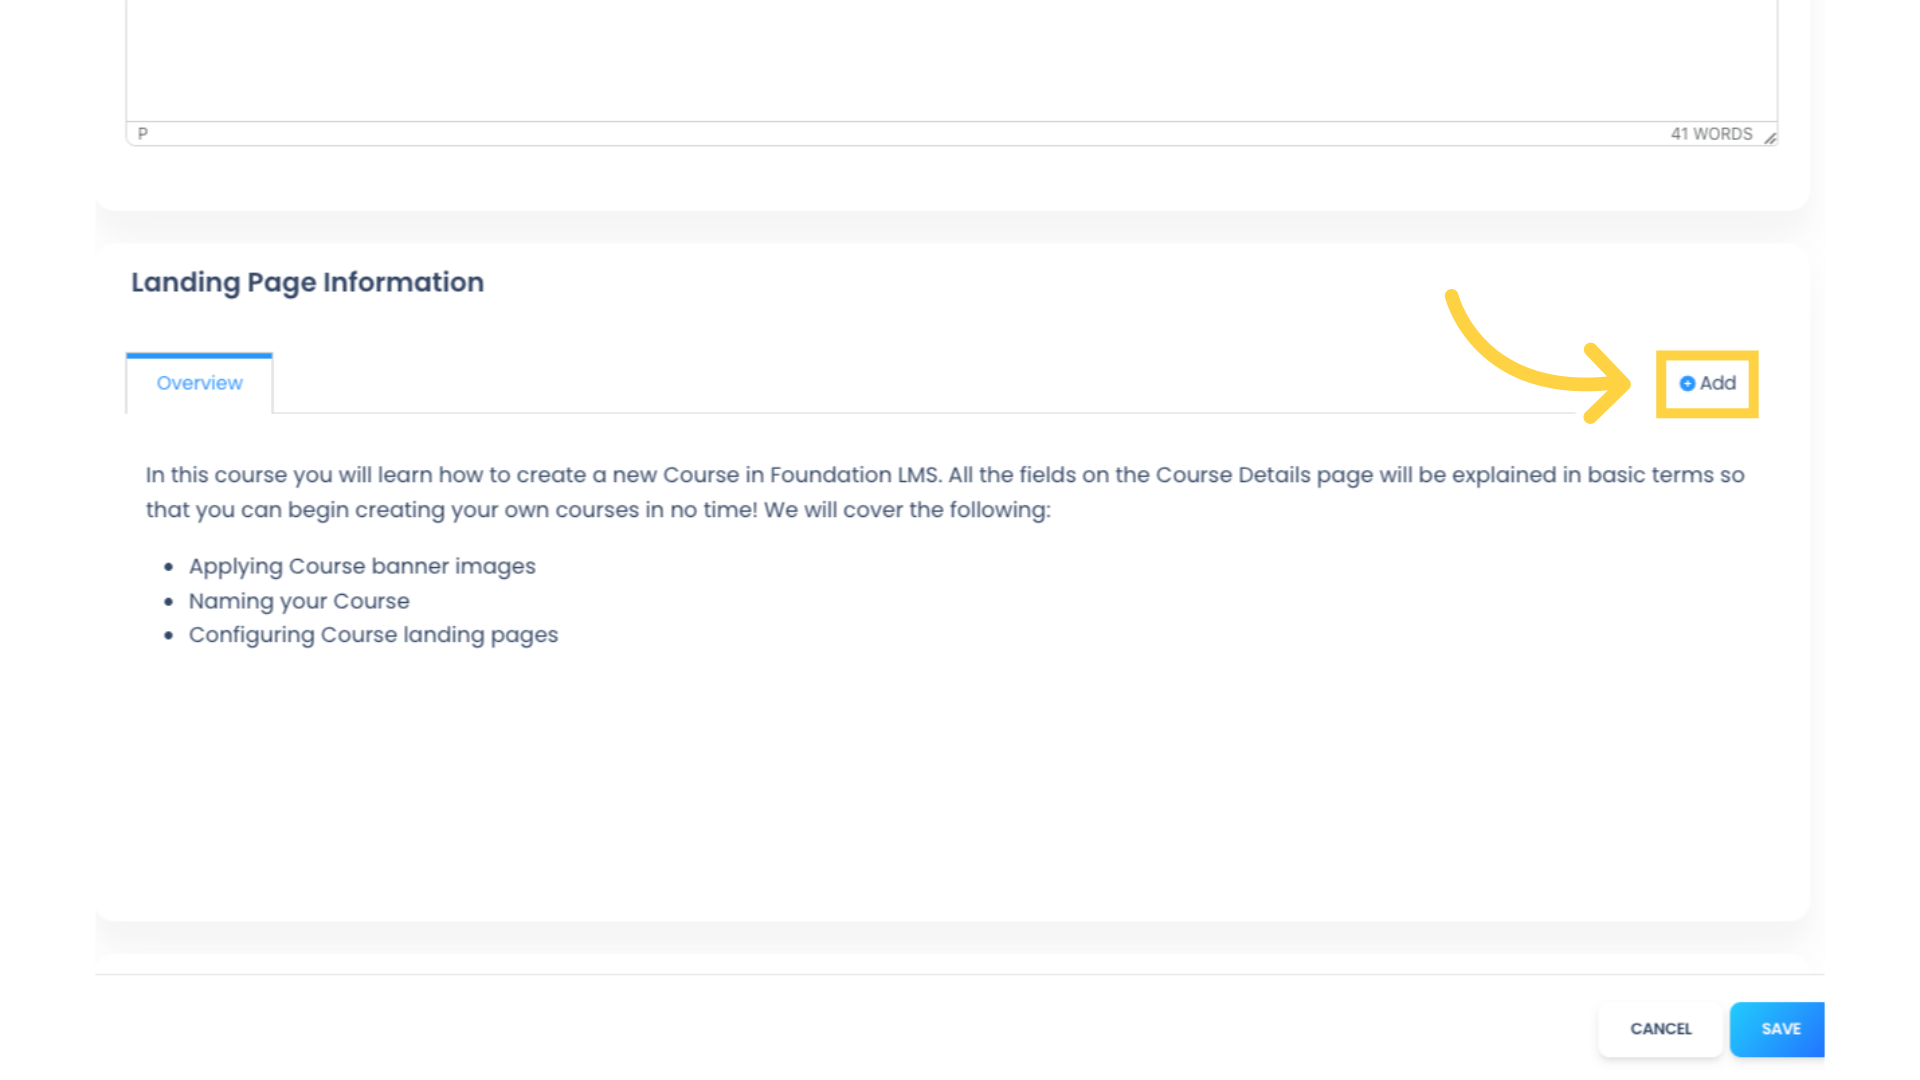
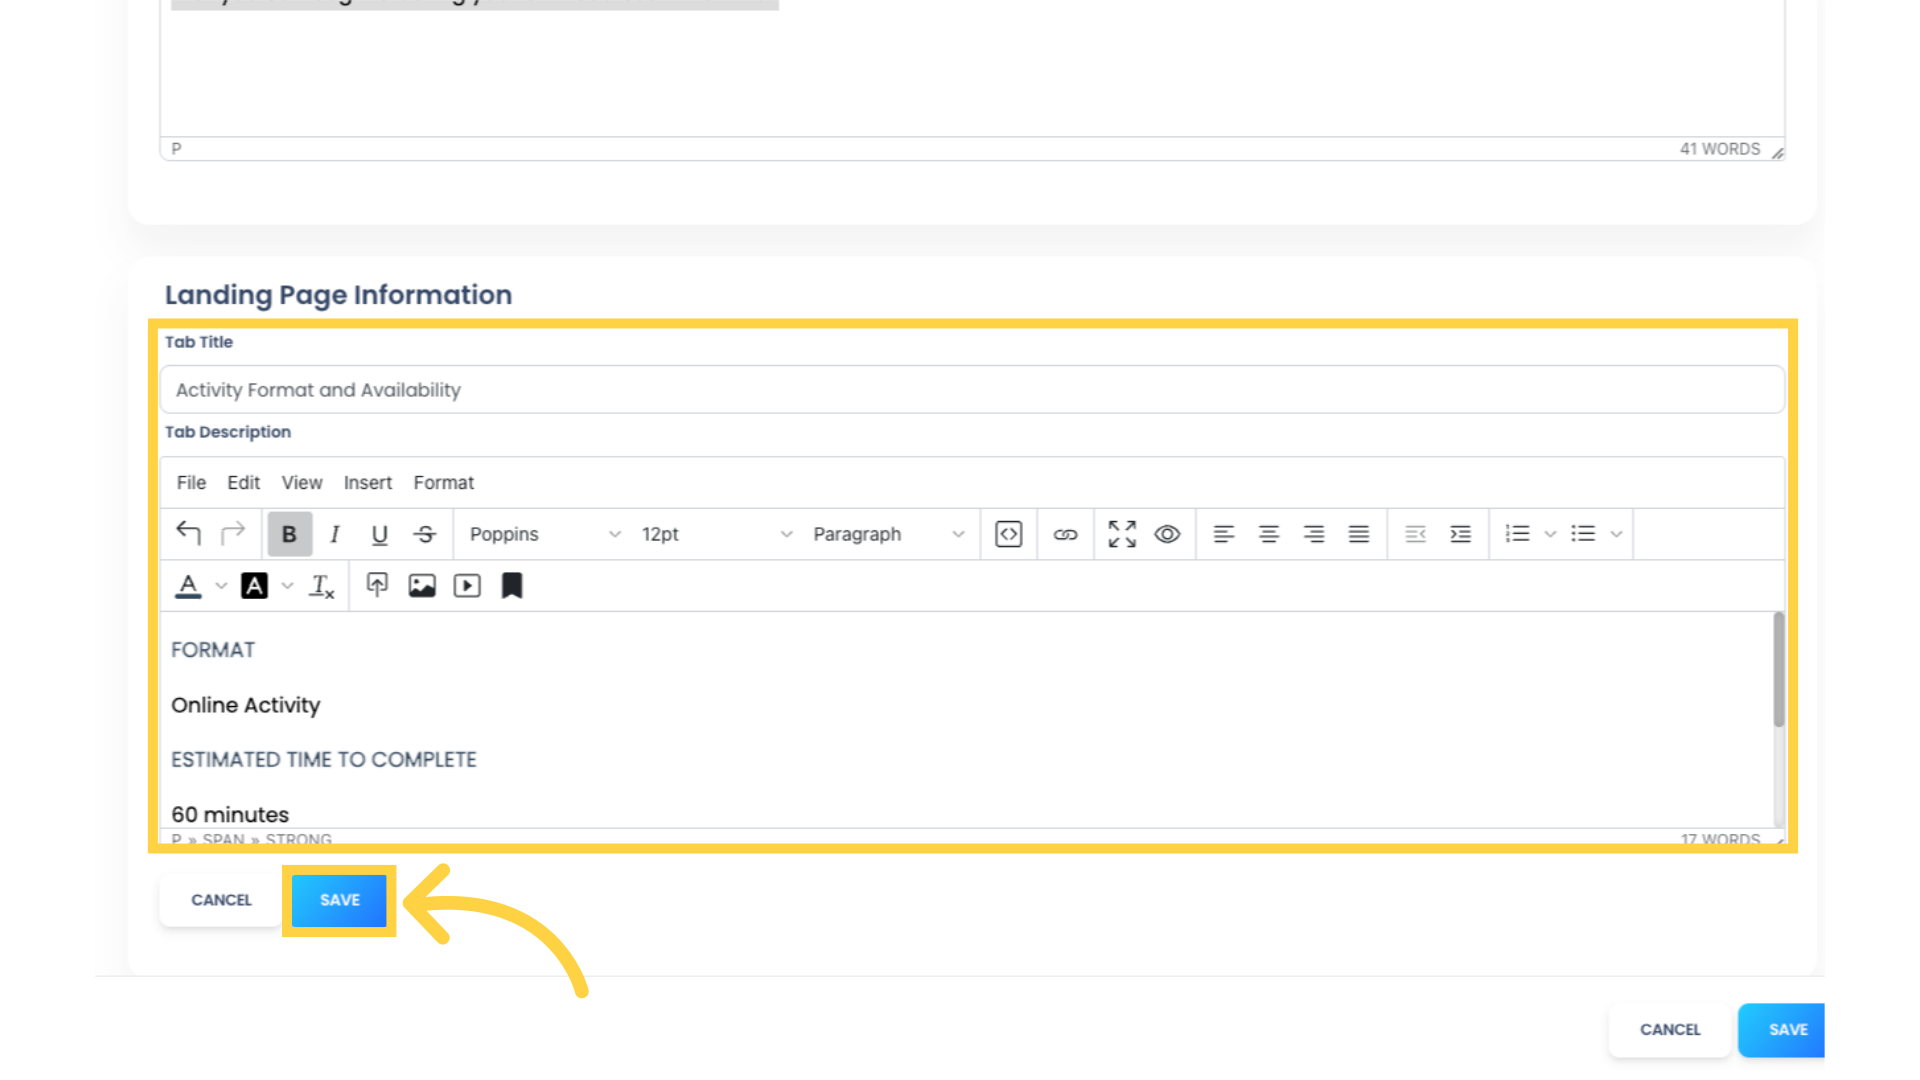
19. As in the previous steps, enter your Tab Title and Tab Description. Be sure to click the “SAVE” button located directly beneath the Tab Description after adding each Tab.
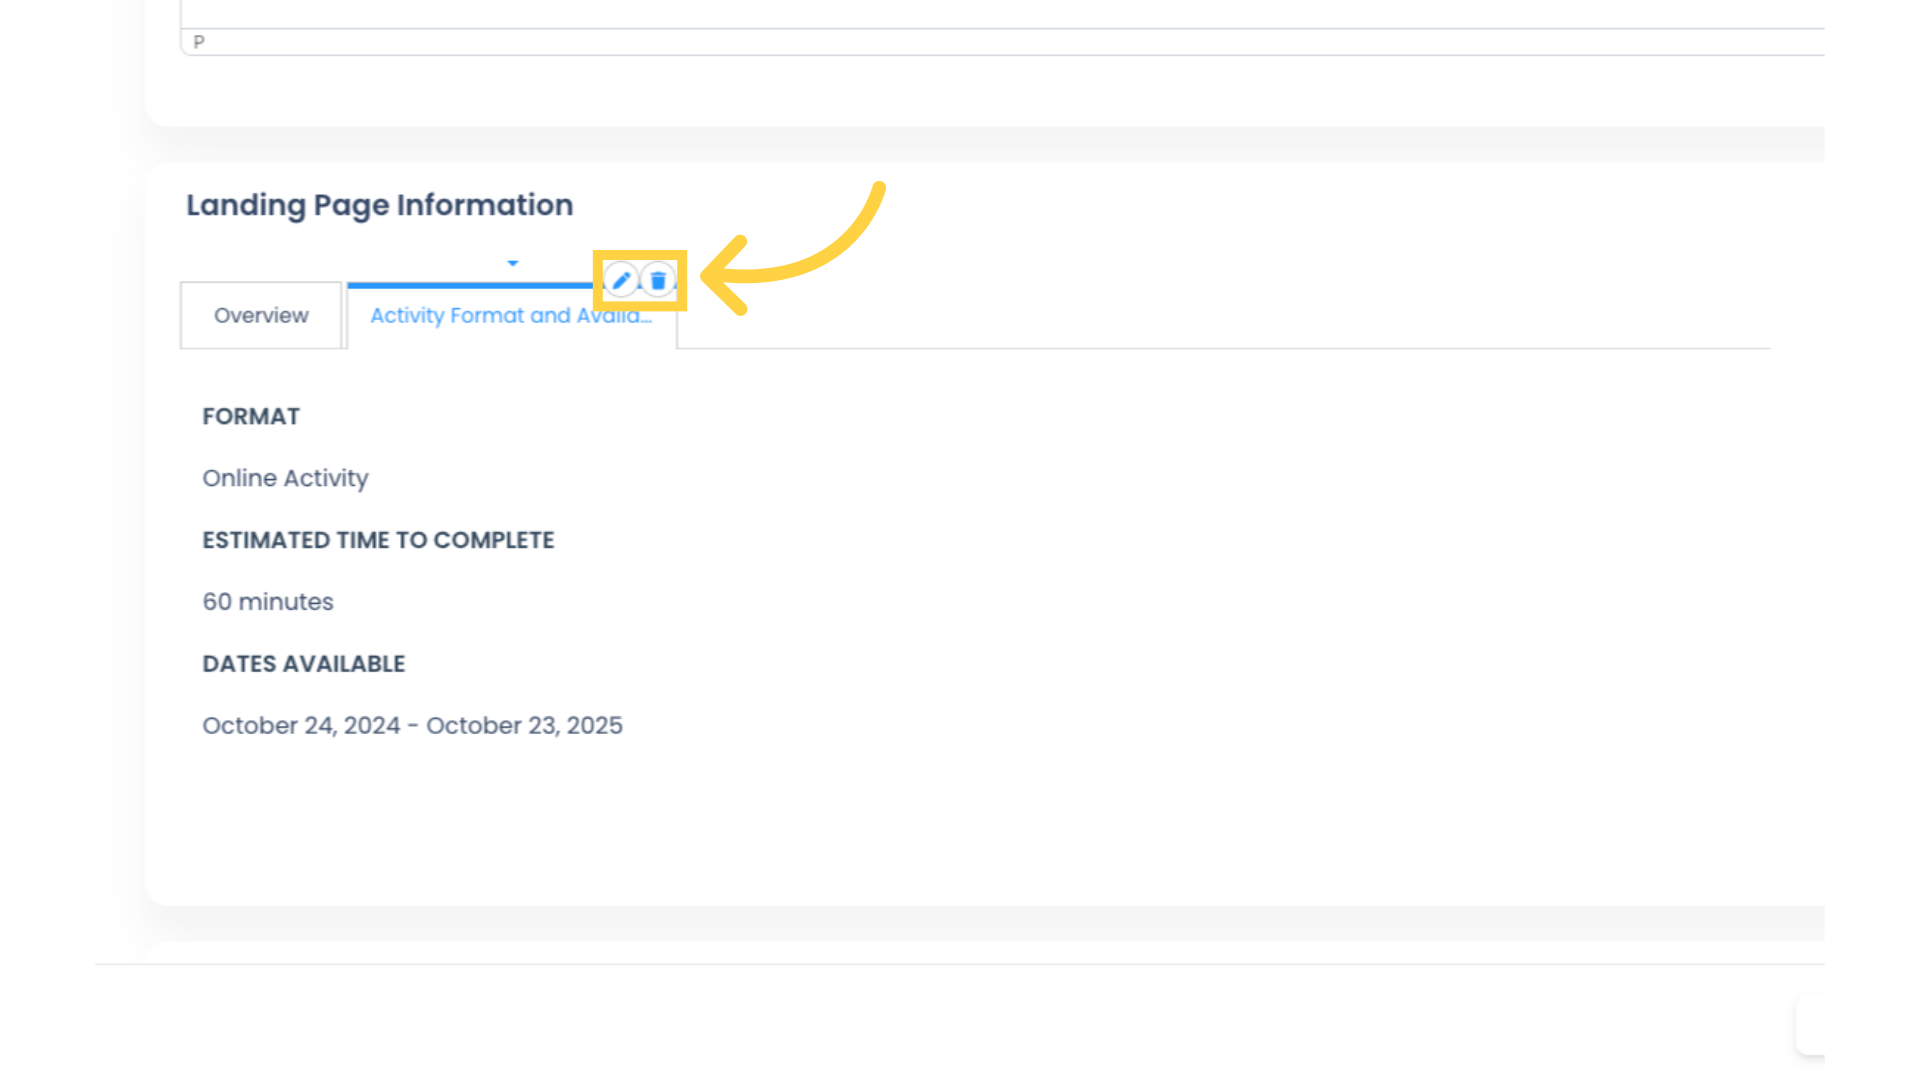
20. To edit your Tab Title or Tab Description, hover over the Tab to display the action icons. Then click the pencil icon. You can delete your Tab by clicking the trash can icon.
21. Click “UPDATE” to save your changes.
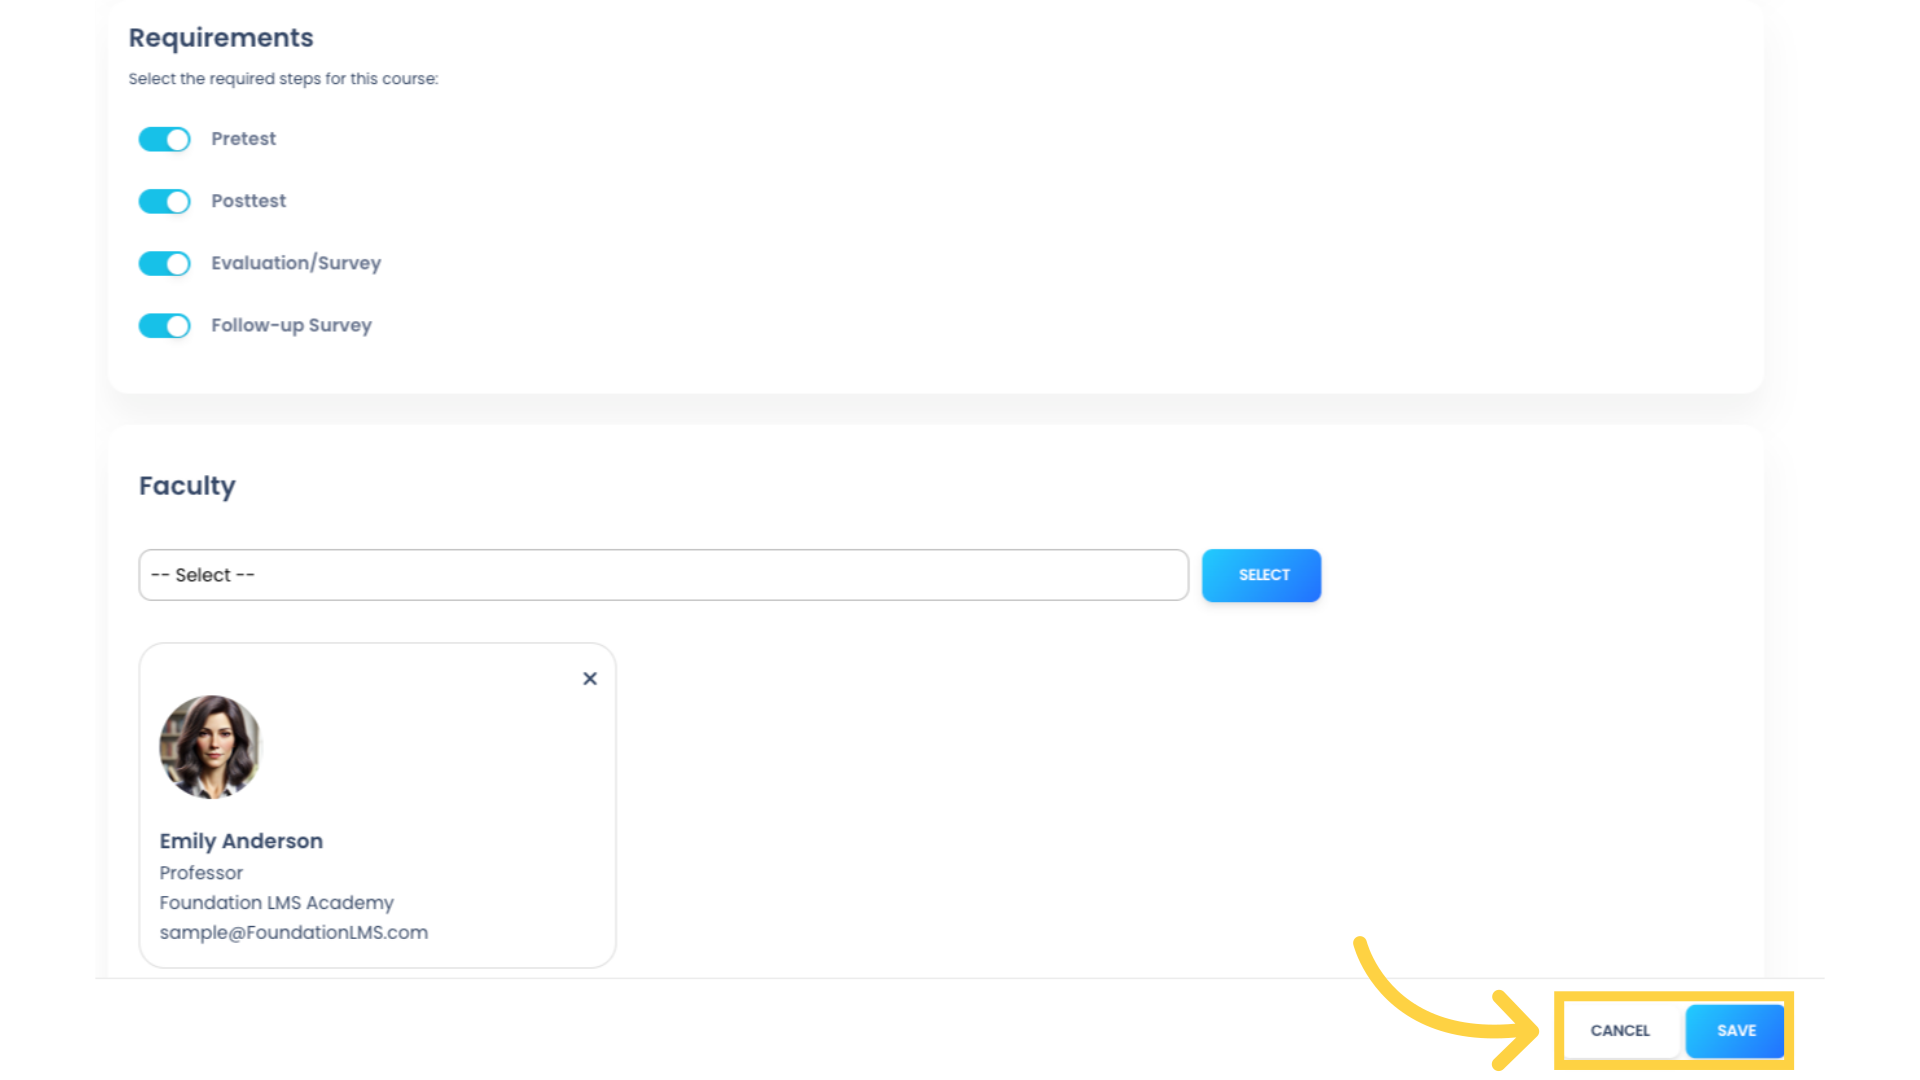
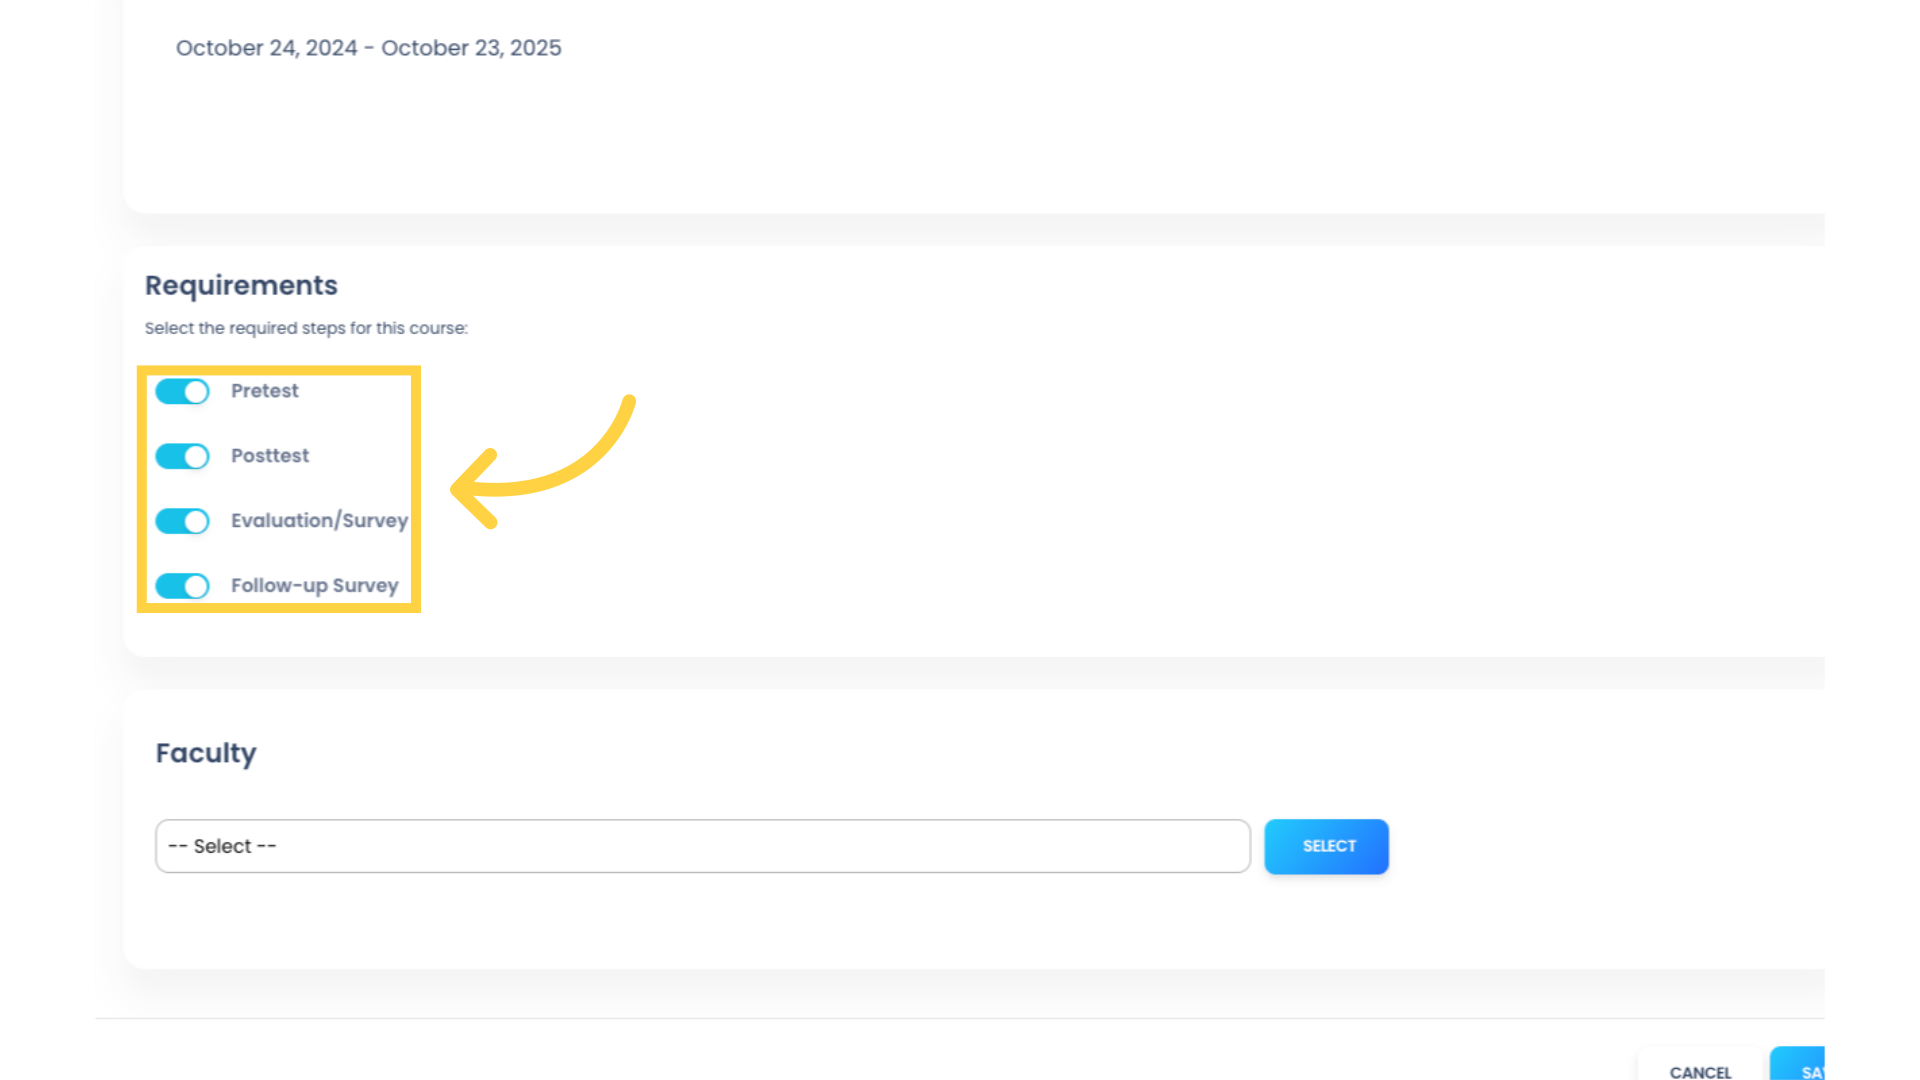
22. Enable your applicable Course Requirements. By default, all options are enabled.
(Check out our tutorial on How to Add a Course Quiz in the Course Builder.)
23. Click in the “Faculty” field, select your faculty member, and click the select button to save your selection. You can select multiple Faculty if needed.
Note: The selected Faculty will appear on the Course Landing Page.
(Check out our tutorial on How to Manage Faculty for more details.)

24. Click “SAVE” to save your Course, or click “CANCEL” to exit without saving. Upon saving, you will be redirected to the Course Builder, which is where you will add Course Curriculum and configure the Course Requirements.
(Check out Part 2 of this tutorial series, How to Create an Online Course: Part 2 – Course Builder, for more information.)
